Databricks
Configuring a Databricks integration in Posit Connect involves two main steps, each performed by different administrators.
- Step 1: A Databricks administrator creates an OAuth application in Databricks.
- Step 2: A Posit Connect administrator creates an integration within Connect.
This guide walks through both steps of this process, providing the necessary information for each administrator role.
Step 1: Databricks administrator
Viewer integration
To support the creation of a Viewer integration in Posit Connect, the Databricks administrator registers a new OAuth Application in the Databricks account.
There is no Databricks UI that supports this operation, so the following commands require use of the Databricks CLI. The following are pre-requisites:
- Install the Databricks CLI.
- Set up authentication between the Databricks CLI and the Databricks account.
The Databricks administrator decides whether this OAuth application requires client authentication.
For Confidential OAuth applications, provide the --confidential flag when creating the custom-app-integration in the next step. Public OAuth applications should omit the --confidential flag.
If unsure whether to create a Confidential or Public OAuth application, choose Confidential.
Use the Databricks CLI to register a custom OAuth app integration in the Databricks account. This example creates a Confidential OAuth application. Replace connect.example.org with the address of the Connect server.
For OAuth application administrators who prefer to use the same OAuth application for both Posit Connect and Posit Workbench, simply register the Workbench redirect URL (https://workbench.example.org/oauth_redirect_callback) in addition to the Connect redirect URL.
Terminal
databricks account custom-app-integration create \
  --confidential \
  --json '{
    "name": "posit-connect",
    "redirect_urls": ["https://connect.example.org/__oauth__/integrations/callback"],
    "scopes": ["all-apis", "sql", "offline_access", "openid", "profile", "email"]
  }'
The redirect is where Databricks sends the user’s OAuth credentials at the end of the OAuth handshake. This allows Connect to obtain a temporary access token and refresh token from Databricks, which is used to access protected resources on behalf of the user.
The output should be similar to the following:
{"integration_id":"<integration-id>","client_id":"<client-id>","client_secret":"<client-secret>"}The integration_id refers to the custom OAuth application in the Databricks account. Do not confuse this ID with the oauth-integration-guid in Connect.
The Databricks administrator makes note of the client_id and client_secret from the registered OAuth application and shares this information with the Connect administrator.
To delete or disable this integration in the future, use the Databricks CLI as follows:
Terminal
databricks account custom-app-integration delete <integration-id>Service account integration
To support the creation of a Service Account integration in Connect, the Databricks administrator creates a Service Principal in their Databricks account. The Databricks administrator generates an OAuth Secret for the service principal, and makes note of the generated OAuth Client ID and Secret. This information is shared with the Connect administrator.
Workload identity integration
Workload identity is similar to using a service account, but avoids storing a long-lived secret in Connect. Databricks recommends using workload identity when possible for this reason.
Workload identity requires Databricks to verify tokens issued by Connect. The Connect server must be reachable from Databricks for this to work.
Instead of generating an OAuth secret for a new or existing Databricks service principal, the Databricks administrator configures a federation policy with the following values:
| Field | Value |
|---|---|
| Issuer | The value of IdentityProvider.Issuer if configured, otherwise the value of Server.Address with a trailing slash (e.g., https://connect.example.org/). |
| Audience | databricks |
| Subject | connect |
The Databricks administrator shares the service principal’s unique identifier (UUID) with the Connect administrator.
Transfer information to Connect administrator
The Databricks administrator shares the following information with the Posit Connect administrator:
| Field | Description |
|---|---|
workspace_hostname |
The hostname of your Databricks environment. |
client_id |
The unique identifier of the OAuth application, or the service principal UUID for Workload Identity integrations. |
client_secret |
The secret string provided in the output from OAuth application creation. Not required for Public Viewer or Workload Identity integrations. |
scopes |
Permissions supported by the OAuth application. Only include the scopes required by Connect. Not required for Workload Identity integrations. |
Step 2: Posit Connect administrator
Create integration in Posit Connect
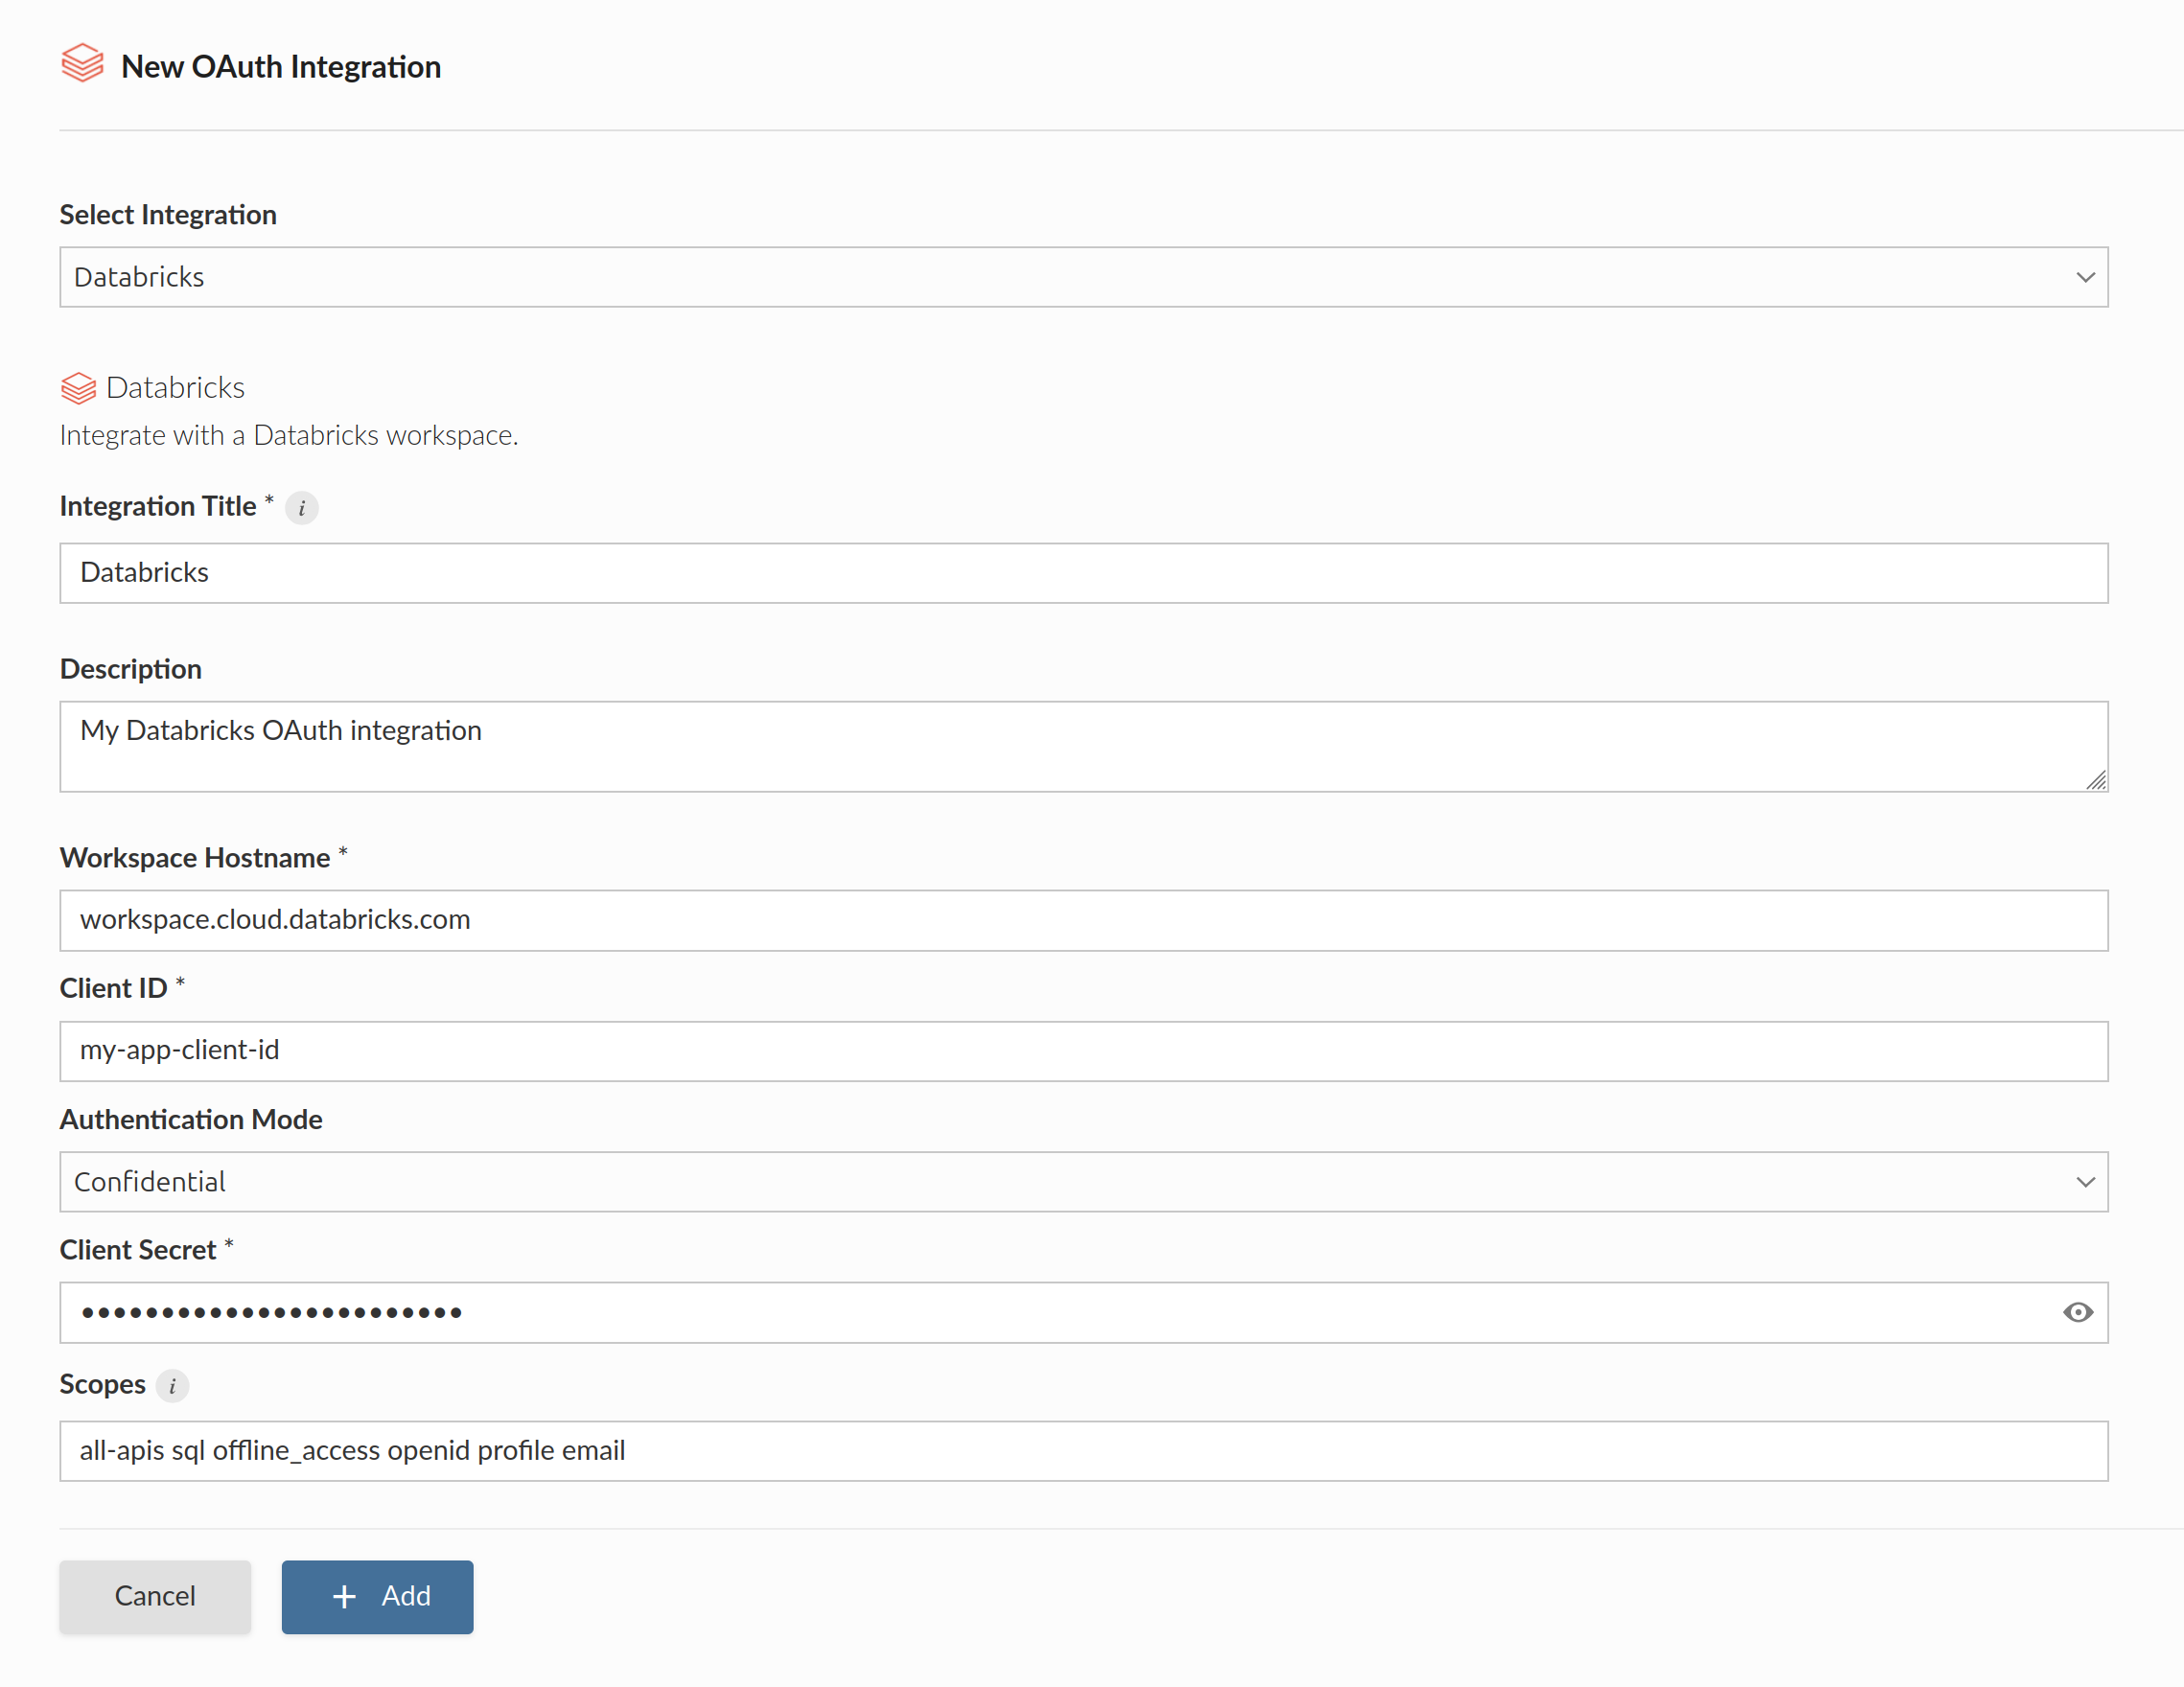
Using the information from the Databricks administrator, the Posit Connect administrator creates an integration through the dashboard’s System > Integrations settings. Once the integration has been created in Connect, it is available for use by all publishers. See Access control lists for information on customizing access to specific users or groups.
Alternatively, the example below shows how to create a Confidential Databricks integration using curl and the Connect Server API.
Replace connect.example.org with the address of the Connect server. Replace cust-success.cloud.databricks.com with the Databricks workspace hostname.
Terminal
curl -H "Authorization: Key ${CONNECT_API_KEY}" \
  -XPOST https://connect.example.org/__api__/v1/oauth/integrations \
  --data '{
    "template": "databricks",
    "description": "A helpful description for publishers to use when choosing an integration for their content.",
    "name": "Databricks integration",
    "config": {
      "auth_mode": "Confidential",
      "auth_type": "Viewer",
      "workspace_host": "cust-success.cloud.databricks.com",
      "client_id": "<databricks-client-id>",
      "client_secret": "<databricks-client-secret>"
    }
  }'
# 200 OK
# {"guid": "<oauth-integration-guid>", ... }
To create a Workload Identity integration:
Terminal
curl -H "Authorization: Key ${CONNECT_API_KEY}" \
  -XPOST https://connect.example.org/__api__/v1/oauth/integrations \
  --data '{
    "template": "databricks",
    "description": "Databricks workload identity integration for non-interactive content.",
    "name": "Databricks Workload Identity",
    "config": {
      "auth_type": "Workload Identity",
      "workspace_host": "cust-success.cloud.databricks.com",
      "client_id": "<service-principal-uuid>"
    }
  }'
# 200 OK
# {"guid": "<oauth-integration-guid>", ... }
Next steps
Once the integration is configured, publishers can use it in their content. See the following cookbook recipes for examples:
Viewer integrations:
Service account integrations:
Workload identity integrations:
Workload Identity integrations work with Databricks SDKs out of the box and require no code changes to authenticate correctly.