Troubleshooting
Overview
Posit Connect includes tools to help with troubleshooting common server issues.
System info
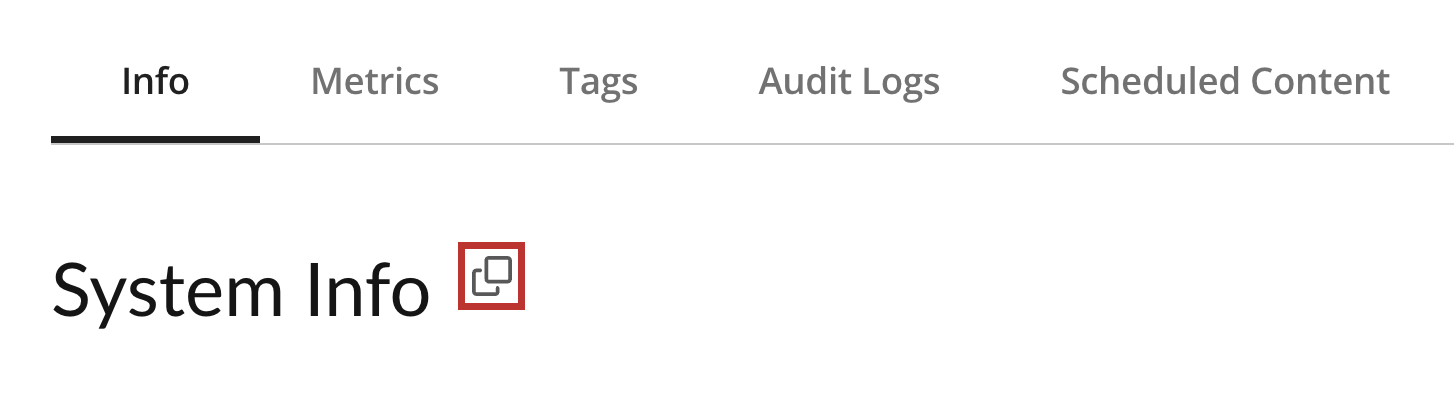
You can also find a detailed overview of your Connect system in the Connect UI. To open it, click System in the top menu bar, then click the Info tab. The System Info section lists information about Connect, including your version and build numbers, as well as license tier and available versions of R, Python, Quarto, and TensorFlow.
This information is useful to have when submitting a Support ticket or bug report. Copy the information to your clipboard by clicking the copy icon next to System Info.
Diagnostics
Diagnostics help Posit Support troubleshoot your specific Connect installation, and should be included when opening a support ticket. These diagnostics include information about the server, the Connect installation, and associated log files. You can generate diagnostics via the Connect UI under System > Diagnostics, or the diagnostics script provided in /opt/rstudio-connect/scripts/run-diagnostics.sh.
Before sending diagnostics to Posit Support, review the contents of the output directory, and sanitize any sensitive data.
Startup failures
When systemctl status rstudio-connect shows that the service failed to start, find the specific error in two places:
- systemd journal:
journalctl -u rstudio-connectcaptures the fatal startup errors Connect writes to stderr. - Product log:
/var/log/rstudio/rstudio-connect/rstudio-connect.logcontains the full service log once Connect has redirected its output there.
If Connect fails before it can write to the product log, the systemd journal is the authoritative source.
System checks
Connect system checks perform additional tests of the running Connect server and its process execution environments. Connect administrators can run these tests and view or download system check results formatted as a report. The reports are useful for troubleshooting, or when submitting a Support ticket or bug report.
Manually trigger system checks in the Connect UI by clicking System in the top menu bar, then clicking the System Checks tab under Monitor. Then, click Run New Report.

You can also schedule the internal checks to run periodically, by configuring one or both of the settings:
Server.SystemCheckOnStartupto run checks every time Posit Connect starts up, orServer.SystemCheckFrequencyto run checks periodically (in this example, every 3 days)
/etc/rstudio-connect/rstudio-connect.gcfg
[Server]
SystemCheckOnStartup = true
SystemCheckFrequency = 3d
File upload size limits
When users encounter errors uploading large files through applications (such as Shiny or Streamlit), the issue typically originates from one of several layers, each with its own configuration.
Common error messages
- “Maximum upload size exceeded” or “Maximum upload size exceeded; try increasing
shiny.maxRequestSizeoption” -
Likely source: Shiny for R framework. Increase
shiny.maxRequestSizein your app (see Application framework limits below). - HTTP 413 “Request Entity Too Large”
- Likely source: Reverse proxy (NGINX/Apache). Configure your proxy to allow larger requests (see Proxy configuration below).
- “Application image must not be larger than X bytes”
-
Likely source: Connect thumbnail upload. Increase the
Applications.MaxAppImageSizesetting.
Proxy configuration
If you use a reverse proxy in front of Connect, it may reject large uploads before they reach your application.
NGINX
Add the following directive to your configuration to disable body size checking:
client_max_body_size 0;Apache
Add the following directive to your configuration to disable body size checking:
LimitRequestBody 0See Running with a proxy for complete proxy configuration examples.
Application framework limits
Shiny for R has a default file upload limit of 5 MB. To increase this limit, add the following to your application code (for example, at the top of app.R):
options(shiny.maxRequestSize = 500 * 1024 * 1024) # 500 MB limitShiny for Python does not have a default upload size limit. Shiny for Python uses Starlette under the hood, so if you are behind additional middleware, you may need to configure upload limits at that layer as well.
Streamlit has a default file upload limit of 200 MB. Configure this in your .streamlit/config.toml:
[server]
maxUploadSize = 1024  # Size in MB
Connect configuration
Connect does not enforce a global request body size limit for application file uploads. The only Connect-side upload limit is for content thumbnail images, controlled by Applications.MaxAppImageSize (default 10 MB).