Launching Workbench Jobs
The Workbench Jobs view
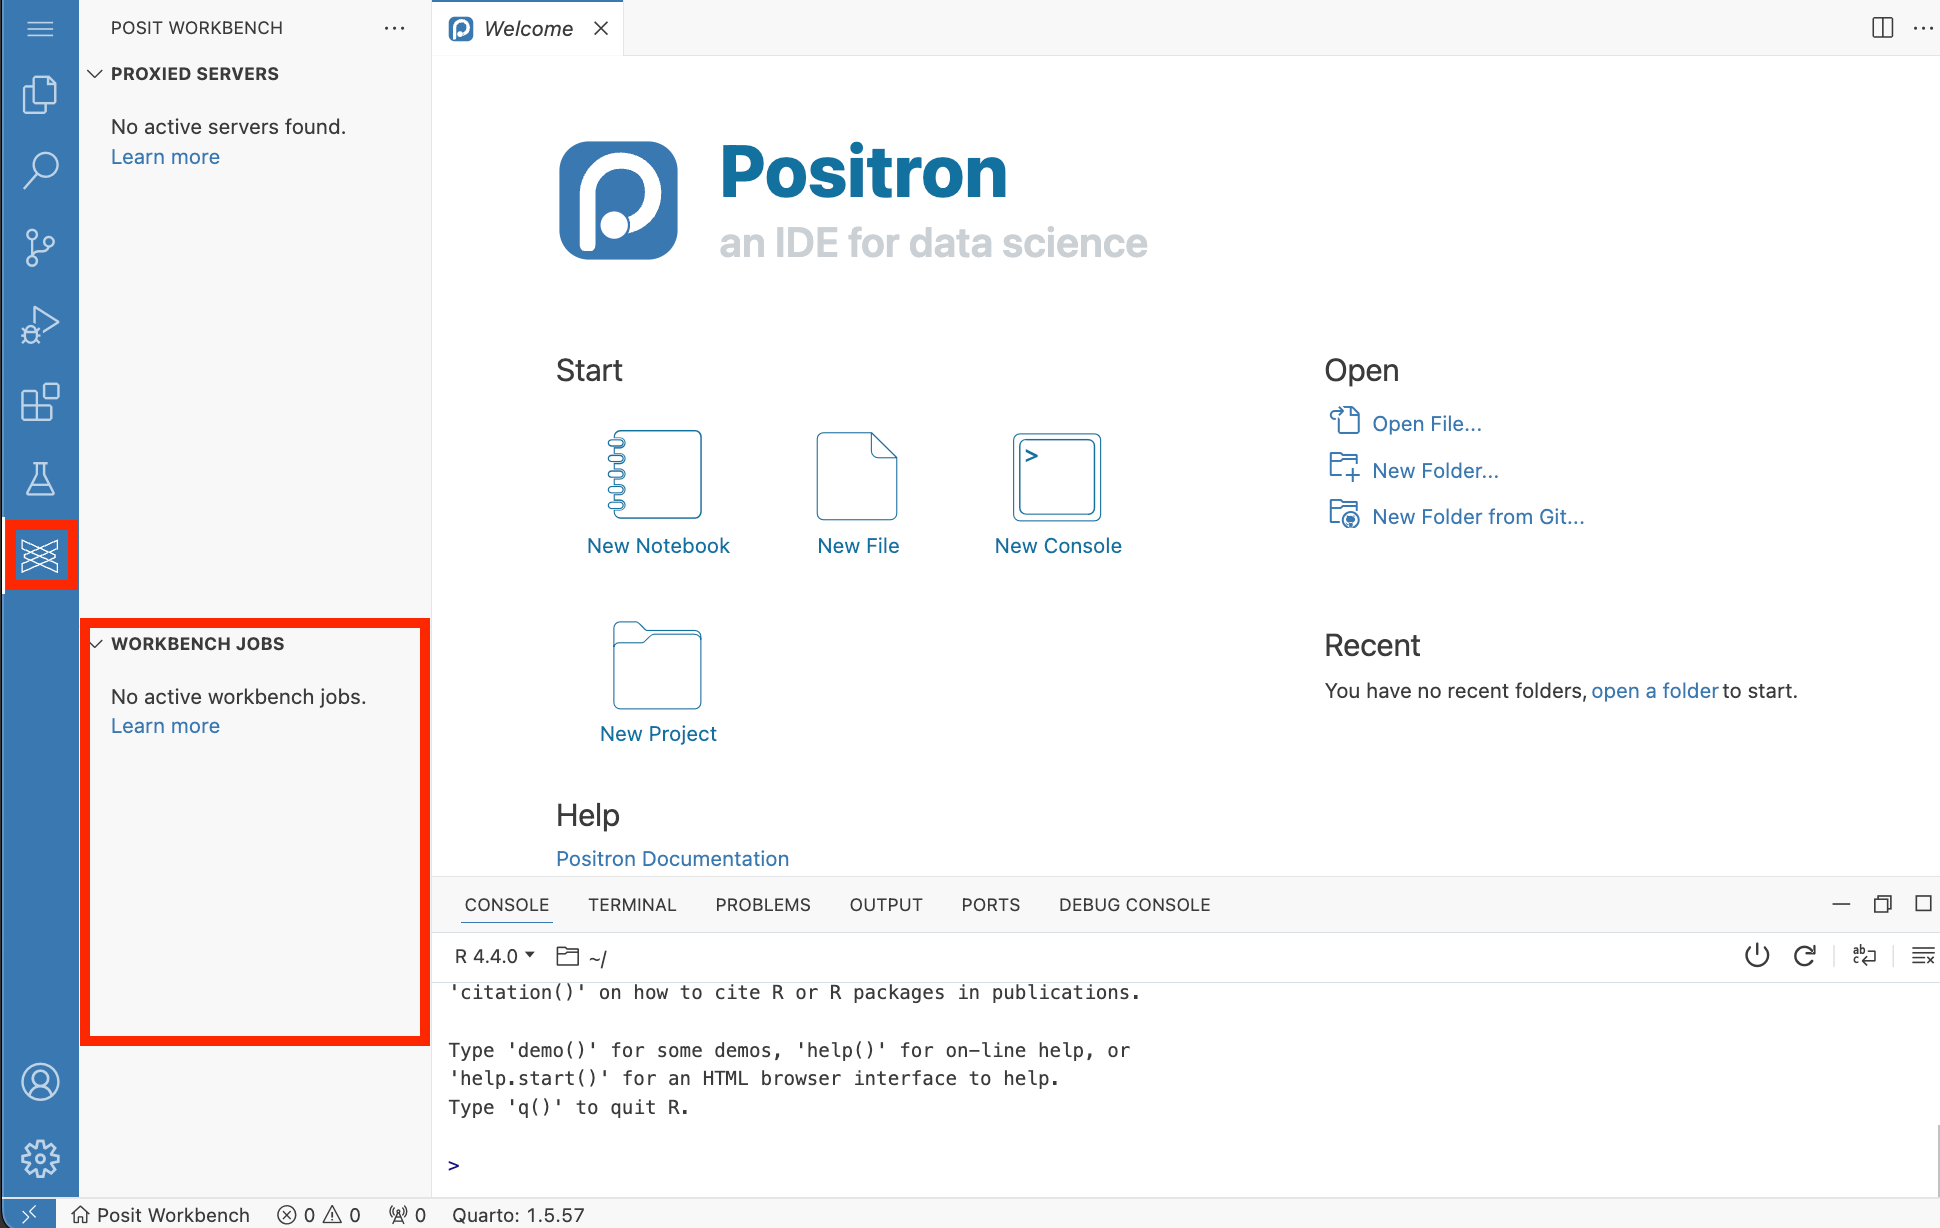
To display the Workbench Jobs view, in the Activity Bar, click the Posit Workbench Extension tab.
Start a Workbench job
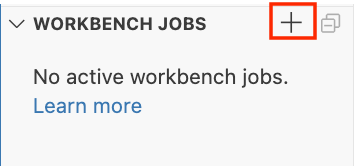
In the top right corner of the Workbench Jobs view, click +.
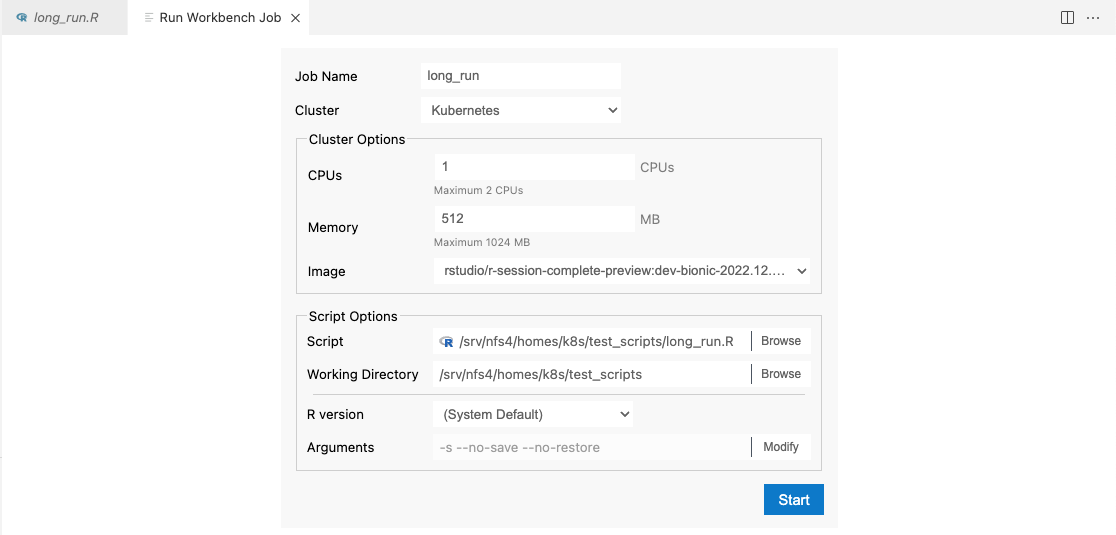
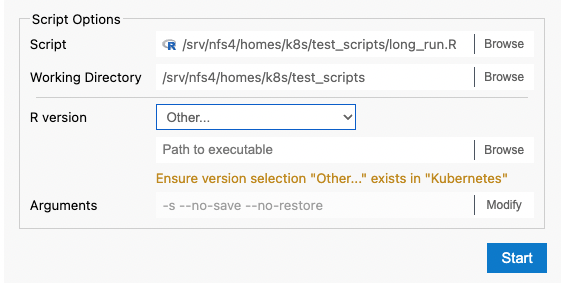
The Launcher options for a new job display. This dialog is similar to the one in RStudio Pro.
To enable the launch button, in the Script Options section, use the Script Browse button to navigate to and select your script.
If you worked on an R or Python script, the launcher opens that script as the Script parameter. Opening a directory in Positron Pro sets the Working Directory parameter; otherwise, it defaults to your home directory. Click the Script and Working Directory fields to browse the file system and change their default values.
If you do not have an active script or have not taken recent actions in the Positron Pro, the launcher dialog displays without default settings for Script and Working Directory. In this case, use the browse feature to specify the desired paths. Once you select a script with a supported extension, the dialog shows additional script options.
Version and arguments
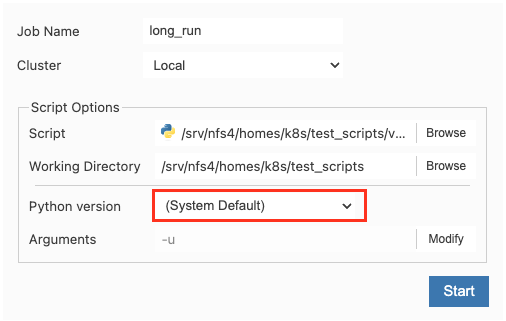
The version and argument settings are preconfigured based on the selected script type.
Version
The version list that appears in the dropdown menu comes from a couple of sources:
- The System Default version calls
Rorpythondirectly using whatever is found on thePATHwhen the job executes. - Versions defined in the
r-versionsandpy-versionsfiles, which are typically located at/var/lib/rstudio-server/r-versionsand/var/lib/rstudio-server/py-versionsrespectively. The path to ther-versionsfile can be adjusted in rserver.conf. - R and Python versions added to Posit Workbench as an interpreter for use with the jobs environment. See Workbench Job Interpreters.
- Virtual environments detected from the current environment.
Other:
Arguments
If you want more control over the arguments, you can modify them. When you first select a script, the arguments display as they are passed. To make changes, click Modify next to the argument preview.
- You can change argument flags or values by typing directly into the fields.
- To remove an individual argument, click the X button next to the argument.
- To add new arguments, click + Add argument.
- To reset all fields to their default values, click Reset. You can see any changes, deletions, or additions in the preview line above.
Viewing and managing Jobs
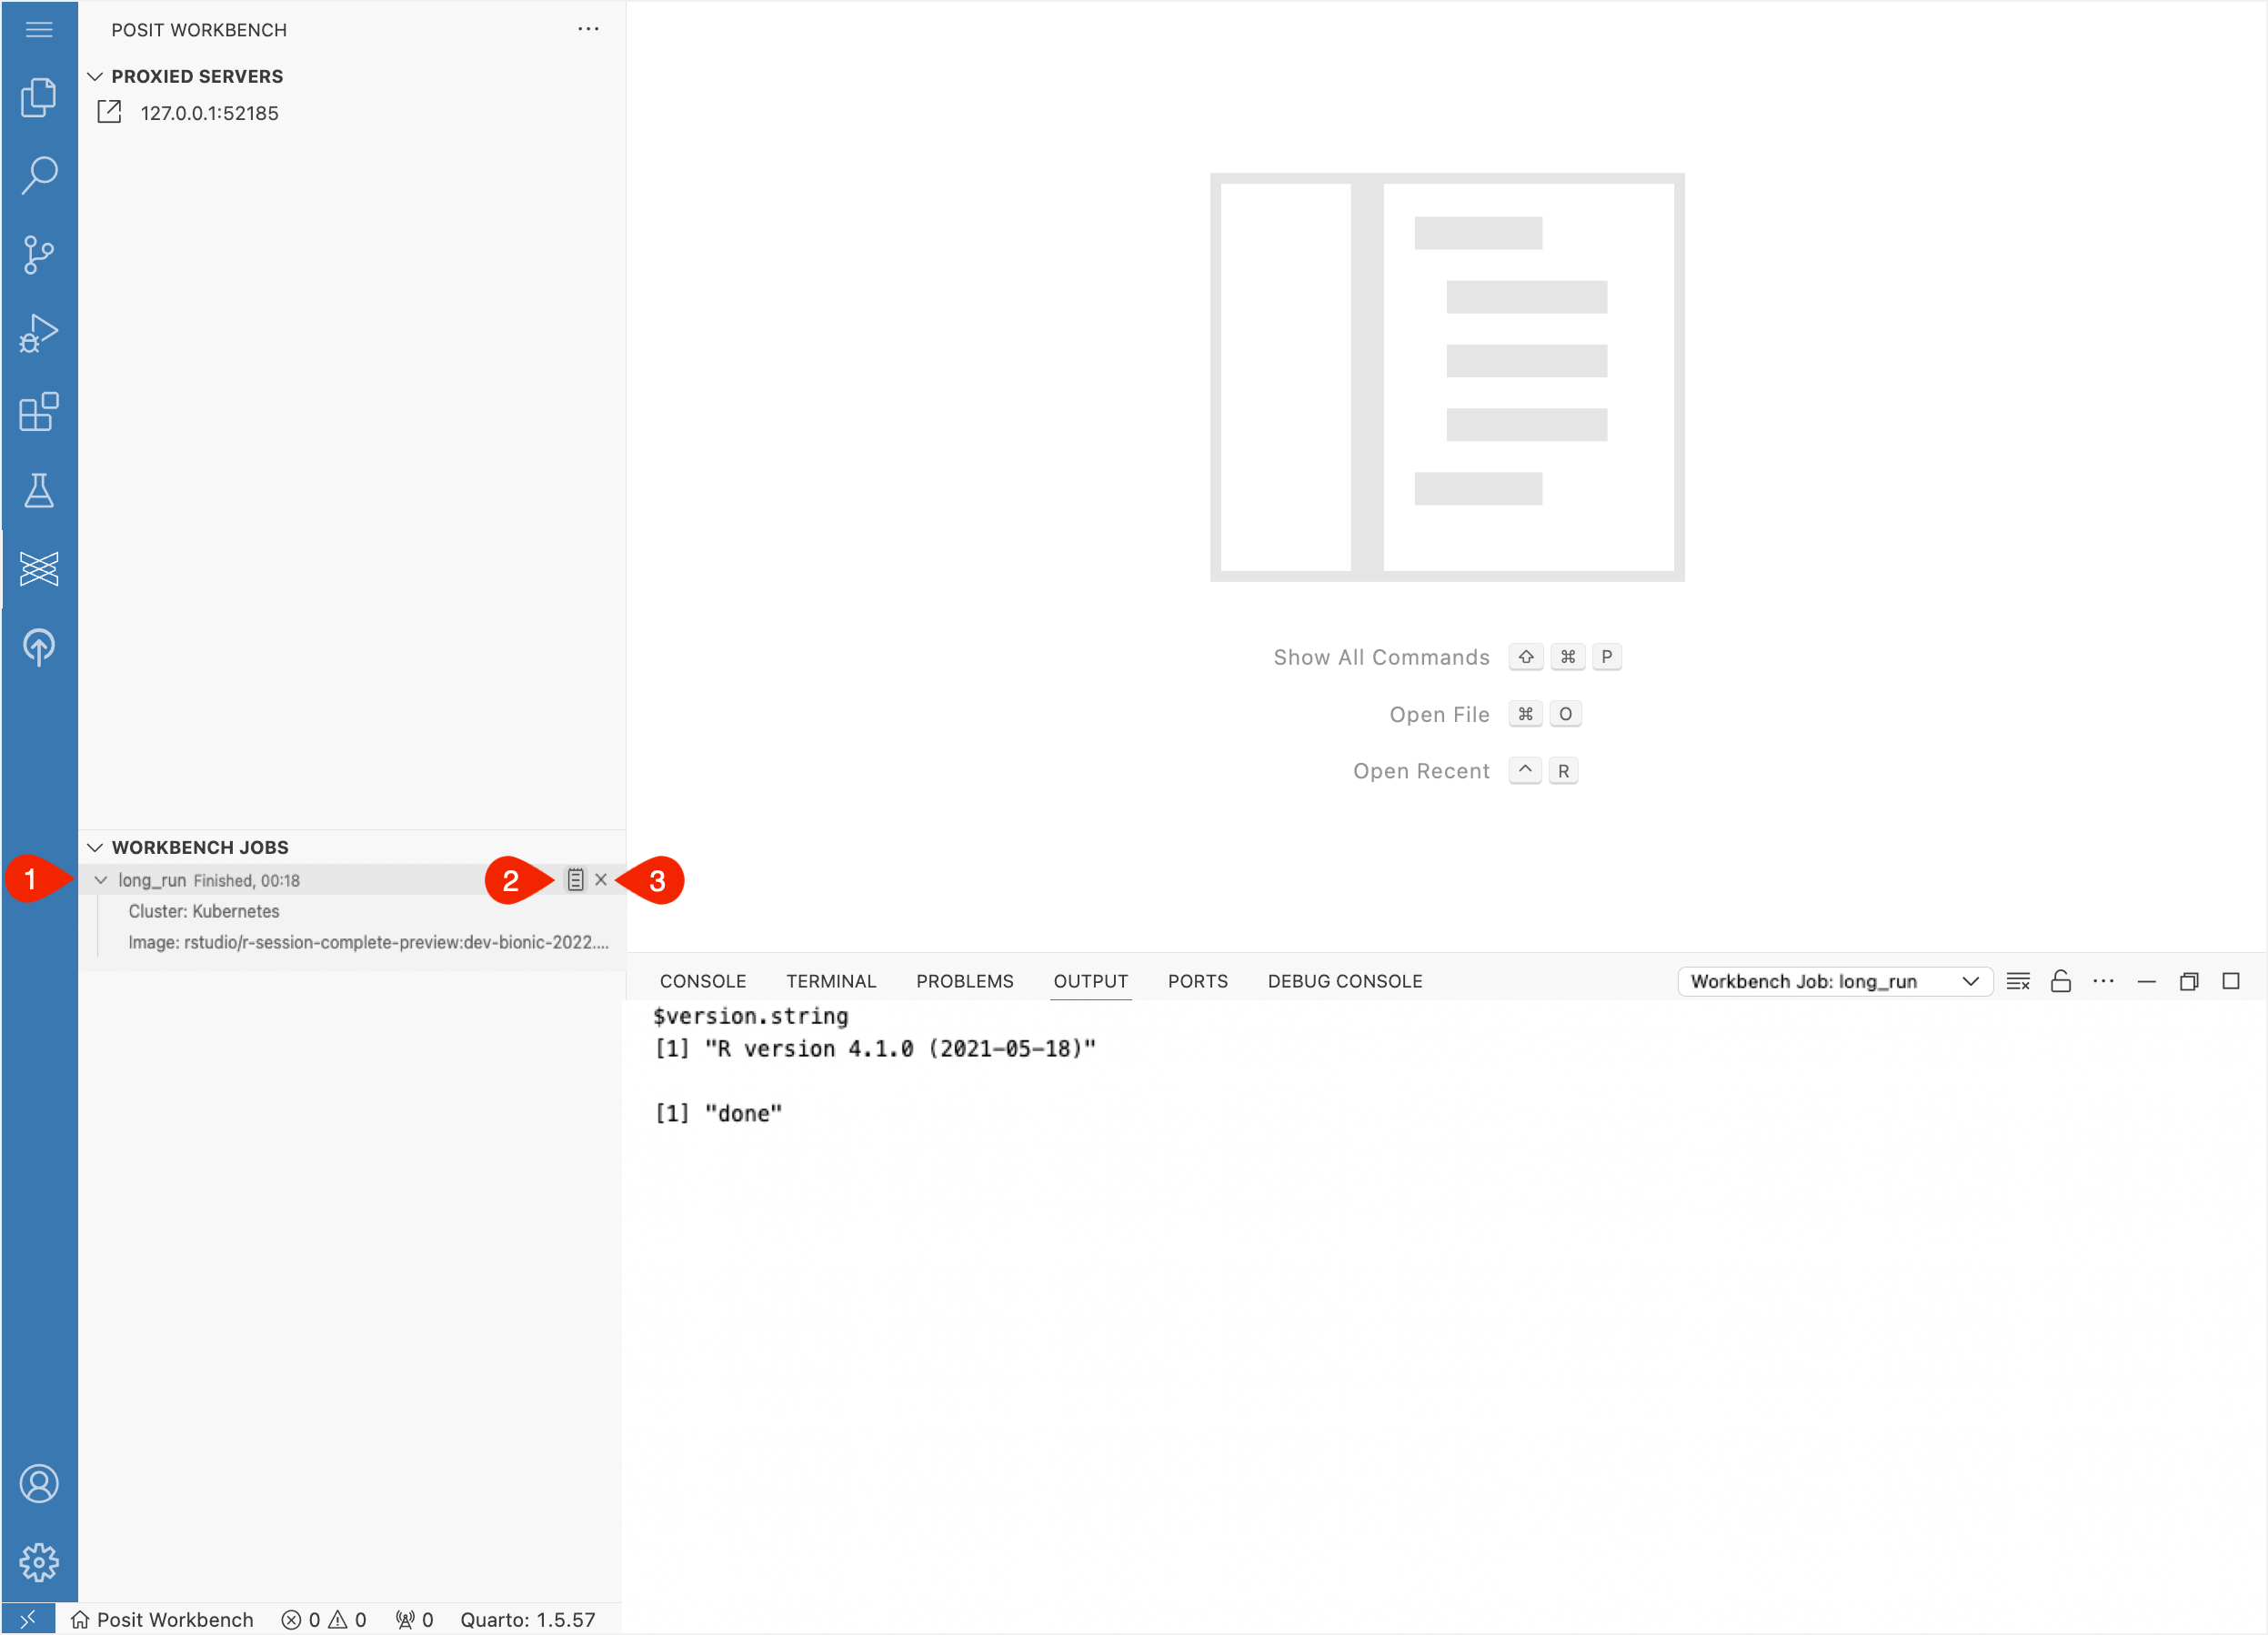
Once a job has been submitted, it displays in the Workbench Jobs view and updates automatically. This list mirrors the list displayed on the homepage:
- The dropdown next to each job shows additional details about the job, and in the event of a failure, the non-zero exit code.
- The notepad button (adjacent to the X button) opens that job’s output stream and displays it in the Output viewer. The Output viewer opens automatically. If it does not, open it with View > Output.
- The X button stops a running job. Additional confirmation is required for this operation.
