Managing Jupyter Kernels in JupyterLab
Kernels are processes that run independently and interact with JupyterLab. ipykernel provides the IPython kernel for Jupyter, which provides an interactive Python development environment. Kernels in JupyterLab allow the use of different Python versions and virtual environments. By default, one or more kernels will exist when you log into JupyterLab running on Posit Workbench.
Server administrators can set up additional Jupyter kernels available to all users. Please contact your administrator and refer them to the Adding Python environments to Jupyter section in the Admin Guide.
Kernel management
Viewing installed kernels
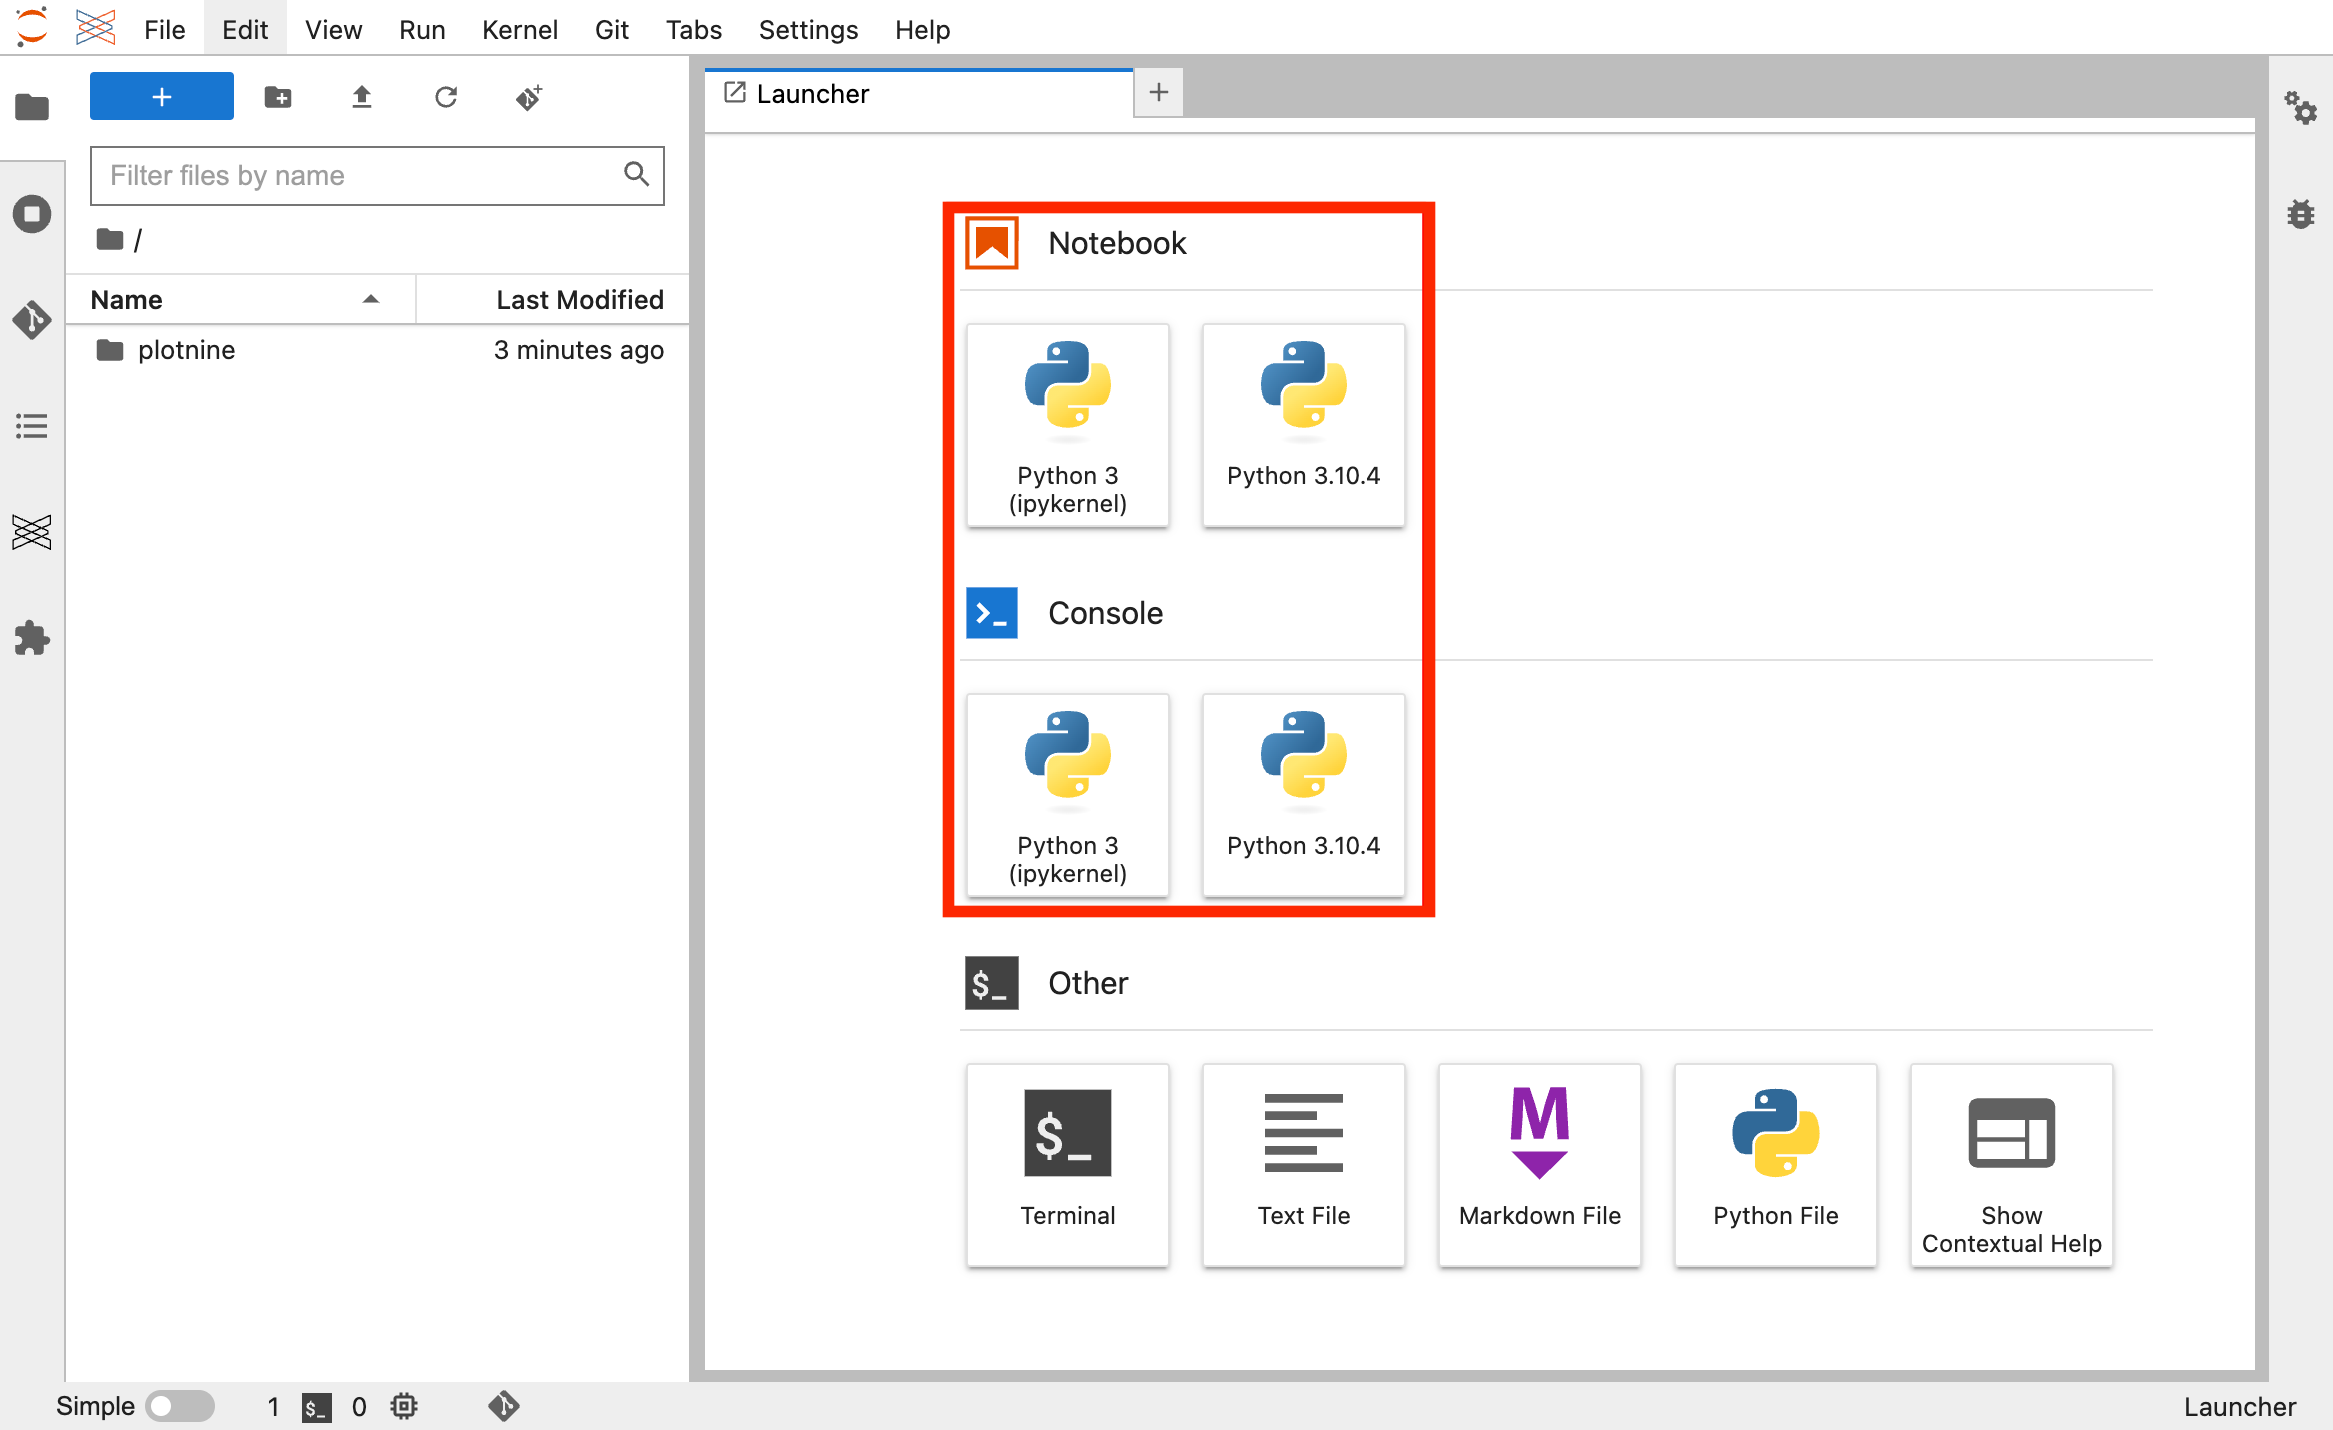
Installed kernels can be seen on the Launcher page or from the terminal.
From the terminal, run the jupyter kernelspec list command to view the installed kernels.
Manage running kernels
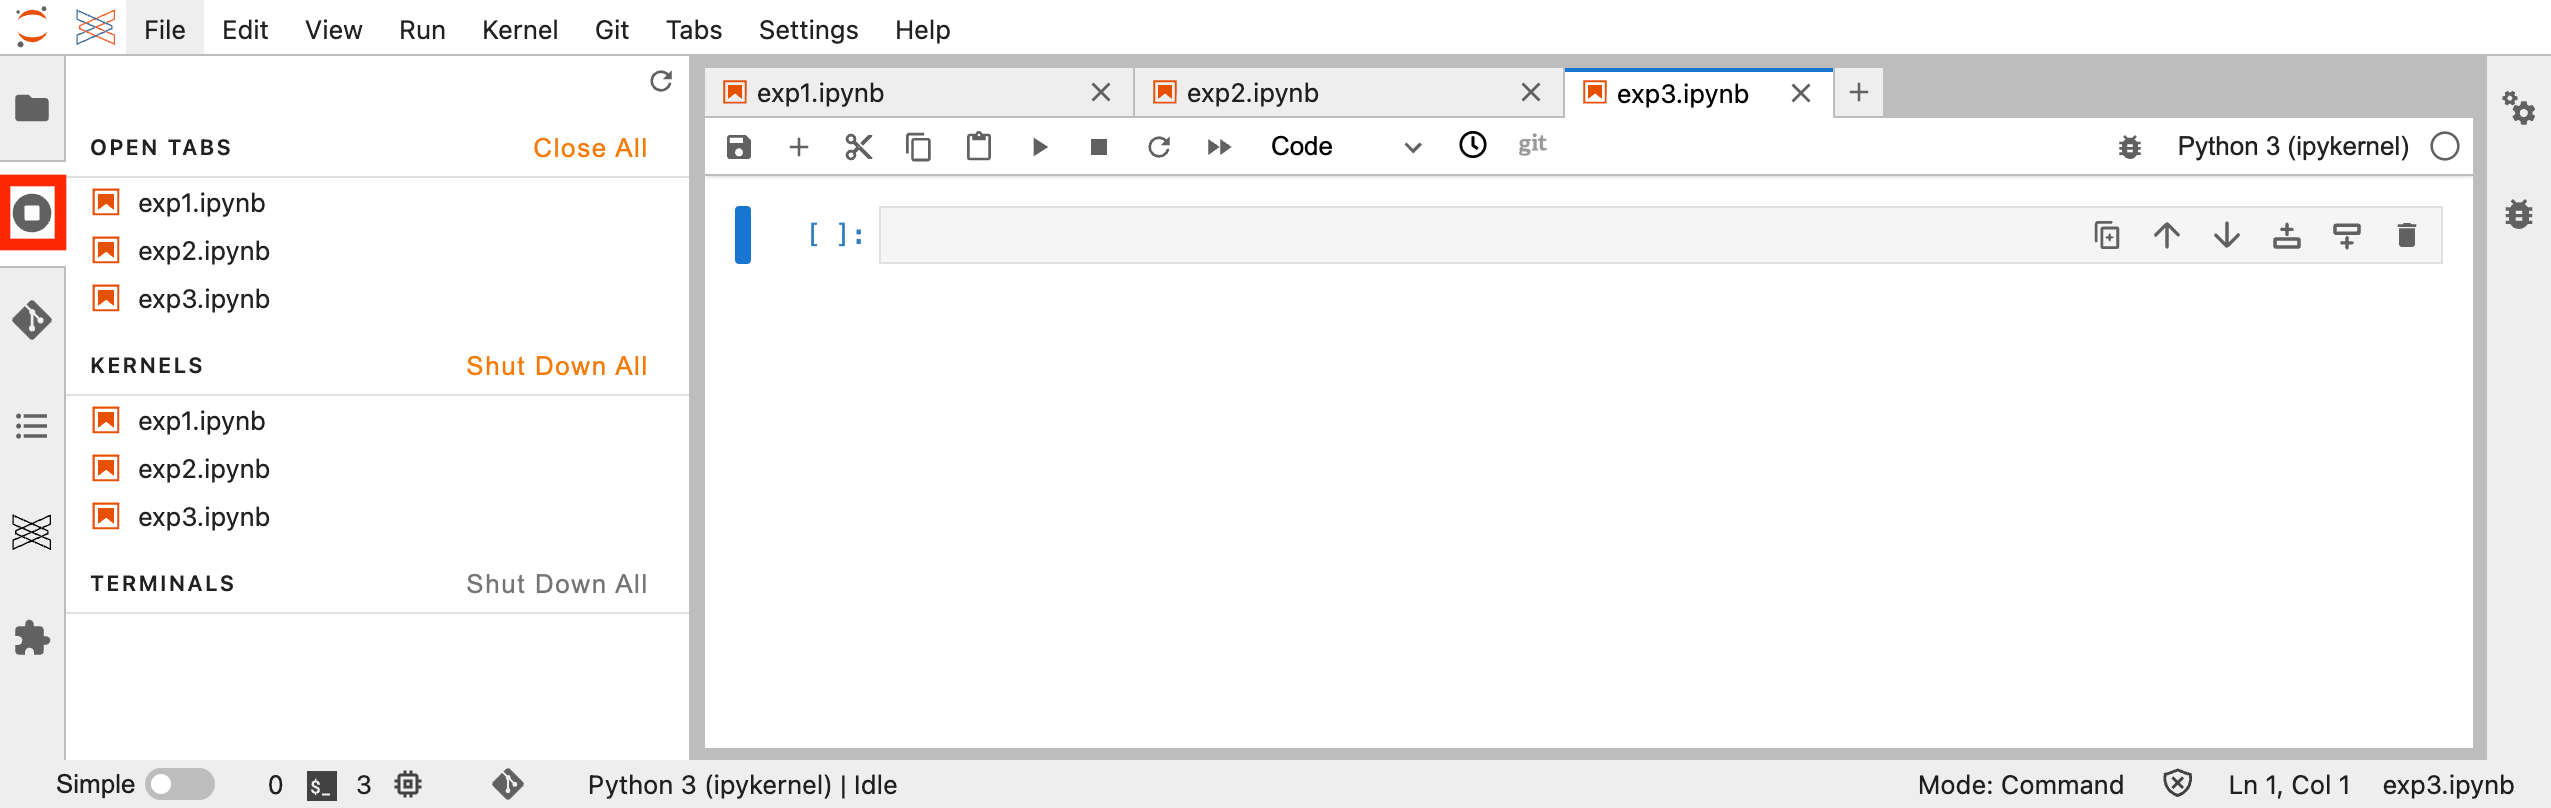
Each time you open a notebook, a kernel runs in the background. When a notebook is closed, the kernel continues to run, allowing for long-running computations. Use the Running Terminals and Kernels tab to get an overview of tabs opened, kernels running, and terminals running.
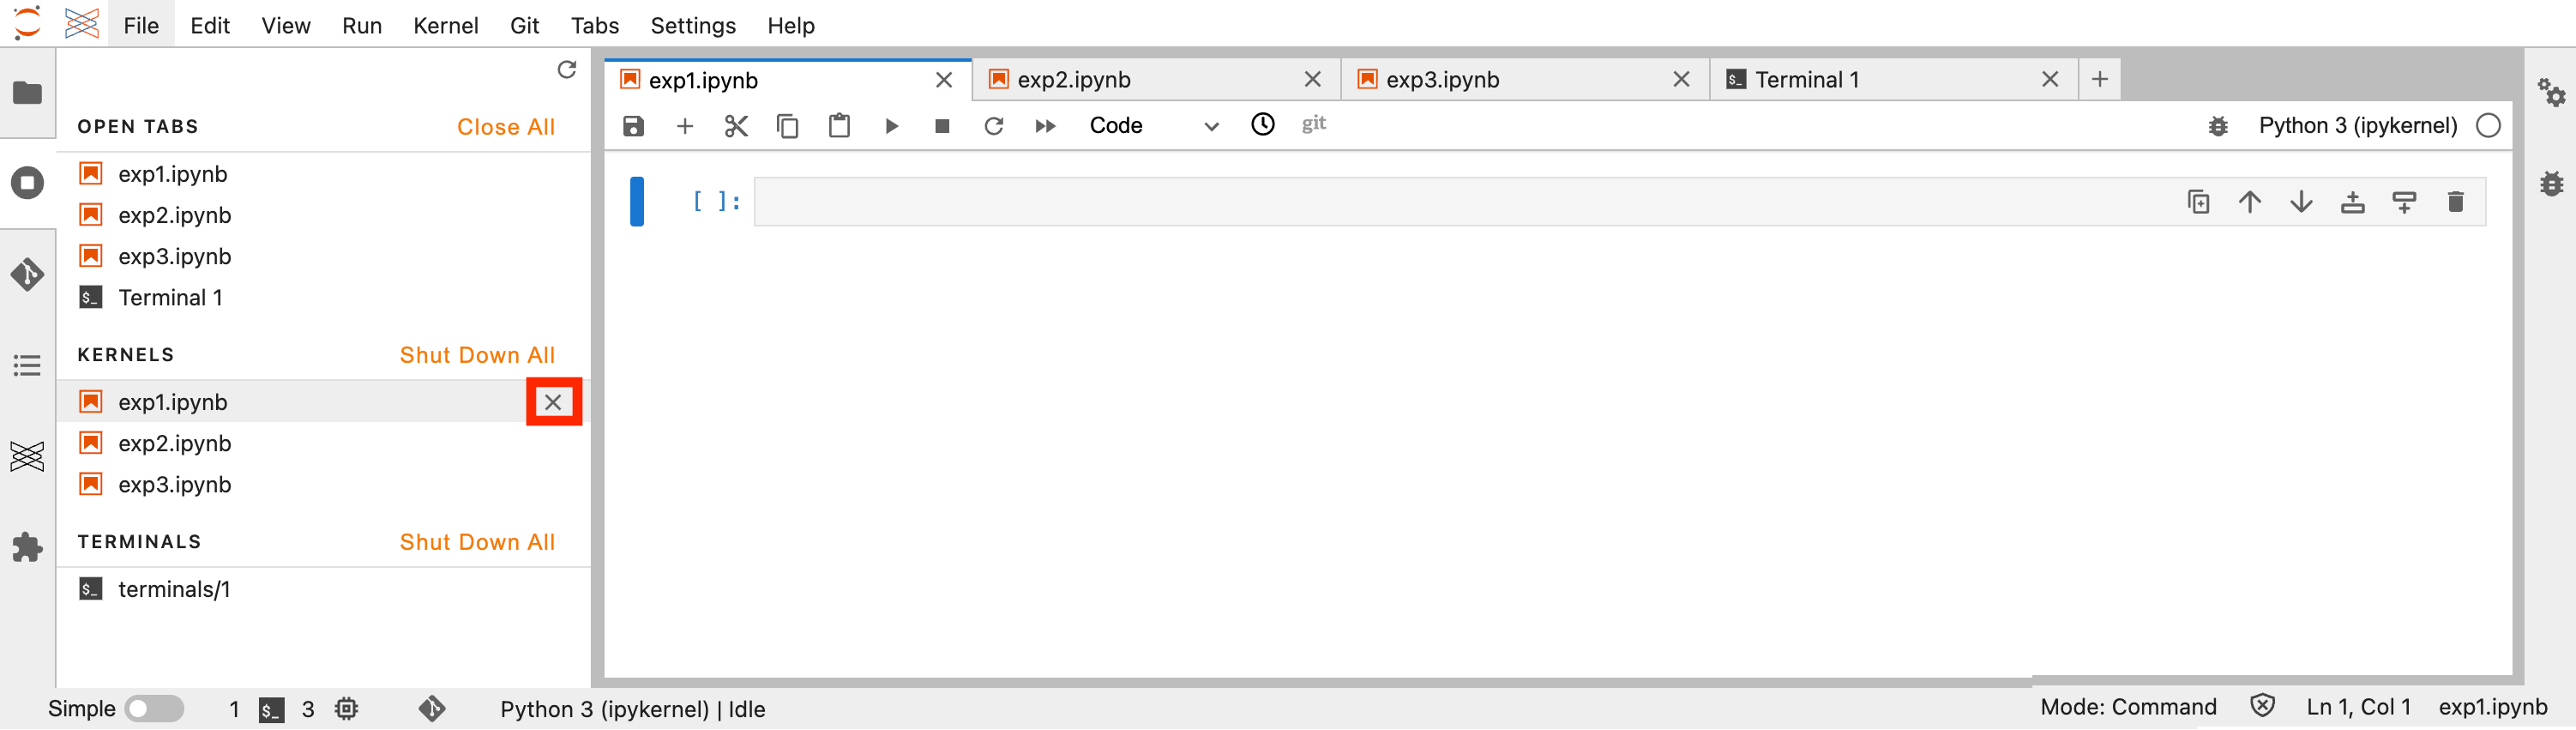
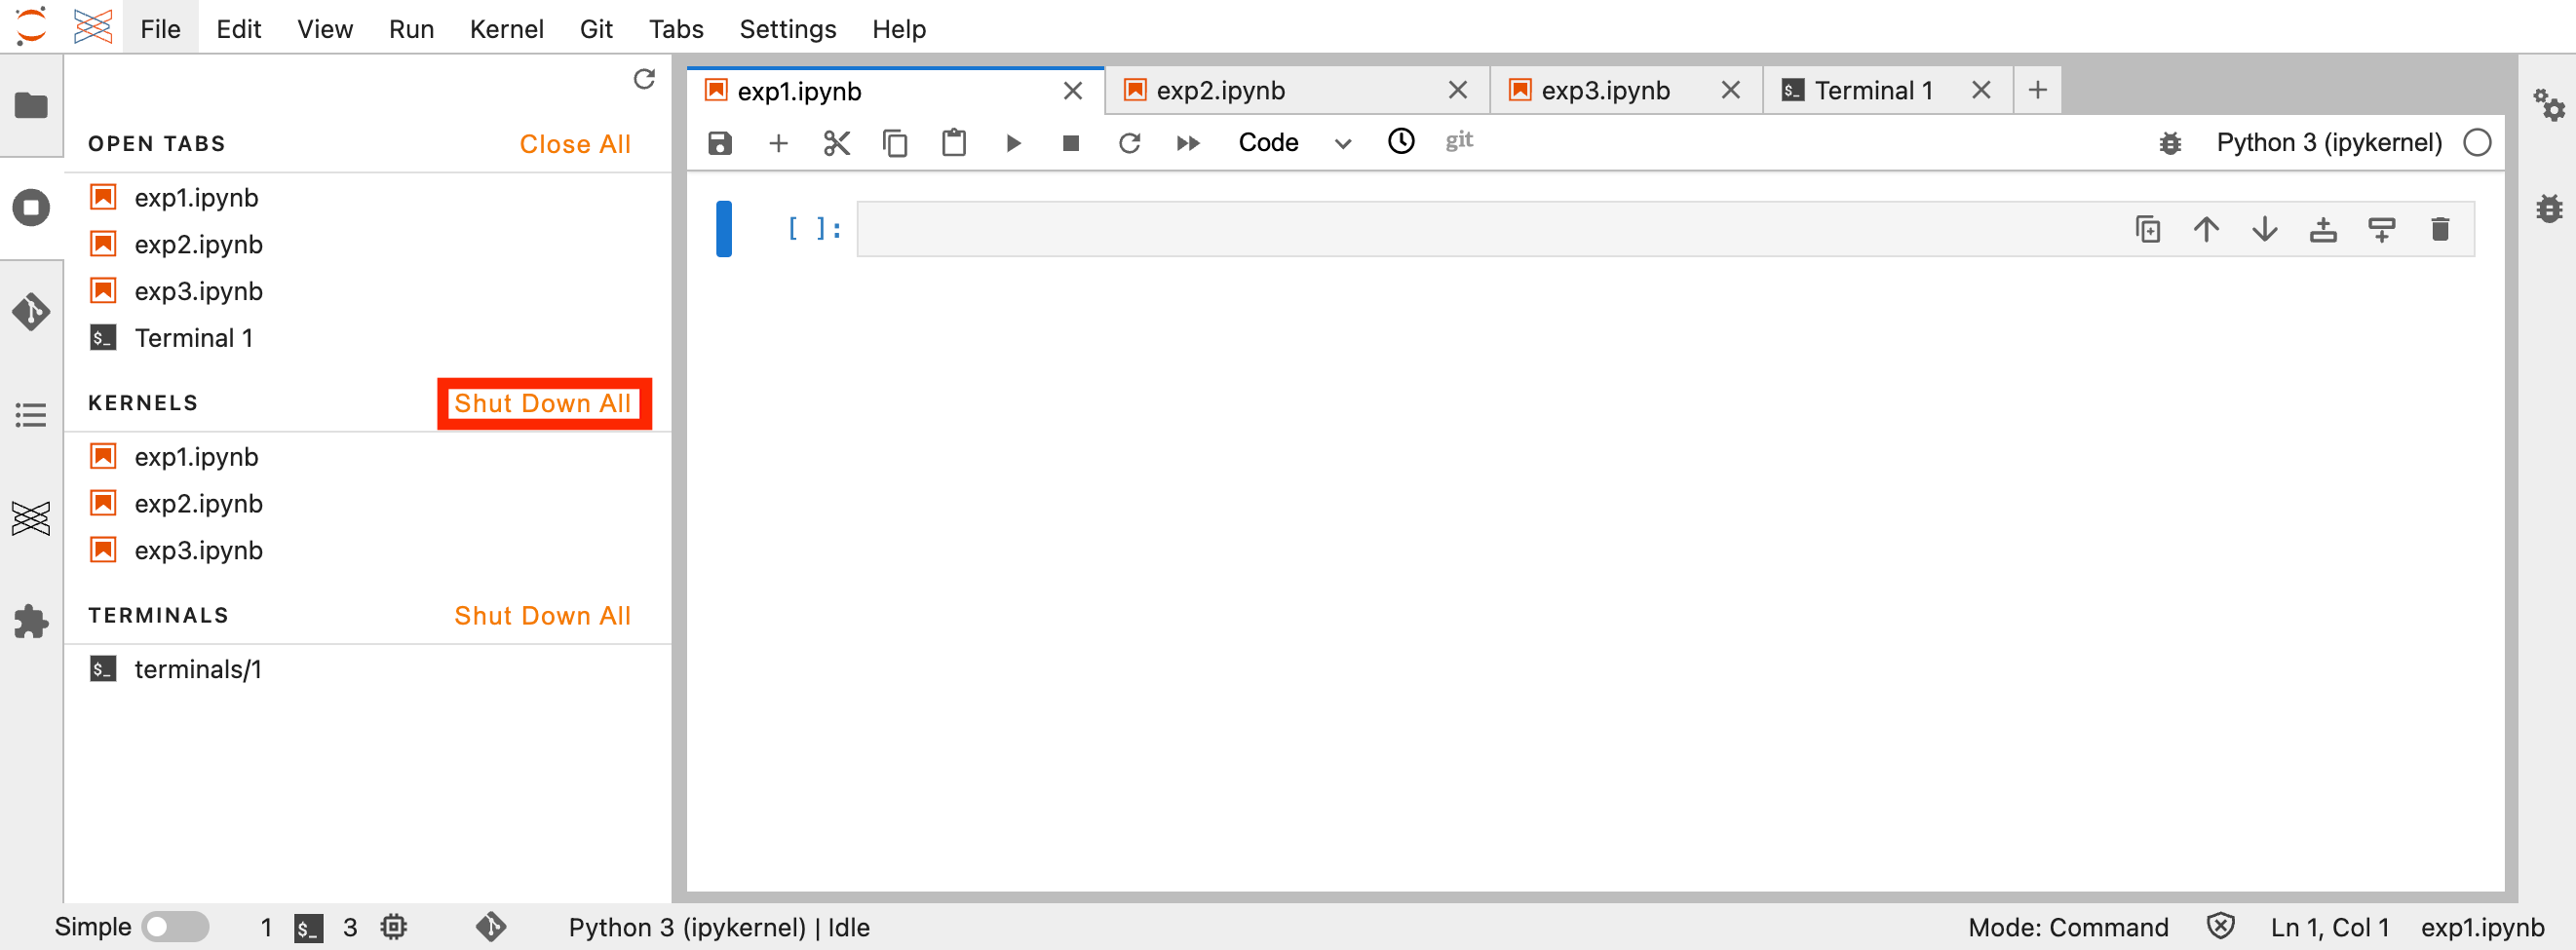
From the Running Terminals and Kernels panel, open tabs, running kernels, and running terminals can individually be closed/shut down by hovering to the right side of the tab for an item and clicking the X that appears. Entire sections can be closed by clicking the Close All or Shut Down All buttons.
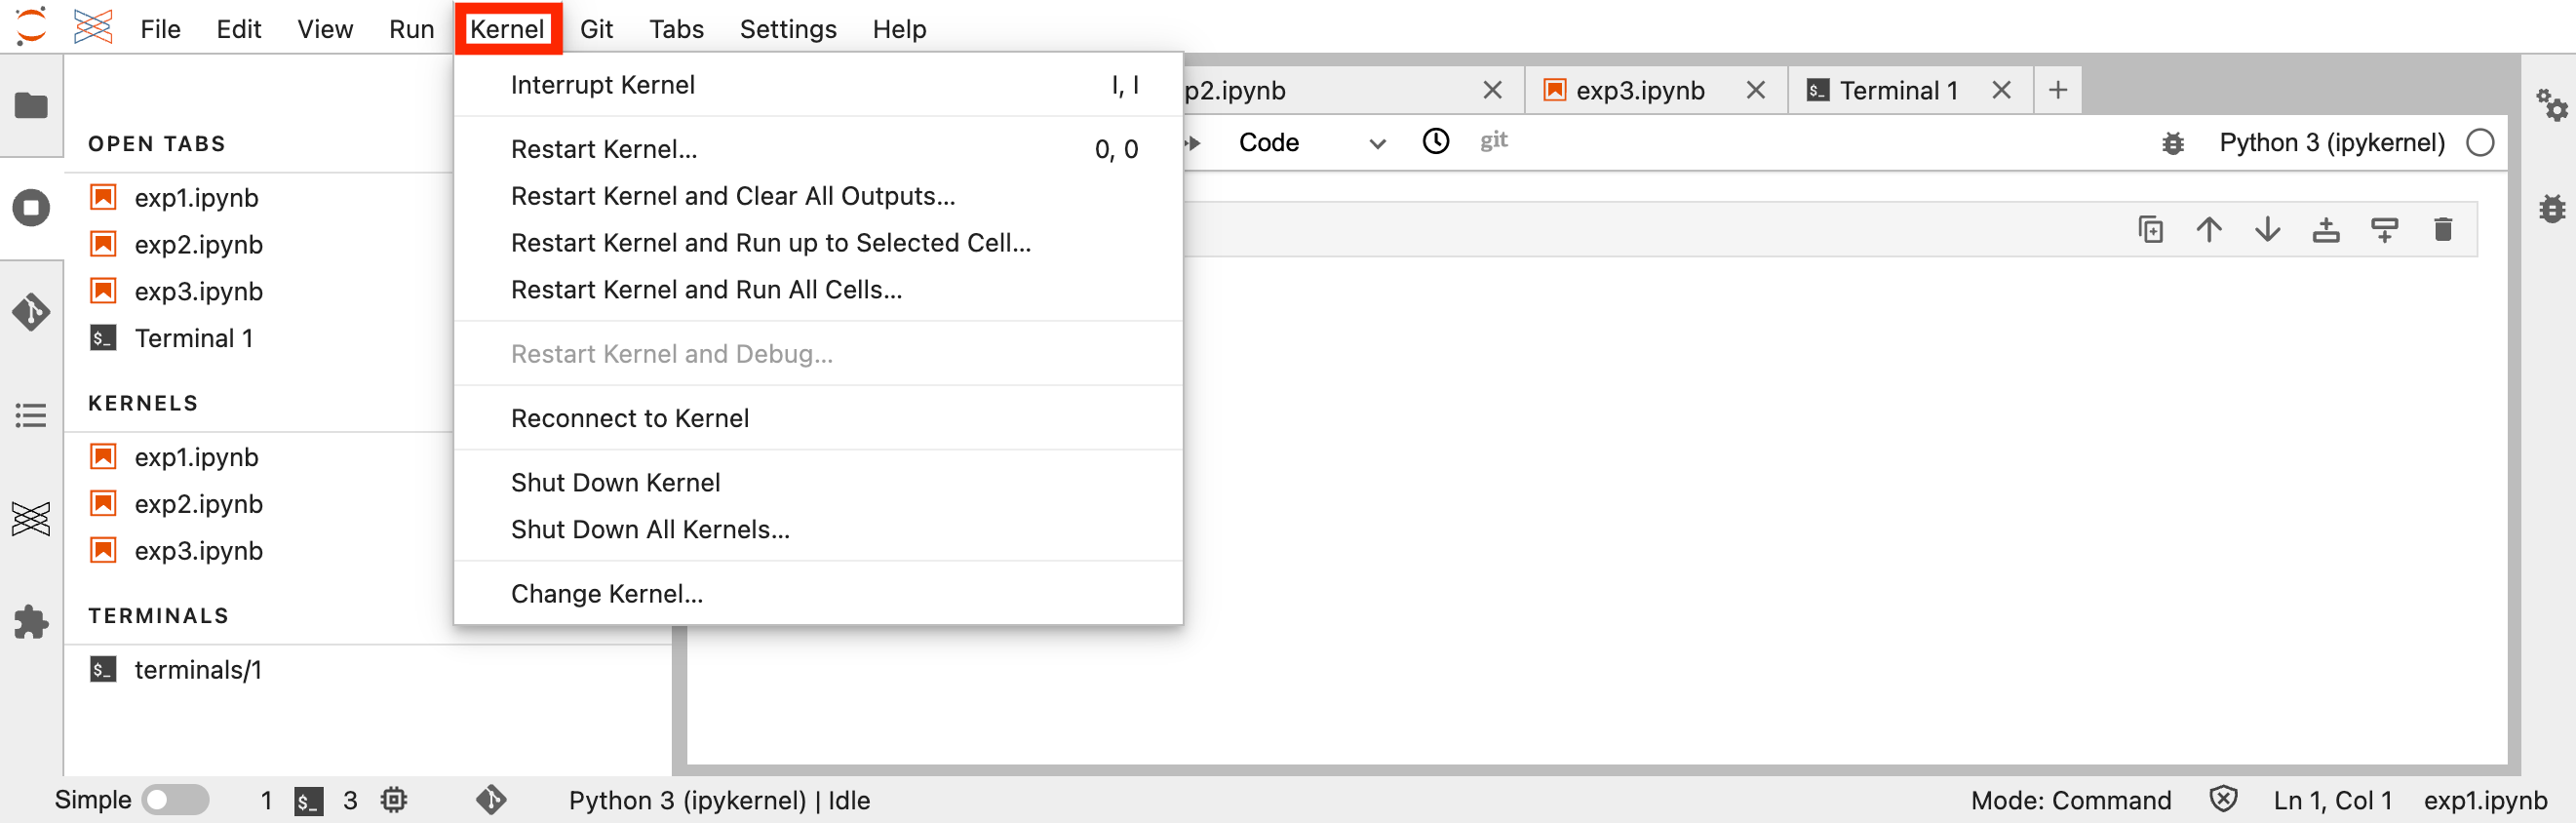
The Kernel menu bar button also offers a set of kernel management options. From here, you can restart, shut down, and change kernels. You must have a notebook backed by a running kernel open to use most of these commands.
User-Created kernels
Creating kernels
Virtual environments are an excellent way to create consistent, isolated, and reproducible environments. To use virtual environments with notebooks in JupyterLab, the environment must be registered first as a Jupyter kernel. To register a kernel run the following lines from the terminal:
Create and activate a virtual environment:
python -m venv .venv
. .venv/bin/activate
Install ipykernel in the virtual environment:
python -m pip install ipykernelRegister the virtual environment as a Jupyter kernel:
python -m ipykernel install --name {MACHINE_NAME} --display-name "{DISPLAY_NAME}" --user- {MACHINE_NAME} is a placeholder for the machine project name. This name can only contain ASCII letters and numbers and these separators: dash, underscore, and period.
- {PROJECT-NAME} is a placeholder for the human-readable project name. This name may contain spaces and is shown on the Launcher page.
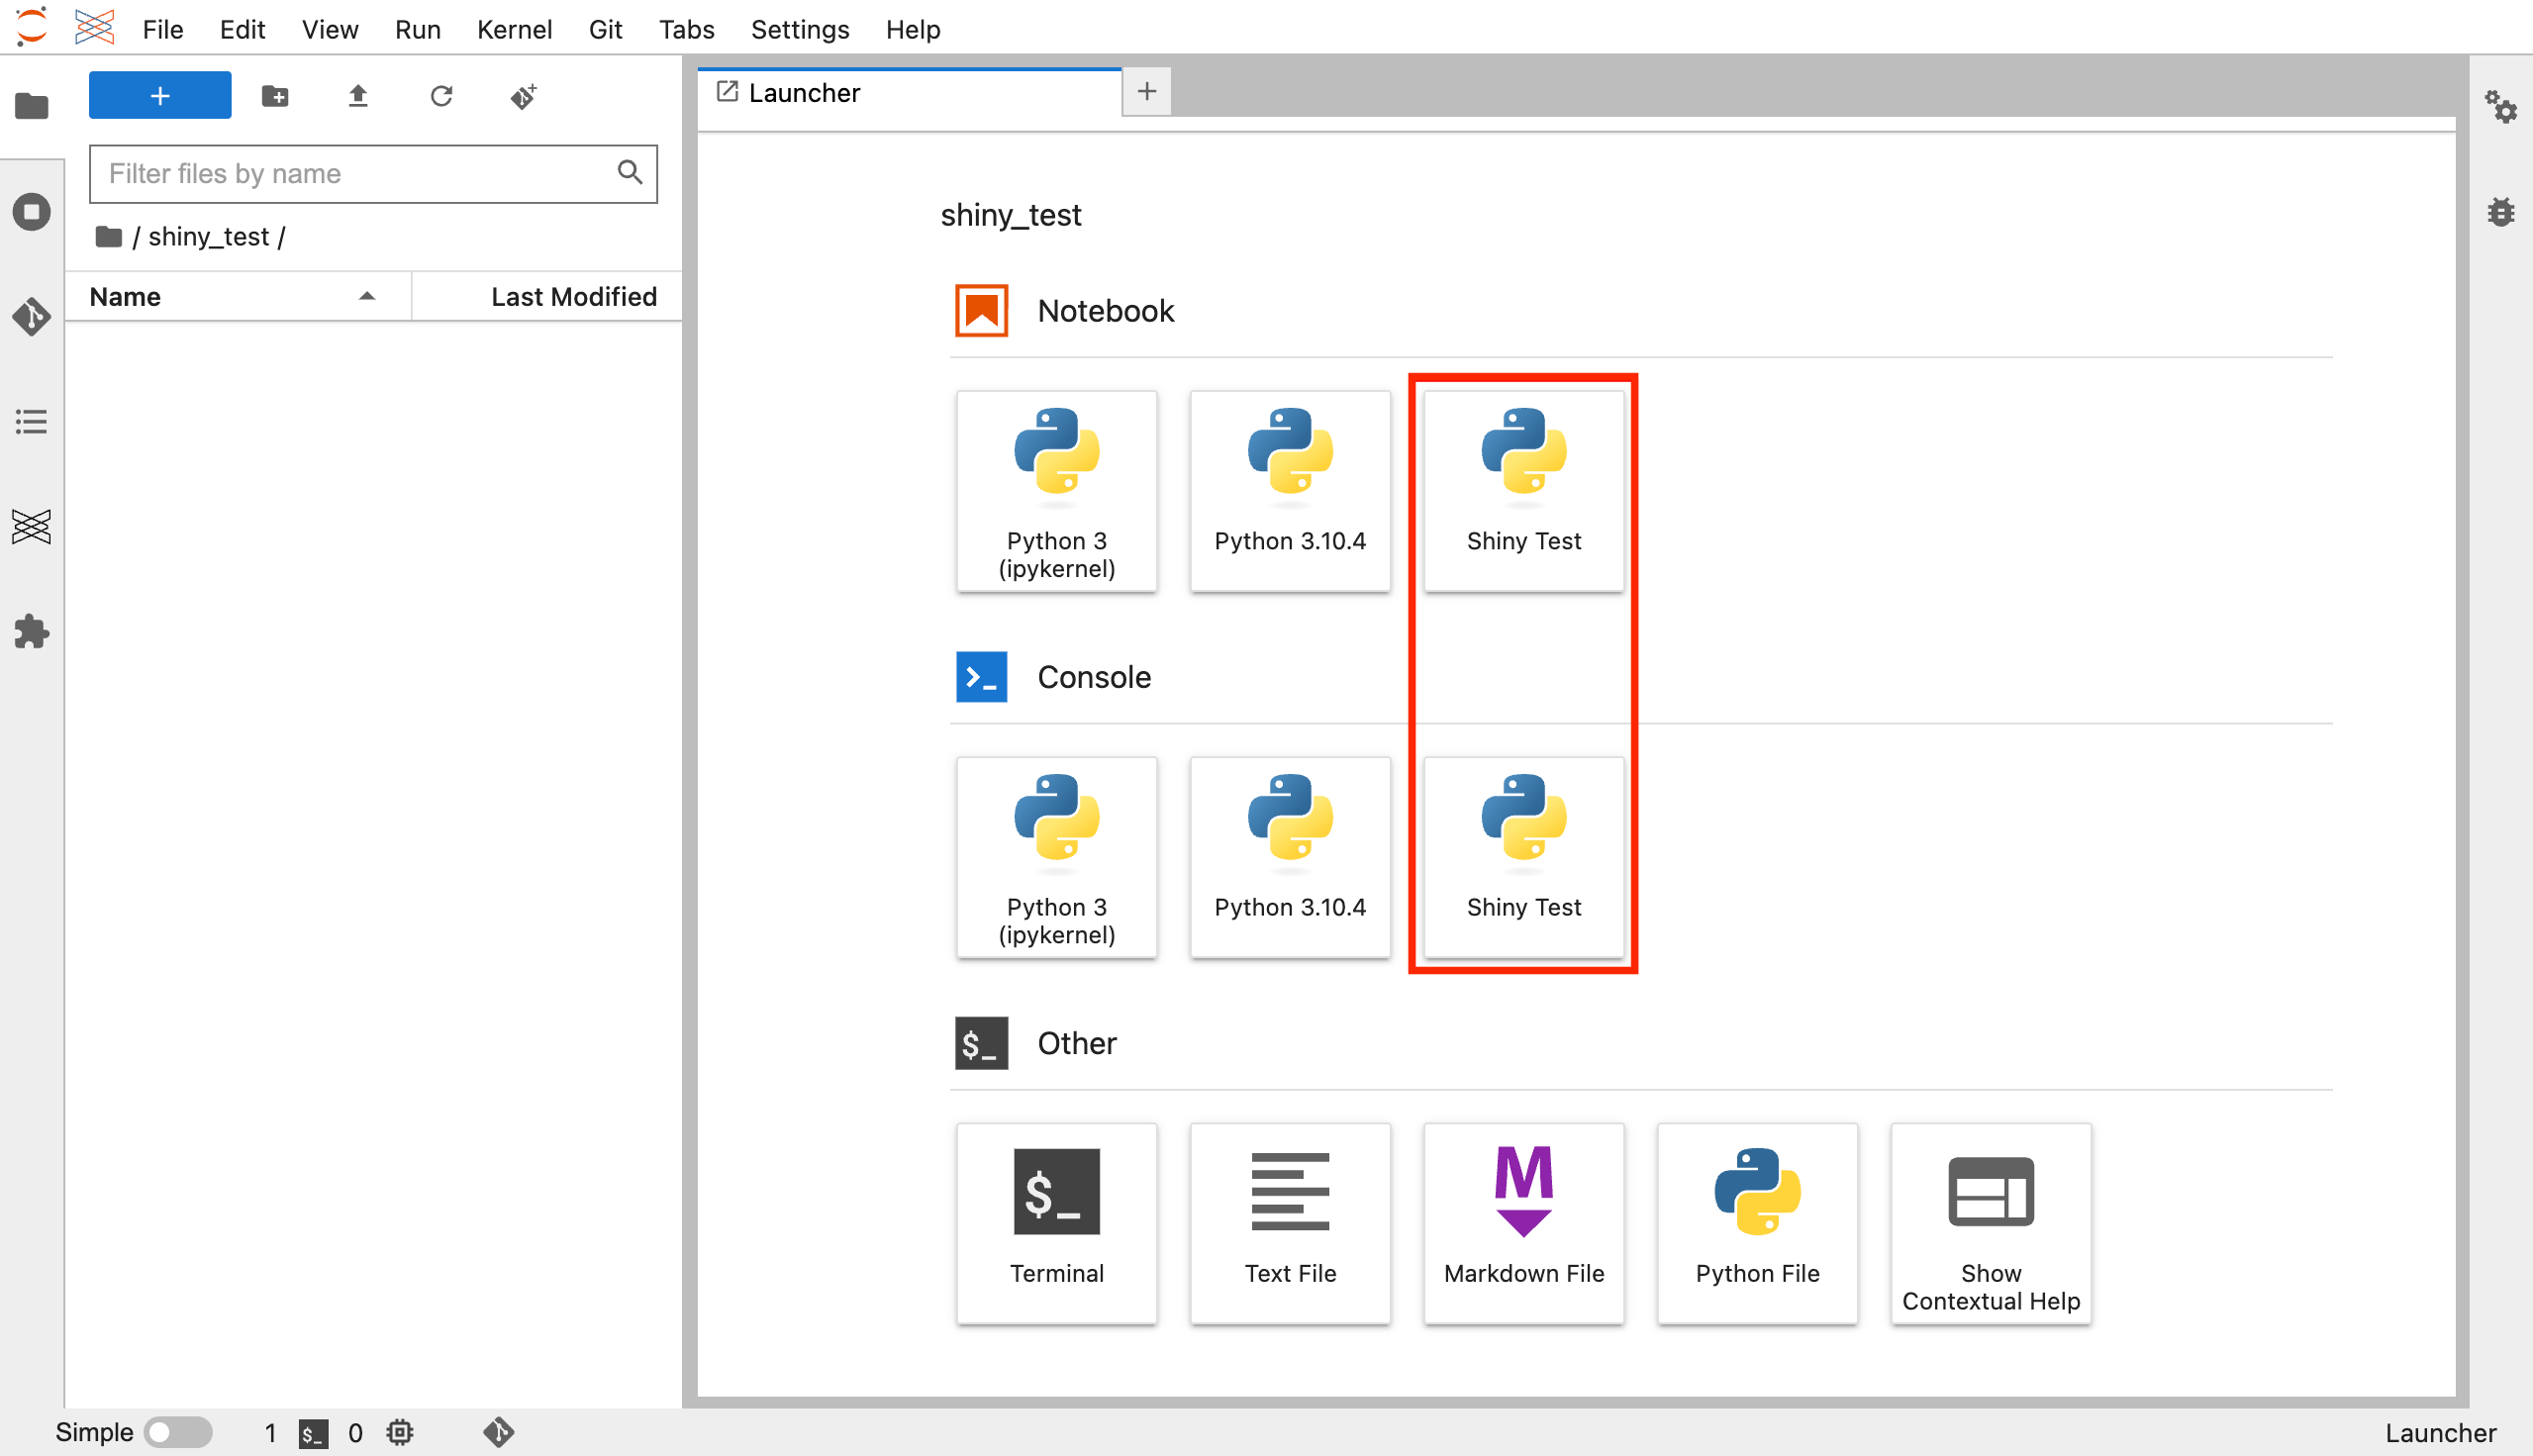
For example, a valid command to register a kernel as Shiny Test:
python -m ipykernel install --name shiny-test --display-name "Shiny Test" --userOnce registered, the kernel will be available on the Launcher page.
Removing kernels
Use the jupyter kernelspec list command from the terminal to view the currently installed kernels. Use this list to find the correct kernel name. Then use the following command to uninstall the kernel:
jupyter kernelspec uninstall {KERNEL_NAME}- {KERNEL_NAME} is the kernel’s name in the
jupyter kernelspec listcommand and the--nameargument in theipykernel installcommand used to create the kernel.