Workbench-managed Snowflake Credentials
Posit Workbench has a native integration for Snowflake that includes support for managed Snowflake OAuth credentials. See The Snowflake AI Data Cloud - Mobilize Data, Apps, and AI for more information.
Workbench-managed Snowflake credentials allow you to sign in with a Snowflake role and account from the home page granting you access to data warehouses and compute resources using your existing Snowflake identity. Managed credentials eliminate the burden (and risk) of manually entering your Snowflake credentials when connecting to Snowflake.
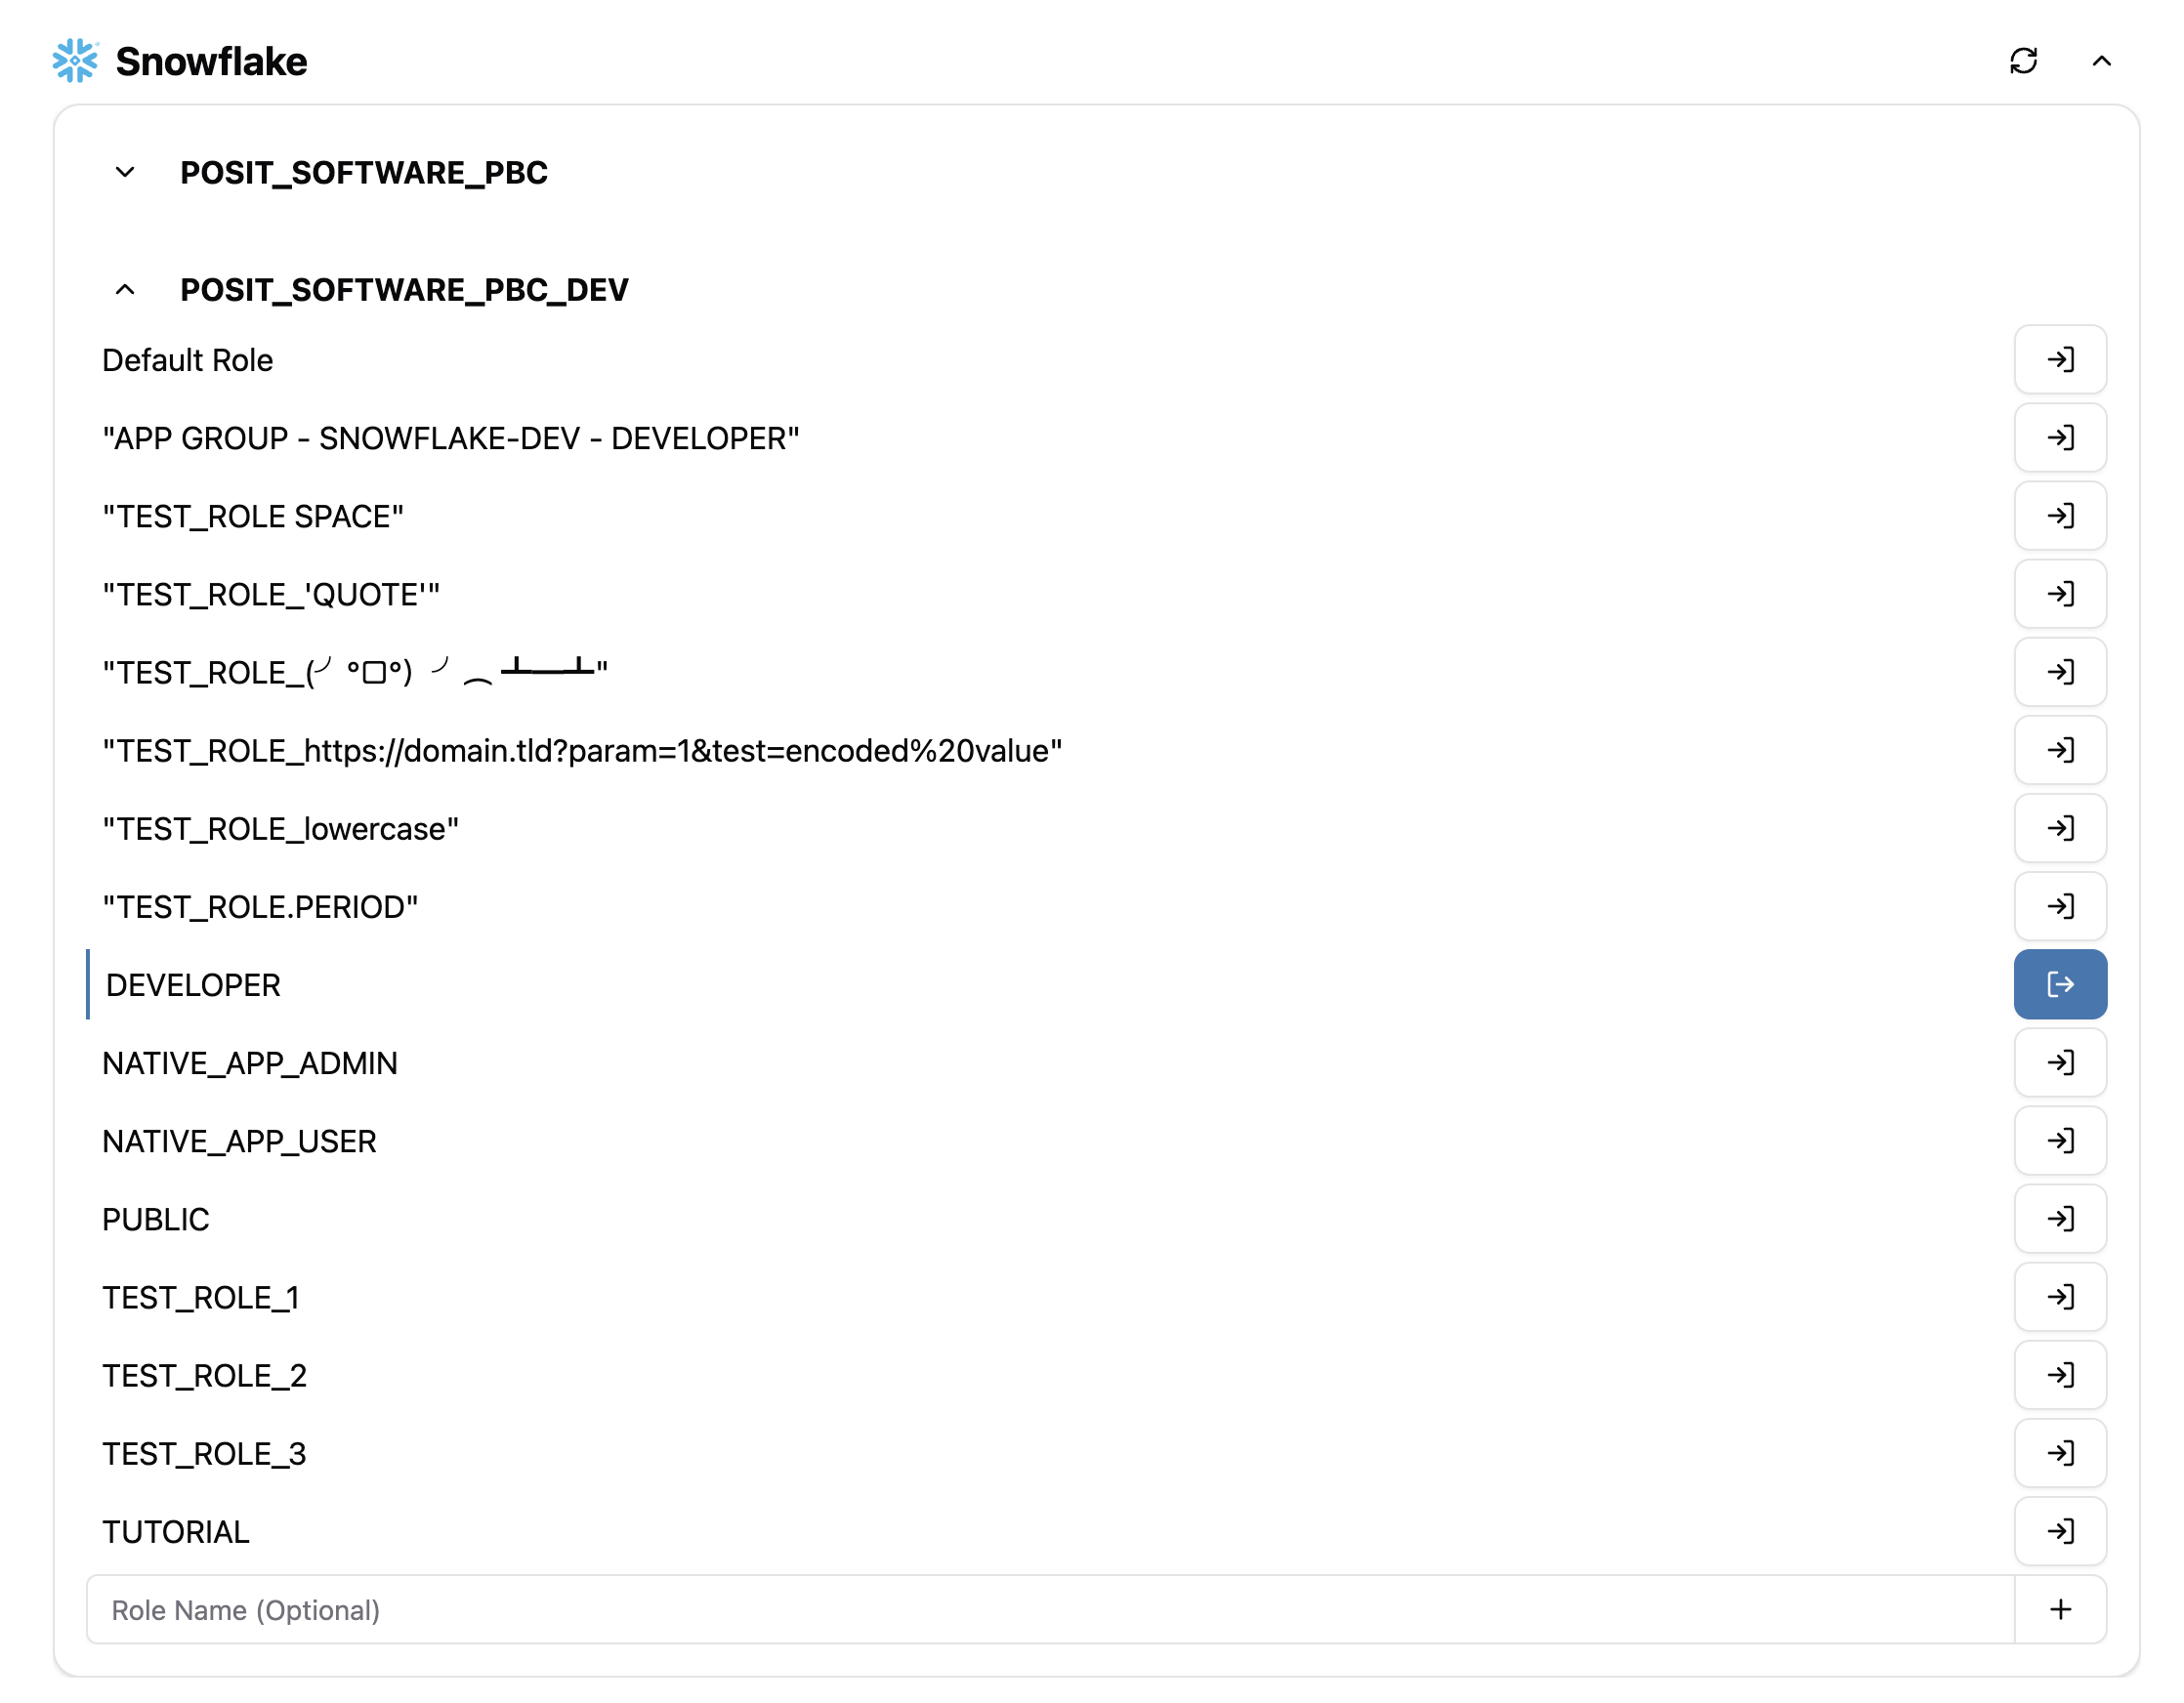
From the Workbench home page, you can sign in with a Snowflake role and account using Workbench-managed Snowflake credentials, which grant you immediate access to data warehouses and compute resources.
Workbench-managed Snowflake credentials automatically refresh while your session is active.
Starting a Session with Workbench-managed Snowflake credentials
Enabling Snowflake credentials for use in new sessions is covered in the Starting a Session with Workbench-managed credentials section. If the Snowflake selection is not available, then your administrator has not configured the integration.
Signing into Snowflake roles and accounts
The Snowflake integration provides a additional controls for interacting with roles.
Workbench can automatically detect roles associated with your Snowflake account. To populate these roles in Workbench, sign in to your Snowflake account using the Default Role.
To sign in using the Default Role:
- In the Snowflake provider section, under the desired account, click on Default Role or click the Sign In button next to it.

This begins the authentication flow. Once that account is signed in, the Default Role under that account resolves and displays in the list. There may be quite a few roles, so collapse sections and accounts as desired.
If you are unable to sign in using the Default Role, you need to manually enter a role name using Add Role for your initial sign in. See the Manually specifying roles section for additional information.
Manually refreshing roles
If configured by your administrator, the refreshing roles functionality should available. This enables and displays a refresh control on the left side of the role drop-down. Clicking it requests all roles from each signed-in account.
Additionally, if this feature is enabled, all roles under the account are automatically discovered and added to the list as soon as you sign in with that account.
Manually specifying roles
When automatic role discovery is disabled by the administrator, you can still manually add an existing role from the target Snowflake account.
To manually add an existing role:
- Optionally, fill out the role name in the Add Role field under the desired account.
- Specifying a role name is optional – an empty role here performs the same action as signing in with the default role.
- Click Add Role to proceed with the sign-in flow.

If a role was specified, then a temporary role is added to the list of credentials, but it remains disabled until sign-in is complete. It is removed if the sign-in fails or you cancel the sign-in flow.
Just like the sign-in process, the add-role process can be canceled with the X button after the sign-in flow is initiated.
Snowflake CLI
The Snowflake CLI wraps Snowflake SQL and provides configuration management and data access tools.
# List connections
snow connection list
# Test the default connection
snow connection testFor more information, see the Snowflake CLI reference. Configuring Snowflake connections and credentials is unnecessary when using the CLI with managed Snowflake credentials inside Workbench.
Snowflake with R
Workbench-managed Snowflake credentials have been validated to work with odbc. odbc version 1.5.0 or higher provides odbc::snowflake(), which automatically handle many common authentication scenarios. Pair odbc with DBI if you want to write your own SQL:
library(DBI)
library(odbc)

conn <- DBI::dbConnect(odbc::snowflake())
DBI::dbGetQuery(conn, "SELECT CURRENT_USER()")
Or, to connect to a specific warehouse, database, and schema:
DBI::dbConnect(
  odbc::snowflake(),
  warehouse = "DEFAULT_WH",
  database = "WEB_TRAFFIC_FOUNDATION_EXPERIMENTAL",
  schema = "CYBERSYN"
)
Snowflake with Python
Workbench-managed Snowflake credentials work with the Snowflake connector library provided by Snowflake.
pip install snowflake-connector-pythontest_connection.py
import snowflake.connector

with snowflake.connector.connect() as conn:
    with conn.cursor() as cur:
        print(cur.execute("SELECT 'successfully connected to ' || current_account() || ' WITH user ' || current_user();").fetchall())
python3 test_connection.pySee the Snowflake Connector for Python section of Snowflake’s documentation for more information. No additional configuration is necessary when implementing the connector in code.


