Managed Credentials Overview
Posit Workbench includes several integrations that enable you to use credentials associated with various cloud and compute provider services. Workbench manages these credentials, so you don’t have to store them in plain text in your code or configuration files, or manually define environment variables.
Workbench supports credentials for popular cloud providers, data platforms, and custom OAuth integrations, with support in specific session types outlined below:
| Provider | RStudio Pro | Positron Pro | VS Code | JupyterLab |
|---|---|---|---|---|
| AWS | ✅ | ✅ | ✅ | ❌ |
| Azure | ✅ | ❌ | ❌ | ❌ |
| Databricks | ✅ | ✅ | ✅ | ❌ |
| Snowflake | ✅ | ✅ | ✅ | ❌ |
| Custom OAuth | ✅ | ✅ | ✅ | ❌ |
Types of managed credentials
Workbench provides three types of credential integrations, each with different characteristics:
Advanced integrations (AWS, Databricks, and Snowflake) provide deep integration with specific platforms. When you select an advanced integration in the New Session dialog, Workbench automatically configures environment variables, configuration files, and authentication settings. Platform SDKs, CLIs, and drivers work without any additional code.
Azure credentials use Microsoft Entra ID delegated permissions. When you configure Workbench to use Entra ID for Single Sign-On, it can grant delegated permissions for Azure resources. Unlike advanced integrations, Azure credentials require programmatic access through the posit-sdk (Python) or rstudioapi (R) packages to retrieve access tokens.
Custom OAuth integrations provide flexibility to connect to any OAuth 2.0 service. These credentials are automatically available in all your sessions without selection in the New Session dialog. Like Azure, they require programmatic access through the posit-sdk (Python) or rstudioapi (R) packages to retrieve access tokens.
| Type | Supported Services | How to enable in session | How to retrieve token |
|---|---|---|---|
| Advanced Integrations | AWS, Databricks, Snowflake | Select in New Session dialog | Platform SDKs and CLIs work automatically |
| Azure Credentials | Azure services via Entra ID | Automatically available | Use posit-sdk or rstudioapi to retrieve tokens |
| Custom OAuth | Any OAuth 2.0 service | Automatically available | Use posit-sdk or rstudioapi to retrieve tokens |
Common benefits across all types:
- Administrators do not need to grant blanket access to an overloaded instance profile (or an equivalent) for all Workbench users to access cloud-based resources.
- Users do not need to manage sensitive, long-lived credentials themselves to maintain individually-scoped permissions.
- Administrators can grant or revoke granular access for individuals directly at the provider level, rather than through an out-of-band configuration mechanism.
Providers
Advanced integrations
AWS
Workbench can provide user-specific AWS credentials for sessions tied to their Single Sign-On (SSO) credentials. Workbench uses the AWS web identity federation mechanism to set these credentials in individual sessions. This mechanism also powers AWS integrations like IAM Roles for Service Accounts (the recommended IAM solution for Kubernetes) and GitHub Actions.
For more information about enabling this feature, see the AWS credentials section of the Posit Workbench Administration Guide.
Databricks
Workbench supports integration with Databricks unified authentication, including authentication and authorization with Databricks via OAuth2 on AWS or Azure.
For more information, see the Workbench-managed Databricks Credentials section of this User Guide. To learn about the Databricks pane and Connections pane integration for RStudio Pro, see the Databricks in RStudio Pro section.
Snowflake
Snowflake roles are supported when you configure Snowflake accounts within Workbench and authenticate via OAuth2. The Snowflake integration in Workbench offers additional controls in the Managed Credentials settings, which is discussed in the Workbench-managed Snowflake Credentials section.
Azure credentials
When you configure Workbench to use Microsoft Entra ID for Single Sign-On (SSO), it can grant uses delegated permissions for additional Azure resources without requiring them to sign in again. See Microsoft Entra ID (formerly Azure Active Directory) and the Understanding delegated access sections of Microsoft’s website for more information on delegating credentials with Entra ID.
These delegated credentials eliminate the need for end users to manage complex authentication workflows when they access Azure services from within Workbench.
While users commonly receive delegated permissions to access Azure services (such as object storage or cloud-backed databases), the same mechanism can also grant access to any third-party application within the same Entra ID tenant.
For more information about enabling this feature, see the Azure credentials section of the Posit Workbench Administrator Guide.
Custom OAuth integrations
Workbench supports custom OAuth 2.0 integrations to securely access any OAuth-compliant service from your sessions. These integrations extend managed credentials beyond the built-in providers to include third-party APIs and services configured by your administrator.
Custom OAuth integrations provide the same benefits as other managed credentials: automatic token management, secure credential storage, and seamless session integration without manual configuration.
For more information about using custom OAuth integrations, including UI usage, programmatic access, and API documentation, see the Custom OAuth Integrations guide.
Starting a session with Workbench-managed credentials
Credential selection
If your administrator has configured and enabled one or more cloud provider integrations, a new section displays in the New Session dialog. This allows you to select multiple credentials (one per provider) to use for the new session. More controls are available in the Managed Credentials settings. See the Managed Credentials settings section below for more information.
By default, Workbench automatically selects any cloud provider with a valid credential for use in the new session. Identify credentials in use by the corresponding button, which displays blue with a check mark in the upper-left corner.
To toggle a credential on or off, select the check mark. For providers that require authentication, the logo is either grayed out or colored to indicate the authentication status. An empty circle in the corner with no check mark means that you can enable the credential.
If a lock is displayed (as shown in the image above), then that credential is not authenticated yet. You can click the lock to sign in and begin the authentication flow. Any pending credentials show a spinning indicator while authentication is in progress.
Cancel a pending sign-in by opening the Managed Credentials Settings page and clicking X for the provider.
You can enable one credential from each provider at once, provided that they are all authenticated and valid.
For providers that allow multiple credentials, click the drop-down arrow on the right side of the selection button. If you select a credential from the list that hasn’t been authenticated, Workbench automatically toggles off the cloud provider to prevent use of an invalid selection.
Managed Credentials settings
The Managed Credentials settings provide additional authentication and provider-specific controls not found in the New Session dialog. Locate the the Managed Credentials settings on the Settings page by clicking the dropdown in the top-right corner. You can also click the Edit Credentials button on the New Session dialog.
Expand or collapse sections
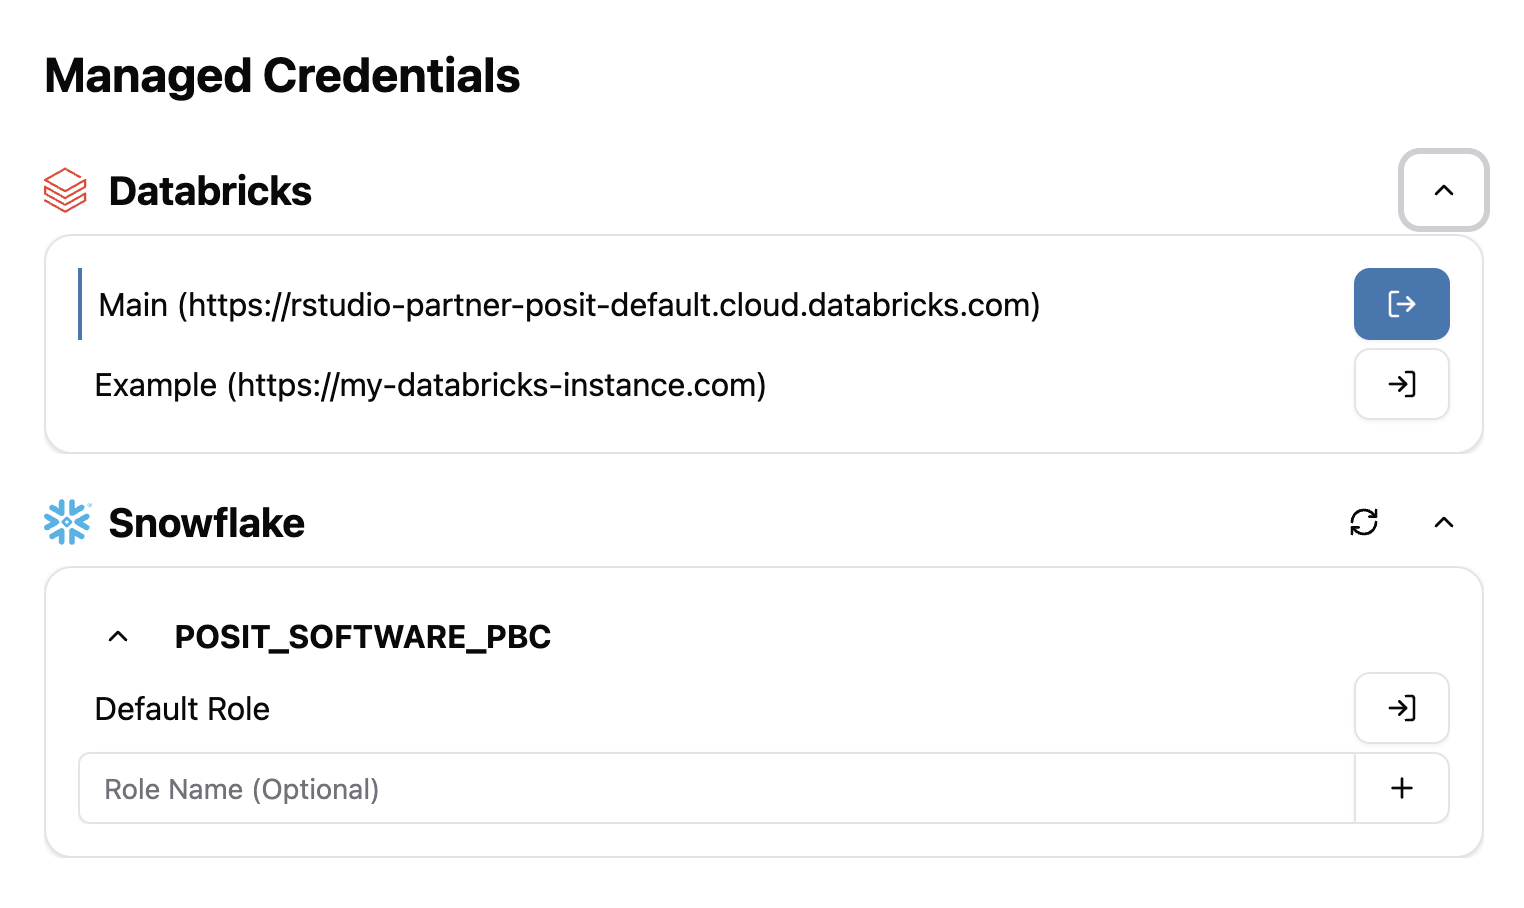
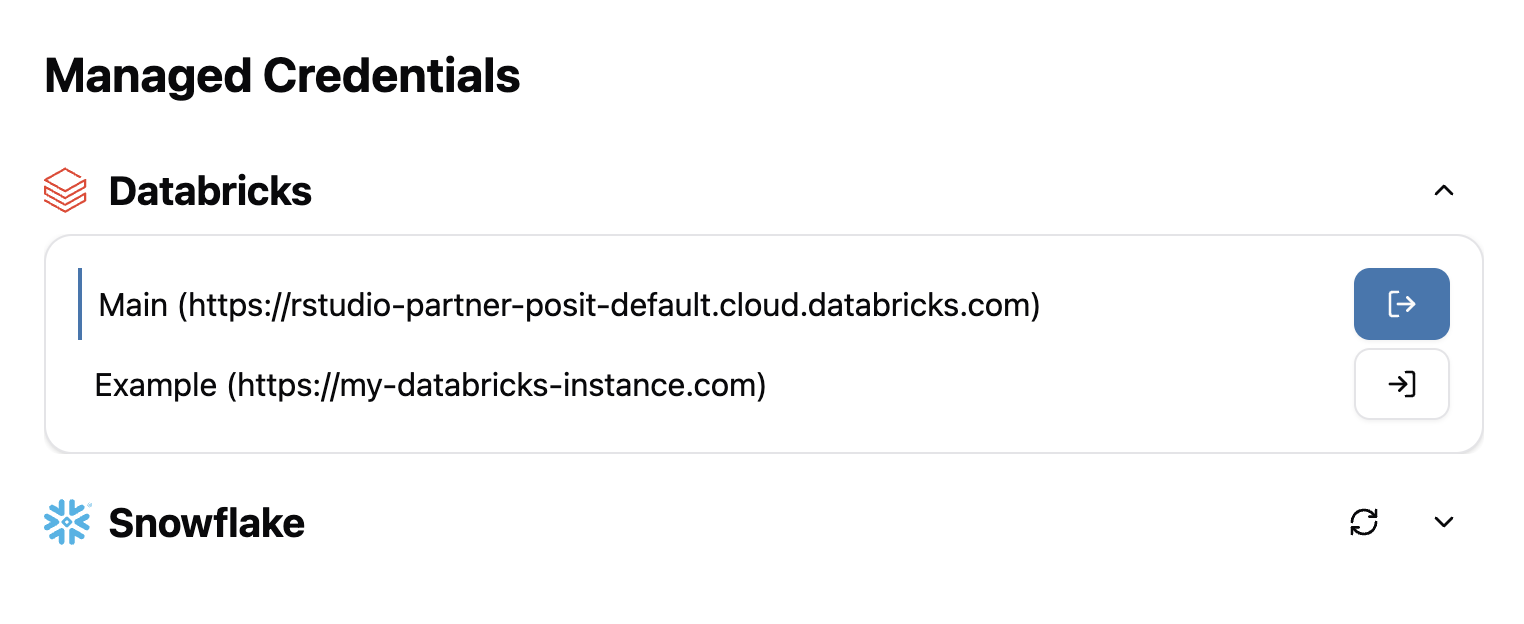
To save space and reduce clutter, each provider can be collapsed. In the case of Snowflake, individual accounts can also be collapsed. Use the arrow in the top right corner of the section to toggle the display. By default, all sections are expanded. This state is stored locally to the browser.
Signing in
- Click anywhere on the credential or hover the icon and click Sign In to the right. This starts the authentication flow.
Cancel the sign-in process
- To cancel the sign-in process, to the right of the provider, click X.
If an error occurs during authentication, a message displays to the user and a Retry button is available to reattempt the sign in.
Signed-in credentials
Signed-in credentials are displayed with a blue bar on the left and a blue sign-out button to the right to visually distinguish them from credentials that are not signed in.
Signing out
- Click anywhere on the credential or click Sign Out to the right. This signs you out, and allows you to reauthenticate.
Viewing integration details
View detailed information about any integration by clicking the information icon (ⓘ) next to the integration name. The details shown vary by integration type, but typically include:
- Integration identifiers and configuration details
- Authentication status
- Permissions and scopes (for OAuth integrations)
For custom OAuth integrations specifically, the details dialog shows the Integration ID (GUID) needed for programmatic access via R or Python SDKs, along with OAuth endpoints and configured scopes. Use the copy button to easily copy the Integration ID to your clipboard.


