Set up Workbench
Get started
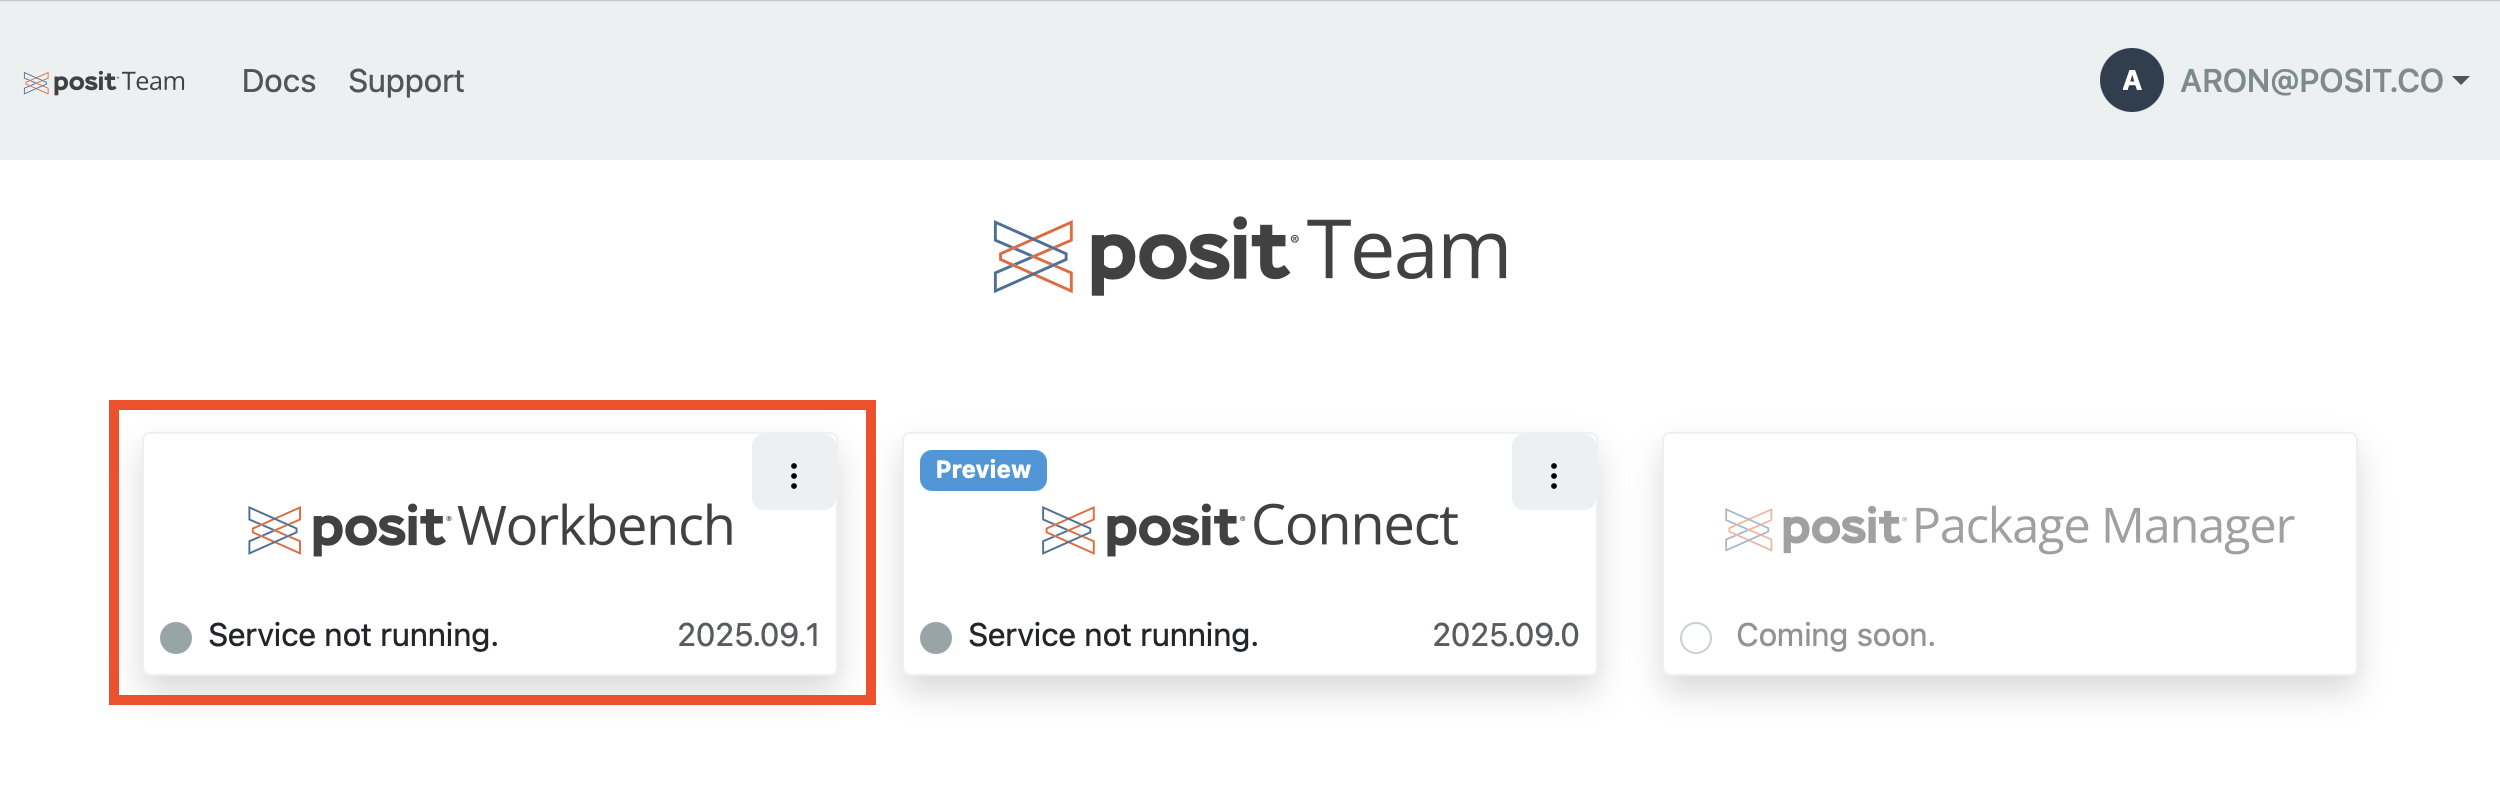
If Posit Workbench is not already configured from the landing page and running, select the Workbench logo.
Workbench setup requires application roles POSIT_TEAM_ADMIN or POSIT_WORKBENCH_ADMIN. See top right corner to see your permissions. If you originally installed the Native App, you automatically receive all of its application roles.
Configuration
License
Workbench requires an Advanced license file. If you have a license file, upload it via the file input to validate it. If you do not have a license file, please contact Posit sales.
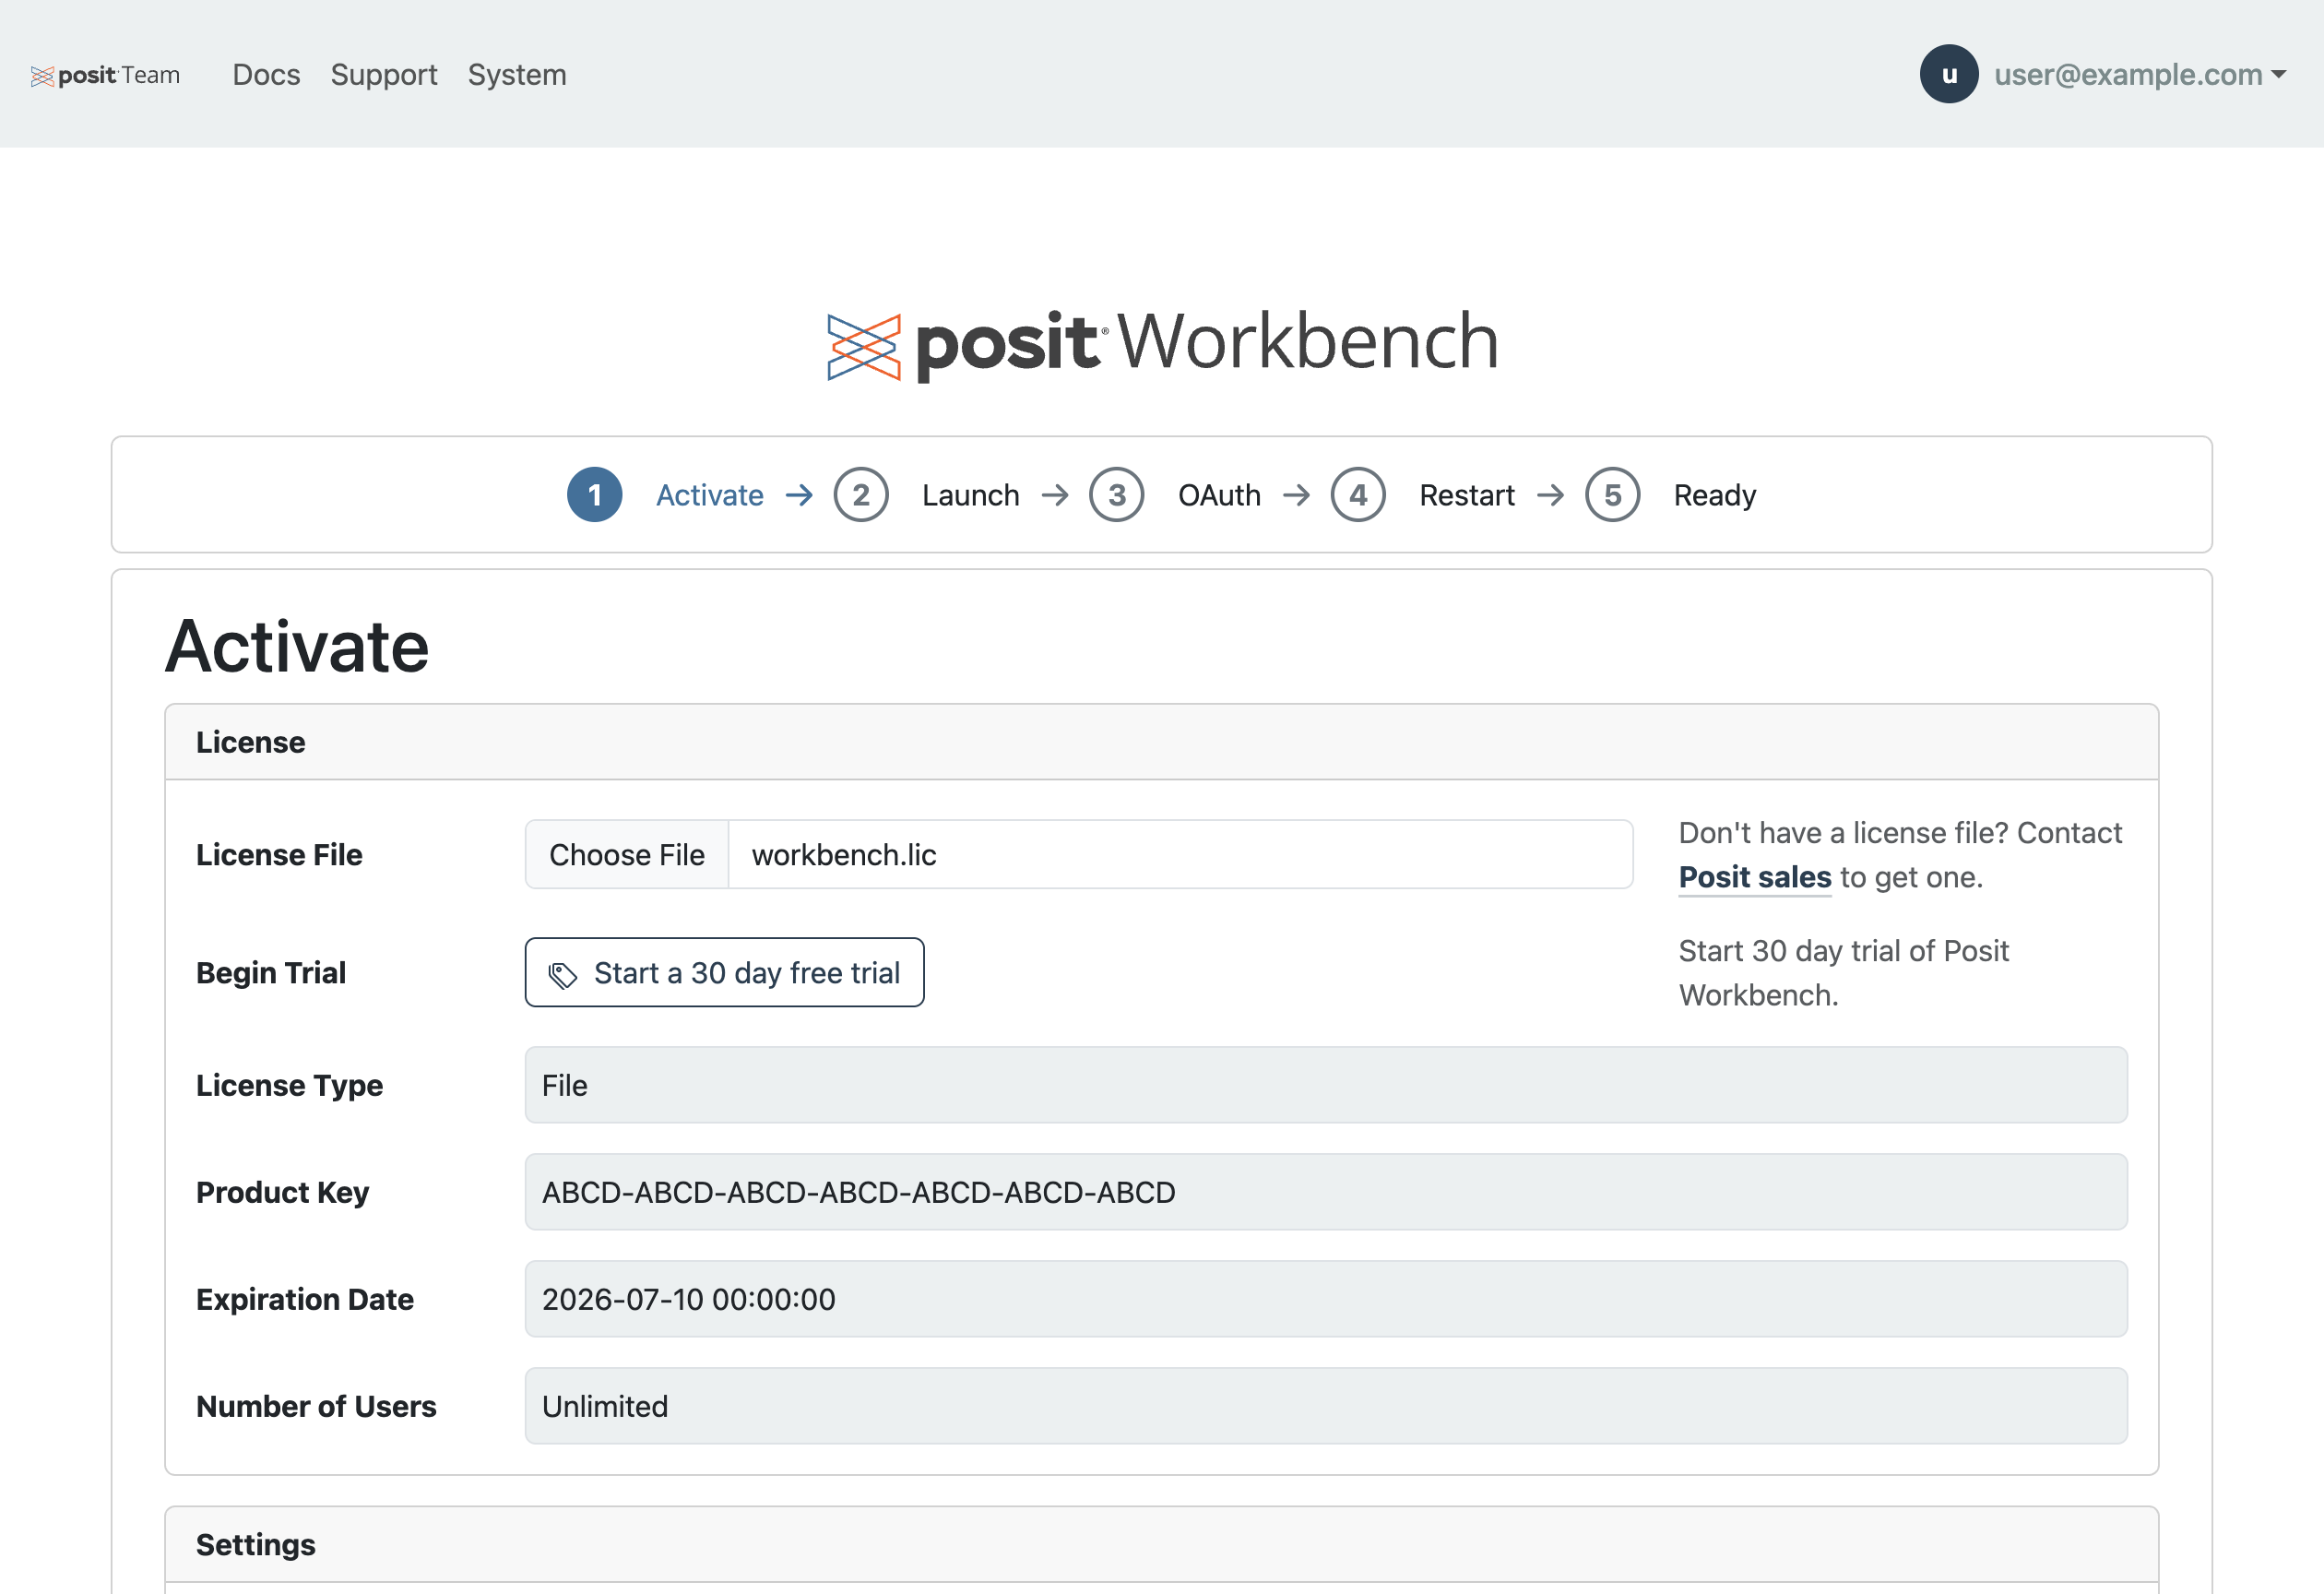
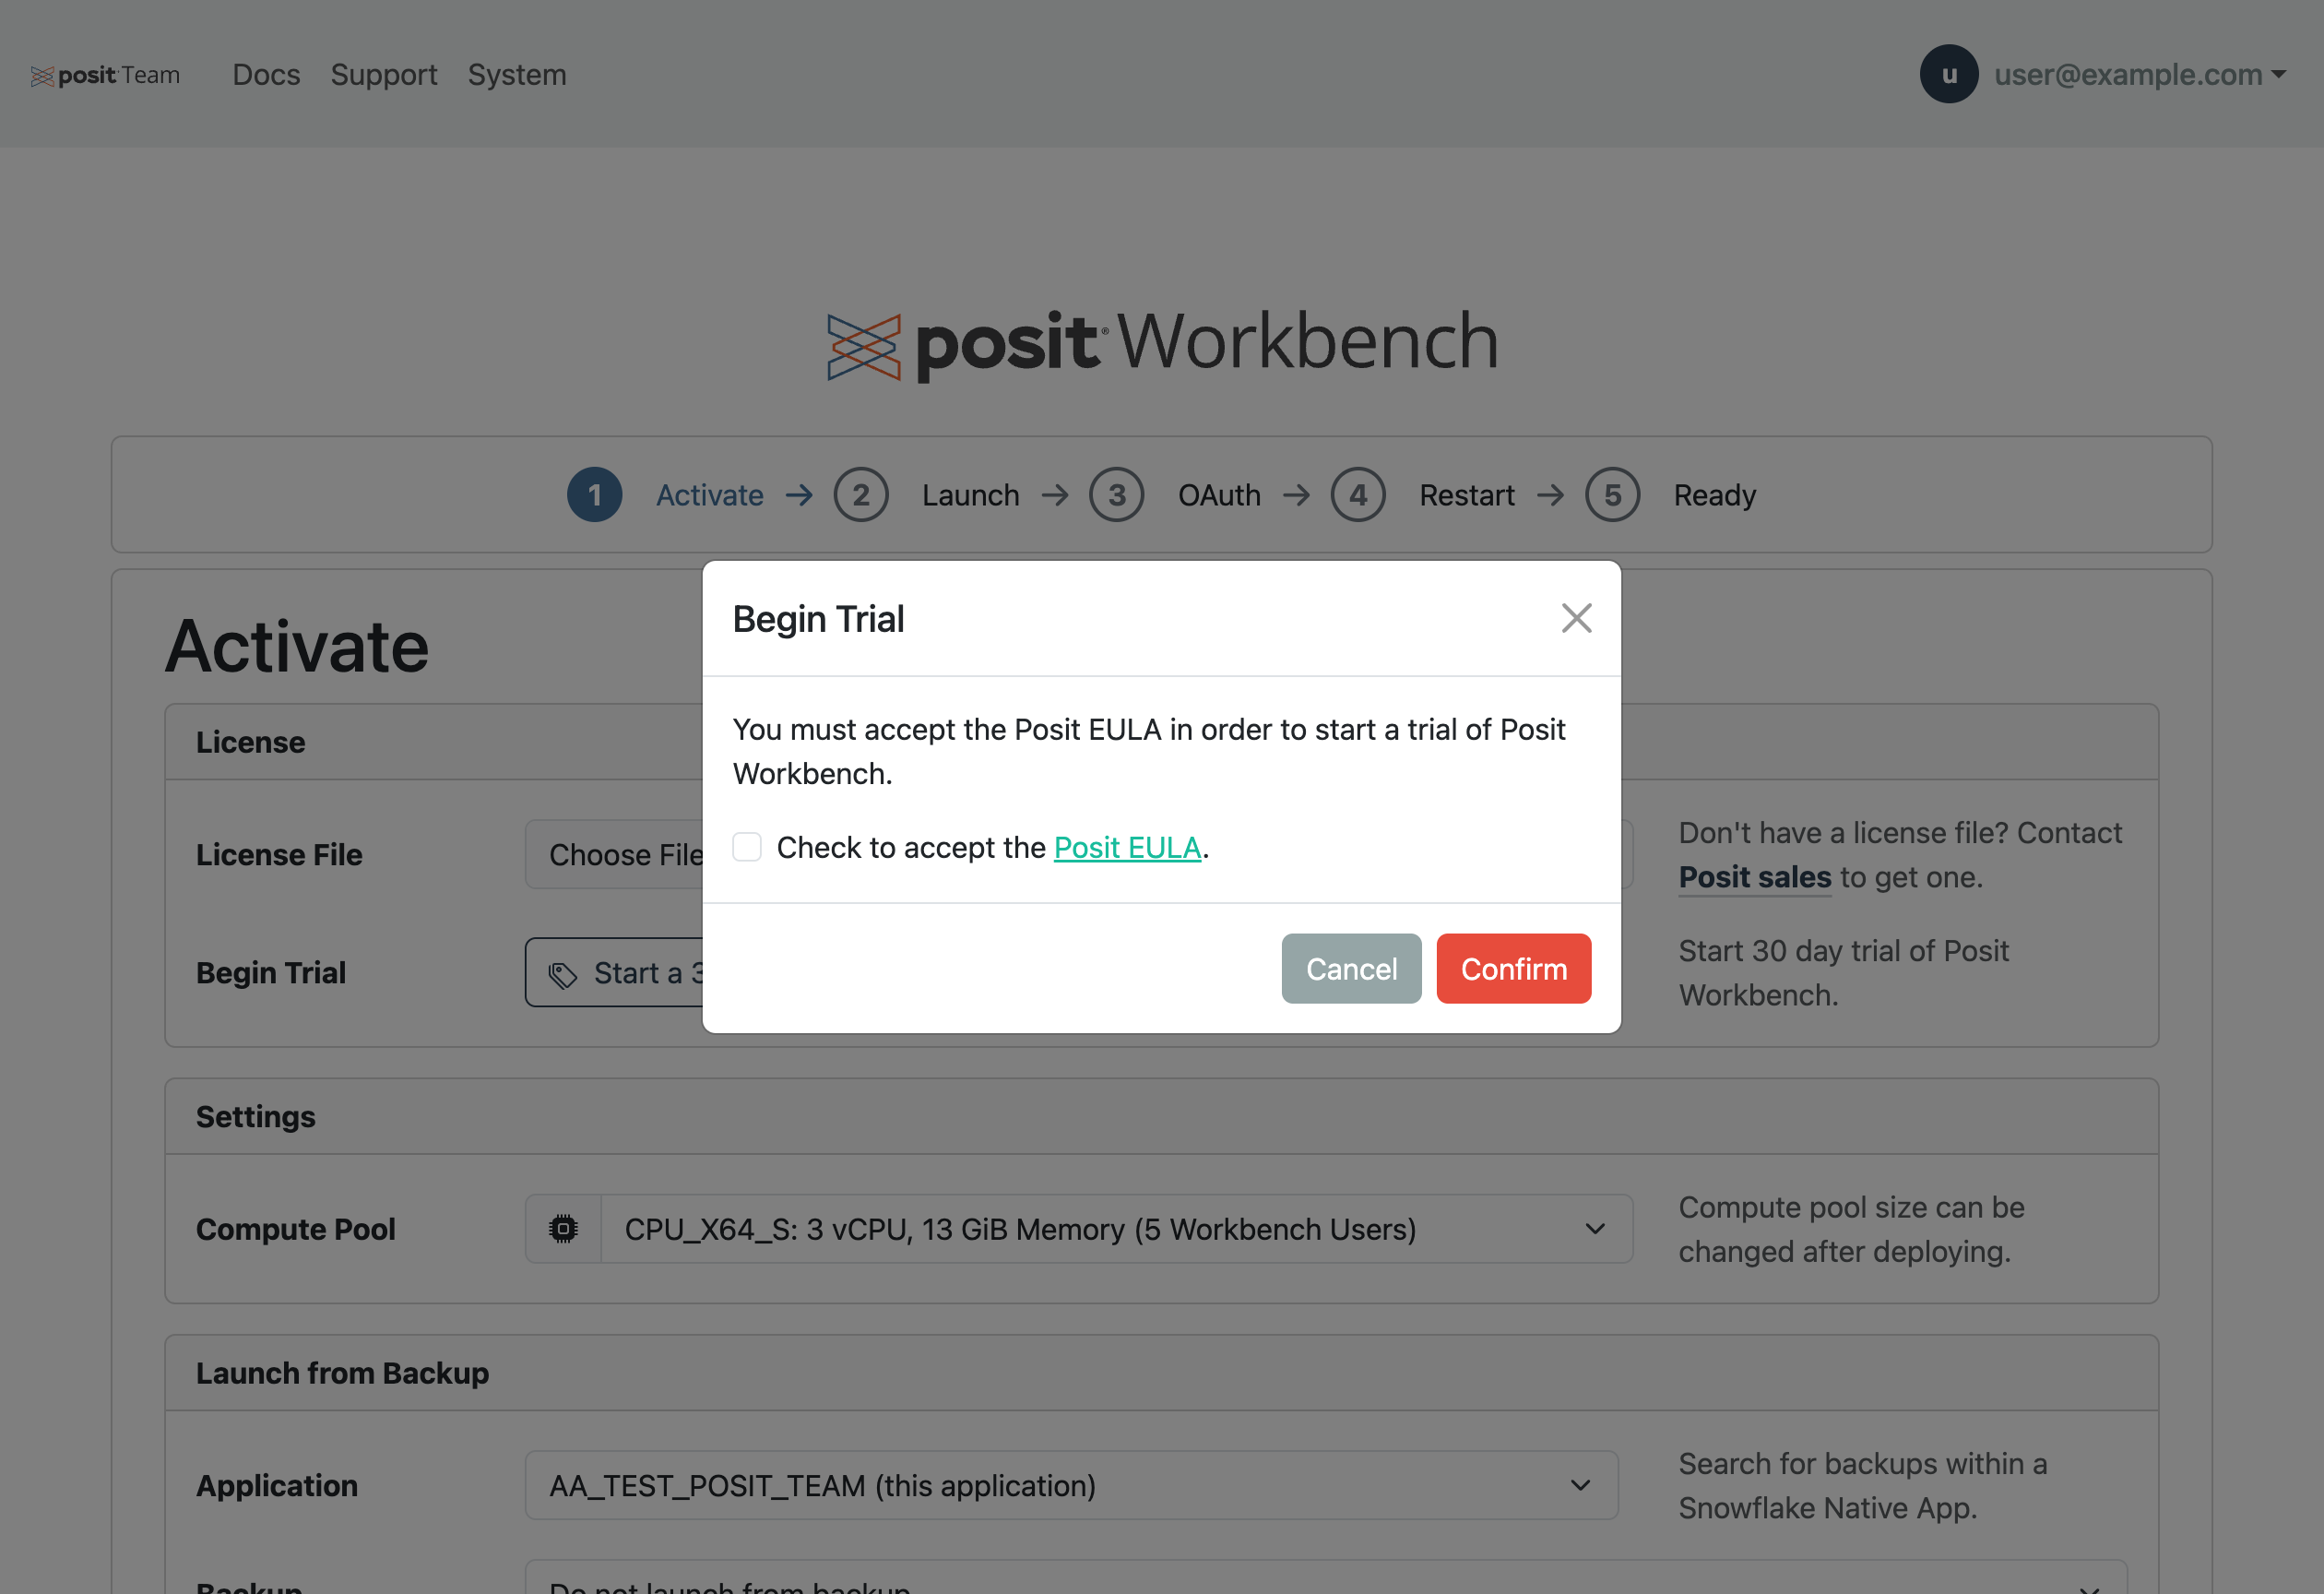
Alternatively, Posit Team supports a free 30-day trial of Workbench that you can start by clicking Get a free trial license. A dialog appears asking you to agree to the Posit End User License Agreement (EULA). Contact snowflakemarketplace@posit.co to purchase a license before the 30-day trial expires to continue normal operation of Workbench.
Compute pool
The compute pool size you choose depends on how you plan to use Workbench. Per-user memory footprint is workload-dependent. Adjust your compute pool choice after observing real usage.
Sizing your compute pool
Use the Workbench Architecture Considerations as a starting point for sizing. Because sizing on Snowpark Container Services (SPCS) is iterative, we recommend starting slightly larger than the rules of thumb suggest. Monitor resource usage, then resize the compute pool to match your observed workload.
Several workload factors can spike memory beyond the published rules of thumb:
- Quarto rendering
- Loading large datasets into a session
- Multiple concurrent sessions per user
- R workflows that hold data in memory
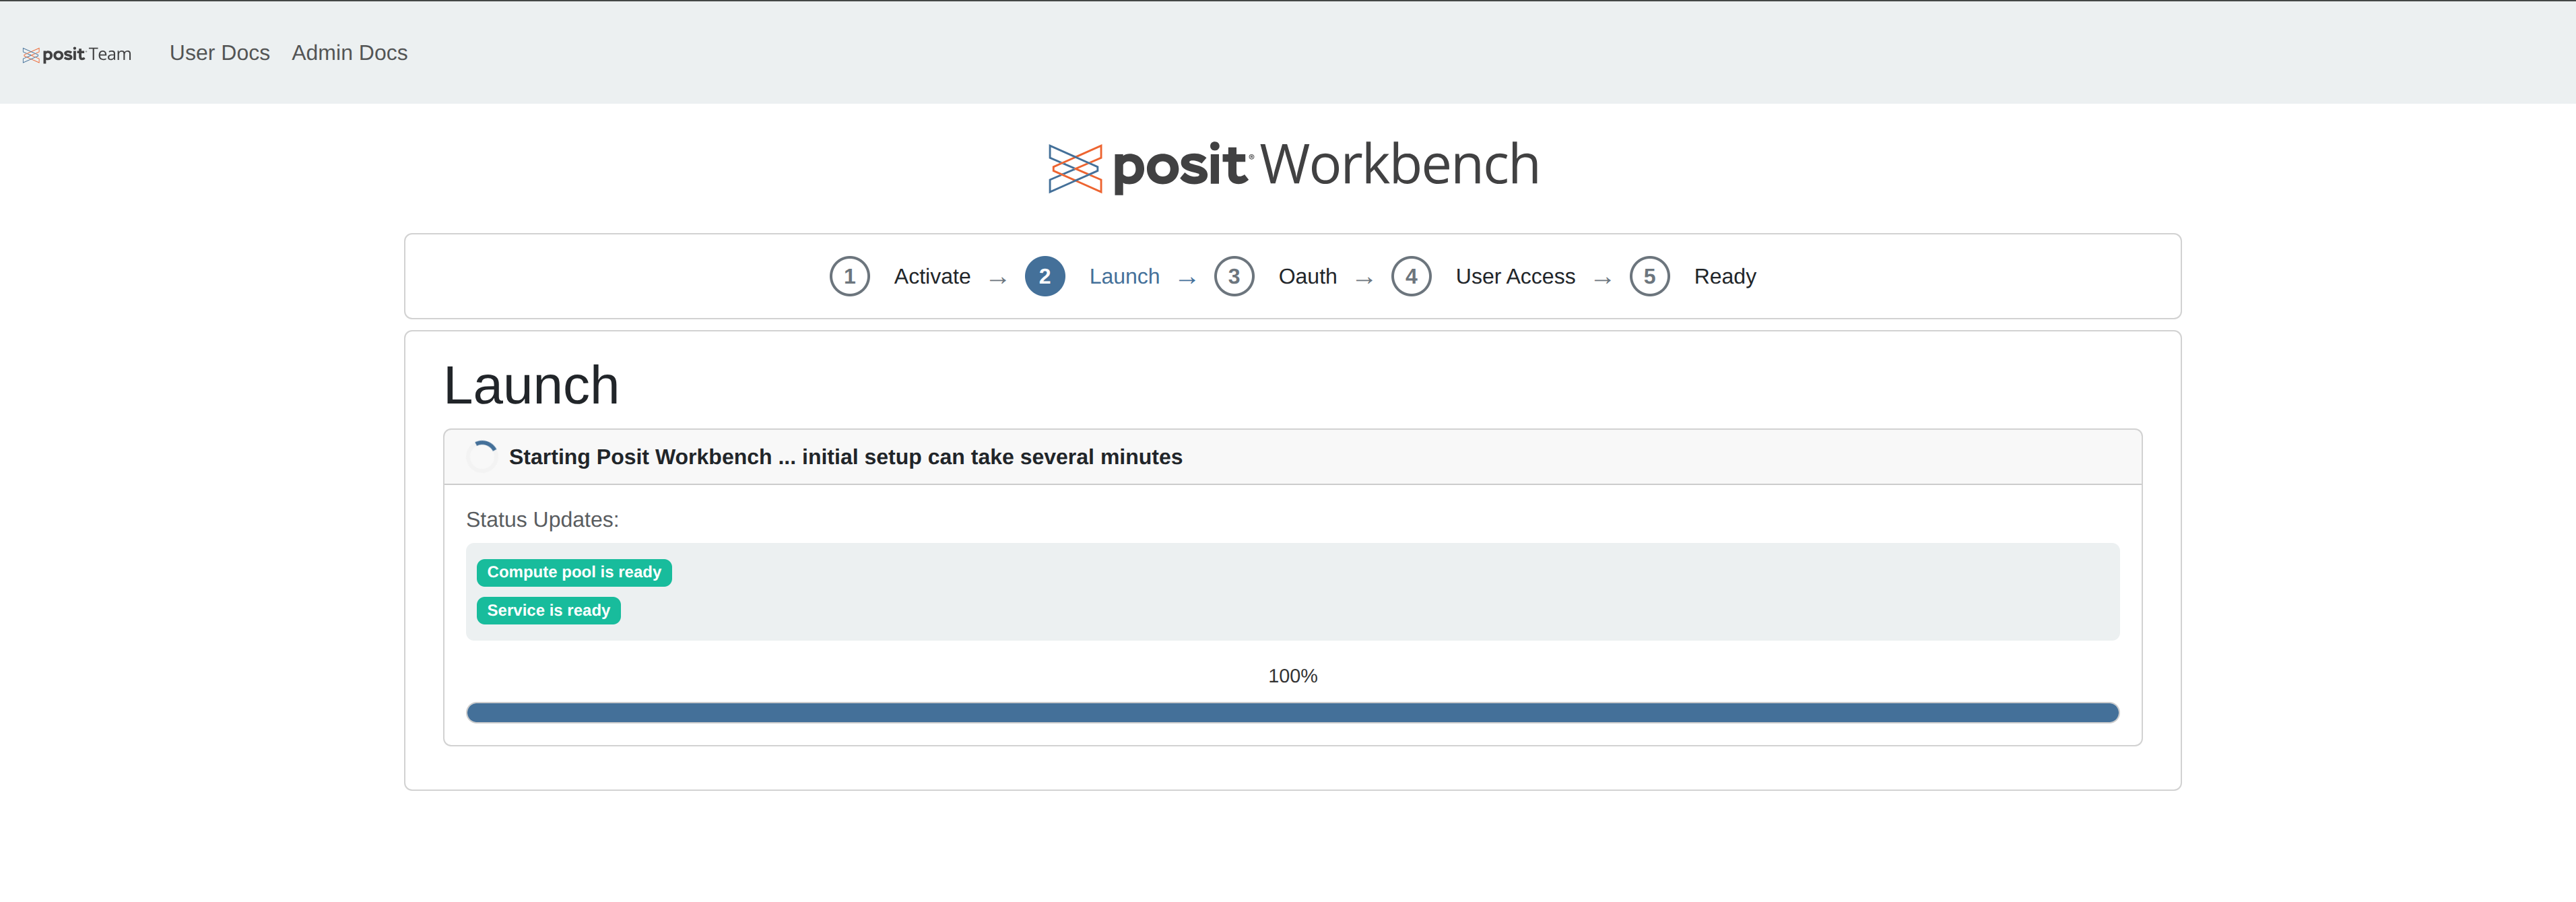
Once you click Continue, Workbench begins to provision. It takes roughly 10 minutes to create the compute pool and start the Workbench container. You can resize the compute pool after initial configuration, which takes about 15 minutes.
Using backups from another Posit Team Native App
You can launch Workbench within the Posit Team Native App using a previously created backup. Posit Team can use backups from other installations as well as backups created by the same installation.
You must grant the target Posit Team Native App the POSIT_TEAM_ADMIN application role to enumerate and access the backups associated with your source Posit Team Native App.
Assuming that your source Posit Team Native App is named POSIT_TEAM_SOURCE and your target Posit Team Native App is named POSIT_TEAM_TARGET, run the following Snowflake SQL to grant access:
Snowsight UI
GRANT APPLICATION ROLE POSIT_TEAM_SOURCE.POSIT_TEAM_ADMIN TO APPLICATION POSIT_TEAM_TARGET;After running this code, you can ask that backups from POSIT_TEAM_SOURCE be used when launching Workbench in the Posit Team Native App named POSIT_TEAM_TARGET.
Snowflake managed credentials
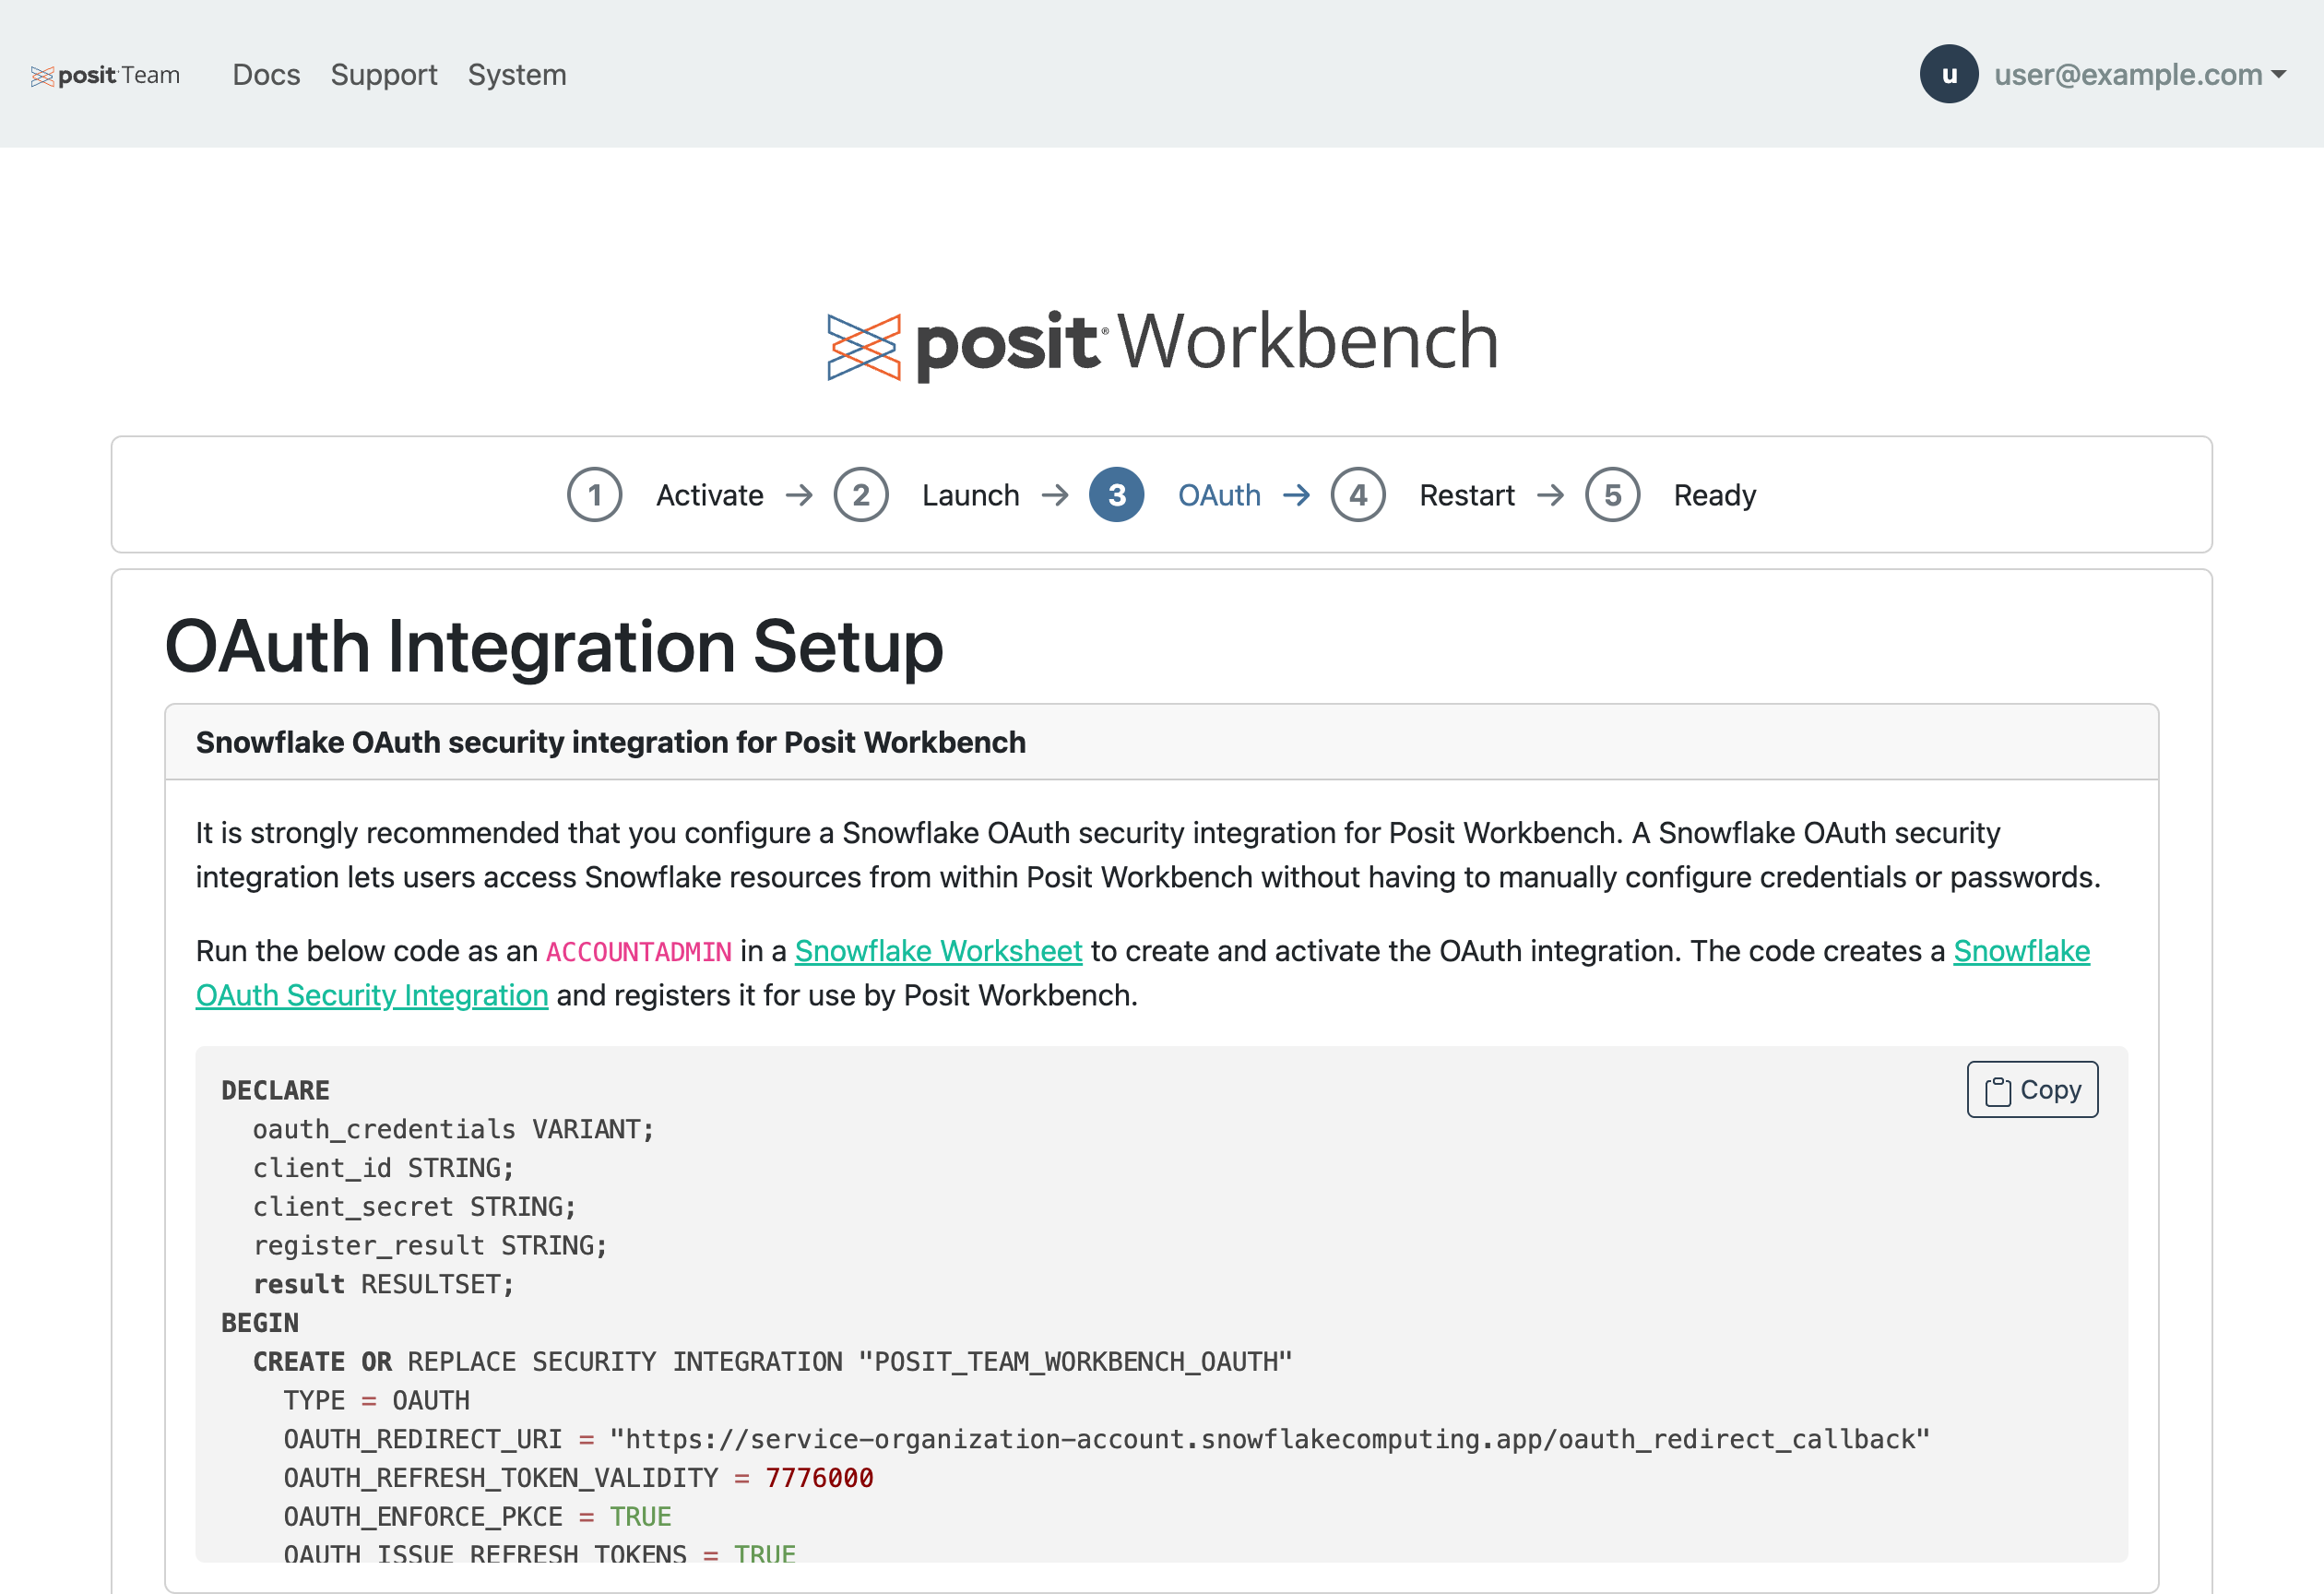
Configure a Snowflake OAuth security integration for Workbench so users can access Snowflake resources without configuring credentials or passwords. See the Snowflake managed credentials documentation for details.
Managed credentials let your Workbench sessions access Snowflake data, access Snowflake Cortex models, and publish to Connect.
If you have private connectivity or an active network policy, complete the additional steps documented in AWS PrivateLink docs, Azure Private Link docs, or Network Policy docs for managed credentials to work. These steps do not need to be completed before the setup steps below, but managed credentials will not work until they are completed.
To create and activate the OAuth integration, copy the SQL generated in the Workbench OAuth setup step and run it in a Snowsight Worksheet with ACCOUNTADMIN credentials.
Next, click Continue. This will restart Workbench with these credentials and it will be available in 3-4 minutes. Or click Skip to skip the integration and continue with setup.
If your organization signs in to Snowflake with single sign-on, you can likely redirect users straight to your identity provider. This cuts down on repeated Snowflake sign-in prompts across the landing page and each product. See How can I reduce repeated Snowflake sign-in prompts?.
Ready
Once Workbench is fully configured and ready, Posit Team redirects you to the product management page.
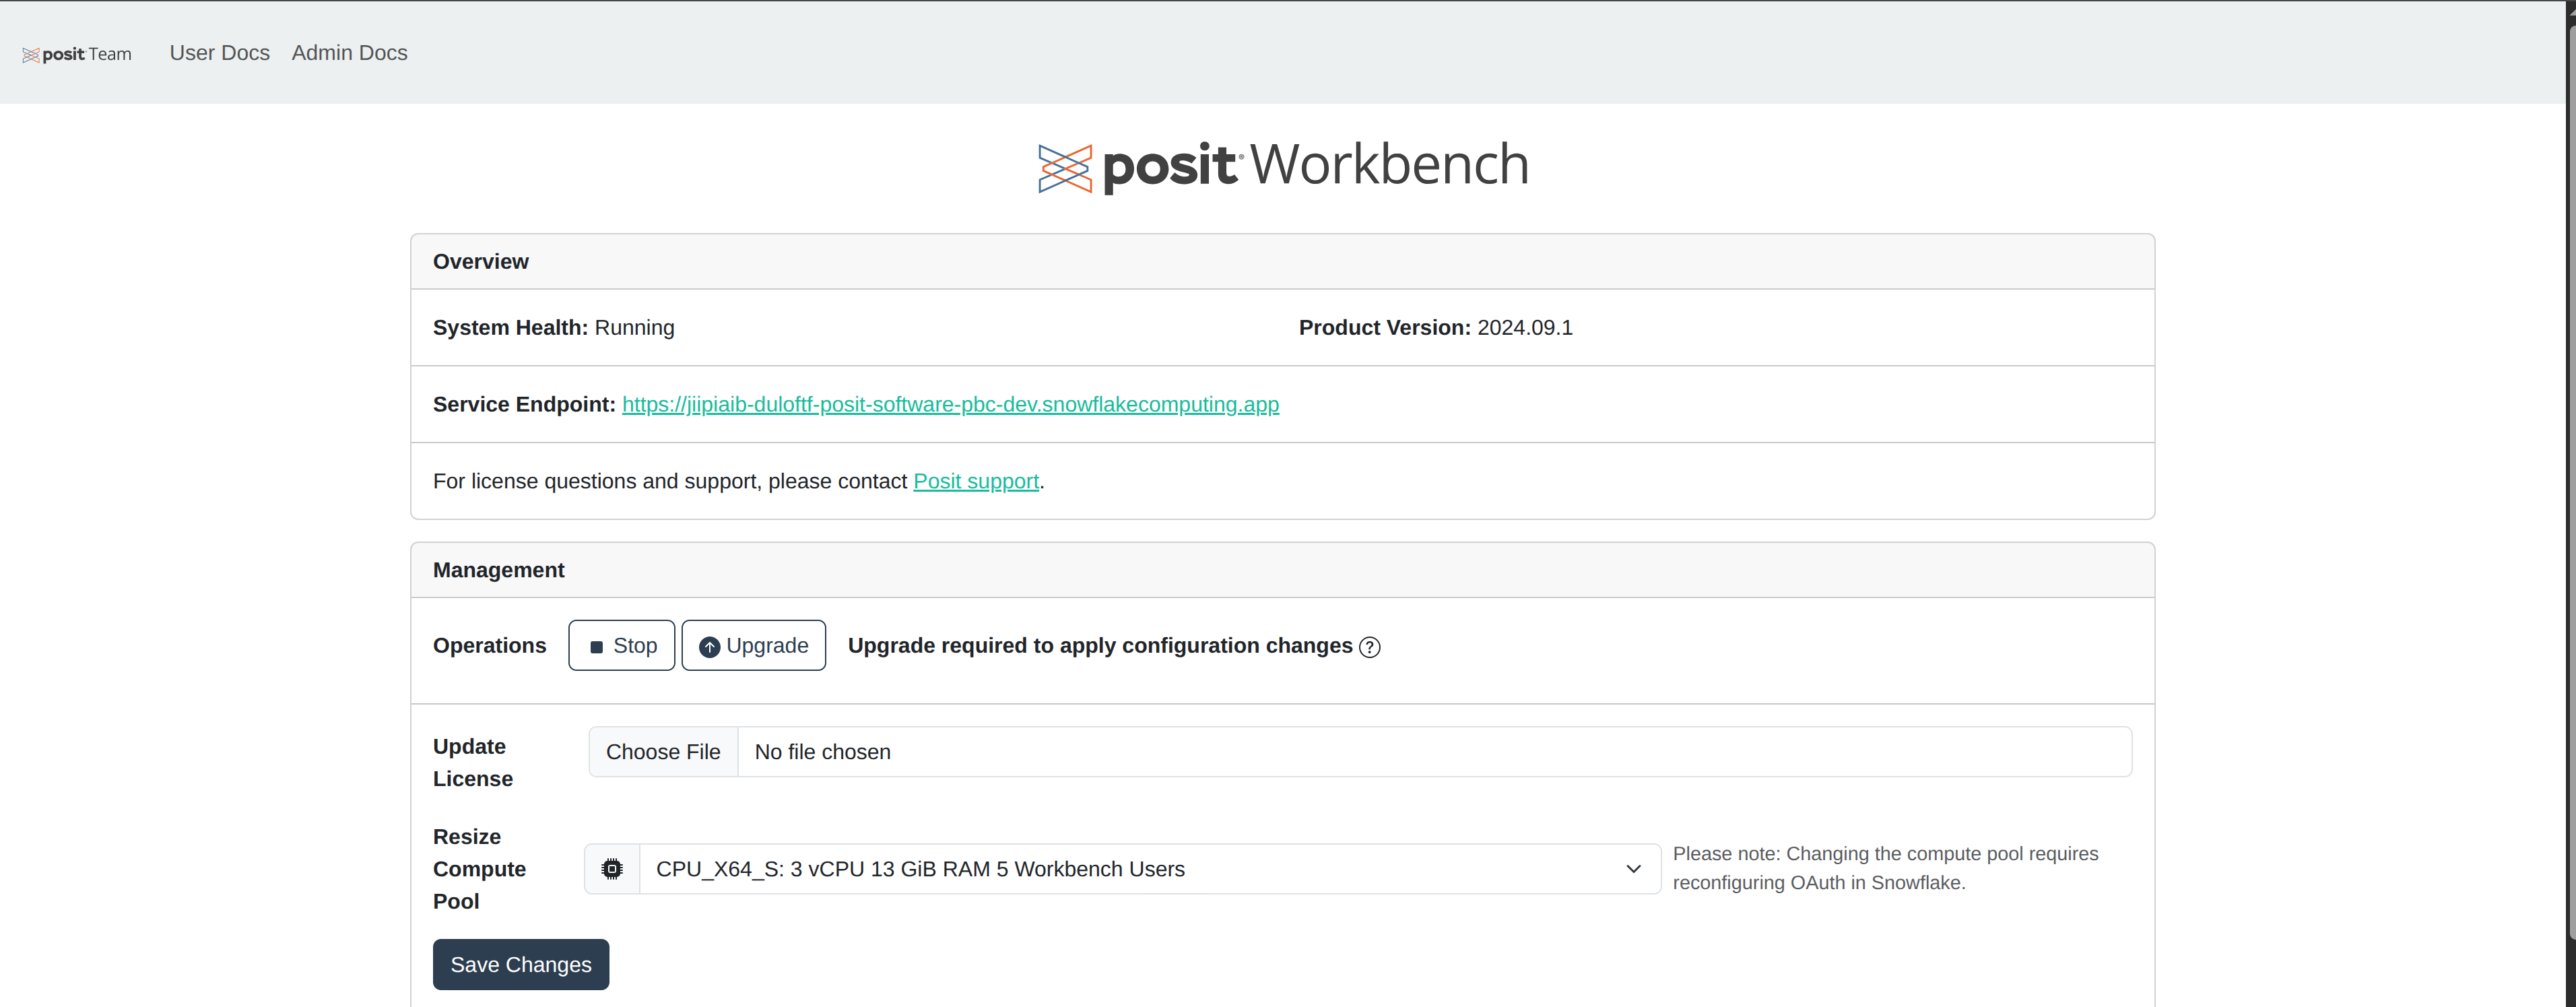
Click the Product URL to open Workbench.
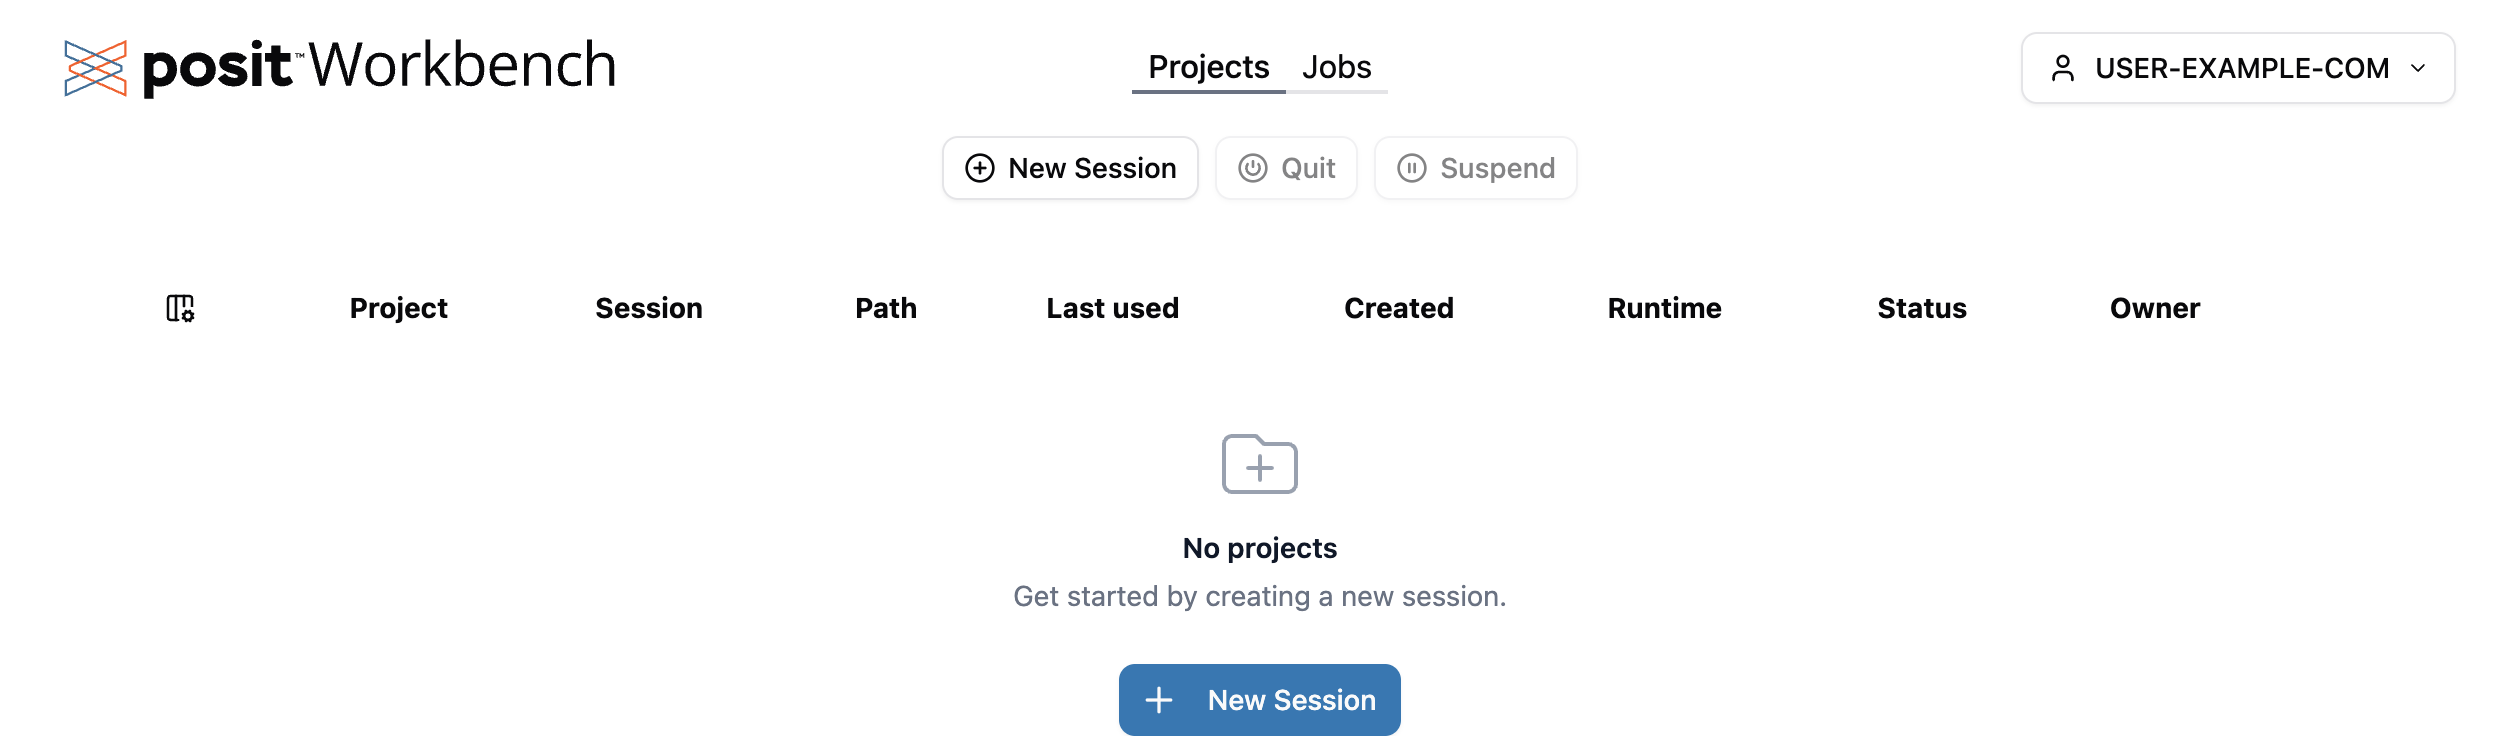
Users typically access Workbench from the landing page.
FAQ
Are Workbench product updates automatic?
Yes. When the Posit Team Native App is updated, Posit Team automatically upgrades Workbench.