Use Connect in Snowflake
Posit Connect on Snowflake lets data scientists deploy interactive applications and publish research. Content is accessible to stakeholders across your organization. For more information about how to use Connect, refer to the Admin and User guides.
Installation
Follow the setup guide to configure Connect in the Posit Team Native App.
Usage
The message Service running along with a green circle indicates that Connect is configured and available.
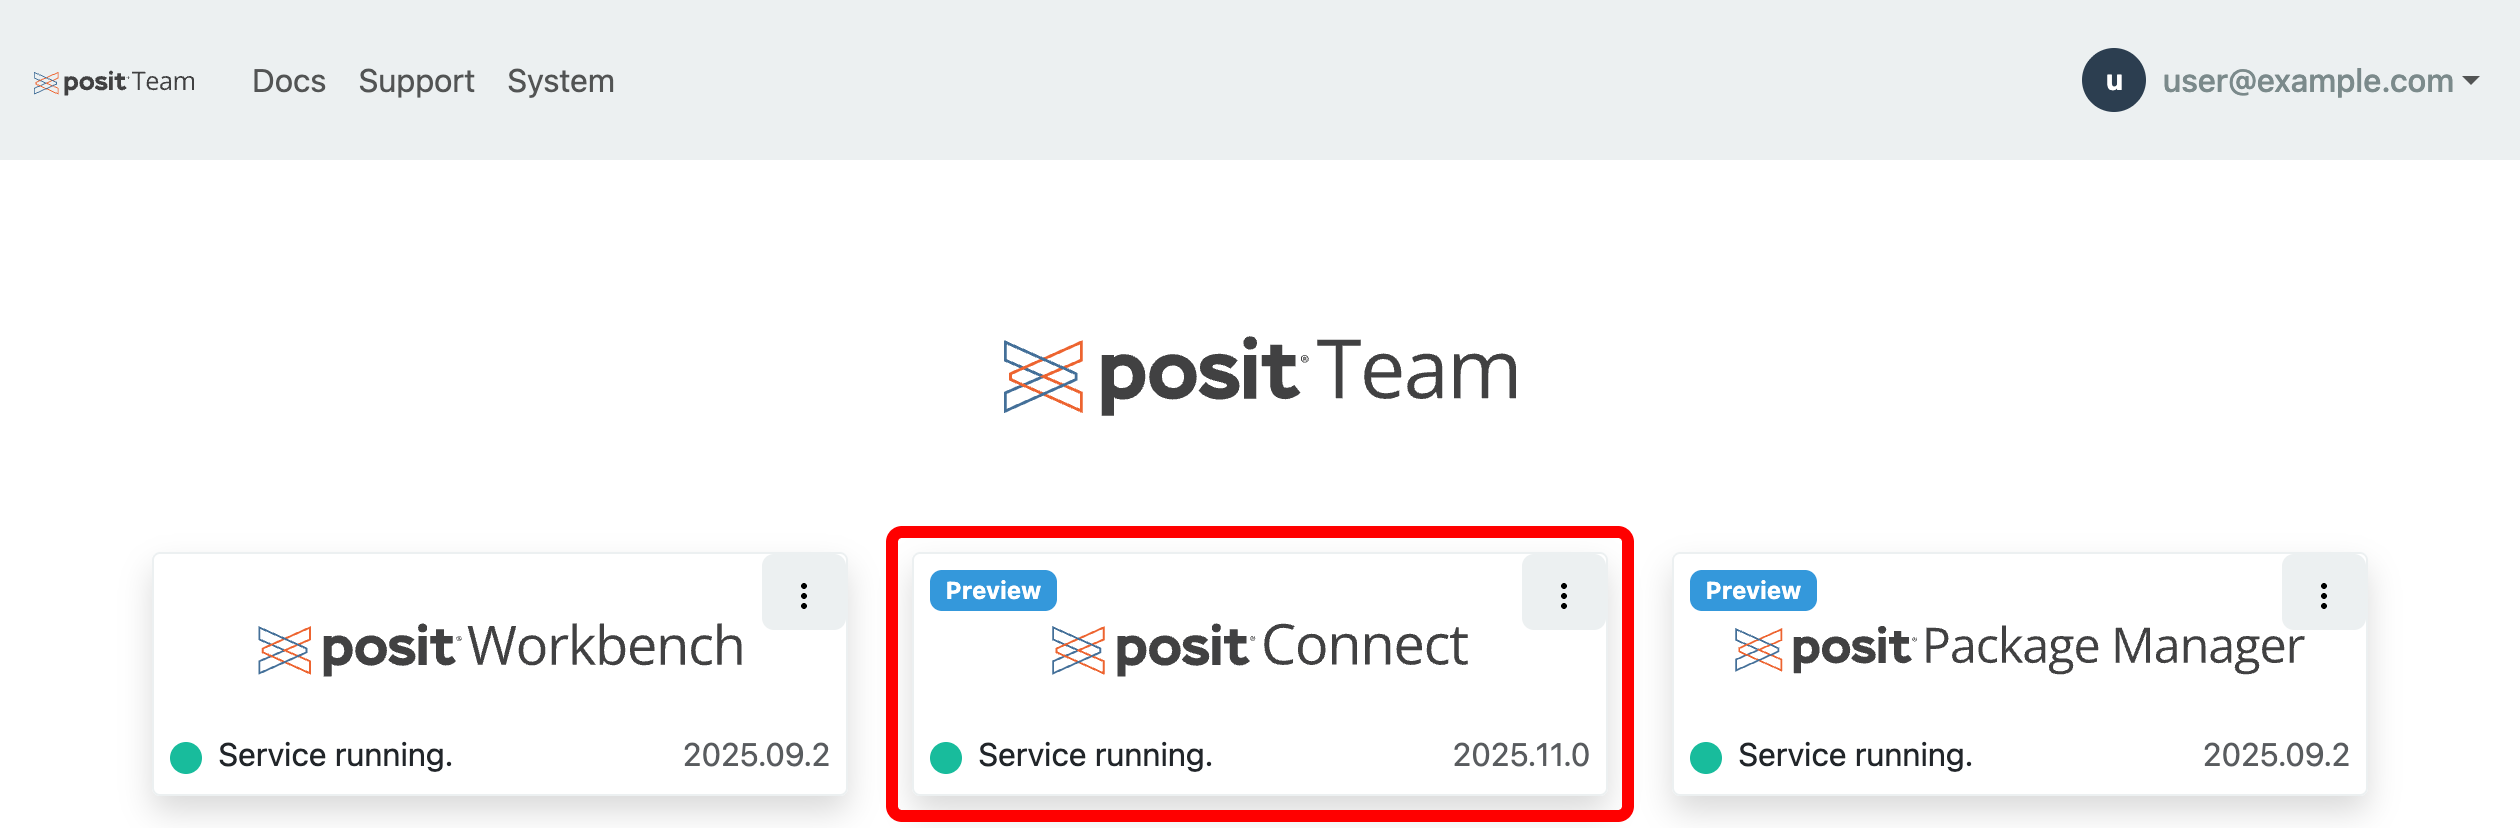
Users can access Connect by clicking the Connect logo or card.
Management
To manage Connect, click the menu icon (vertical dots) on the Connect card and click Manage.
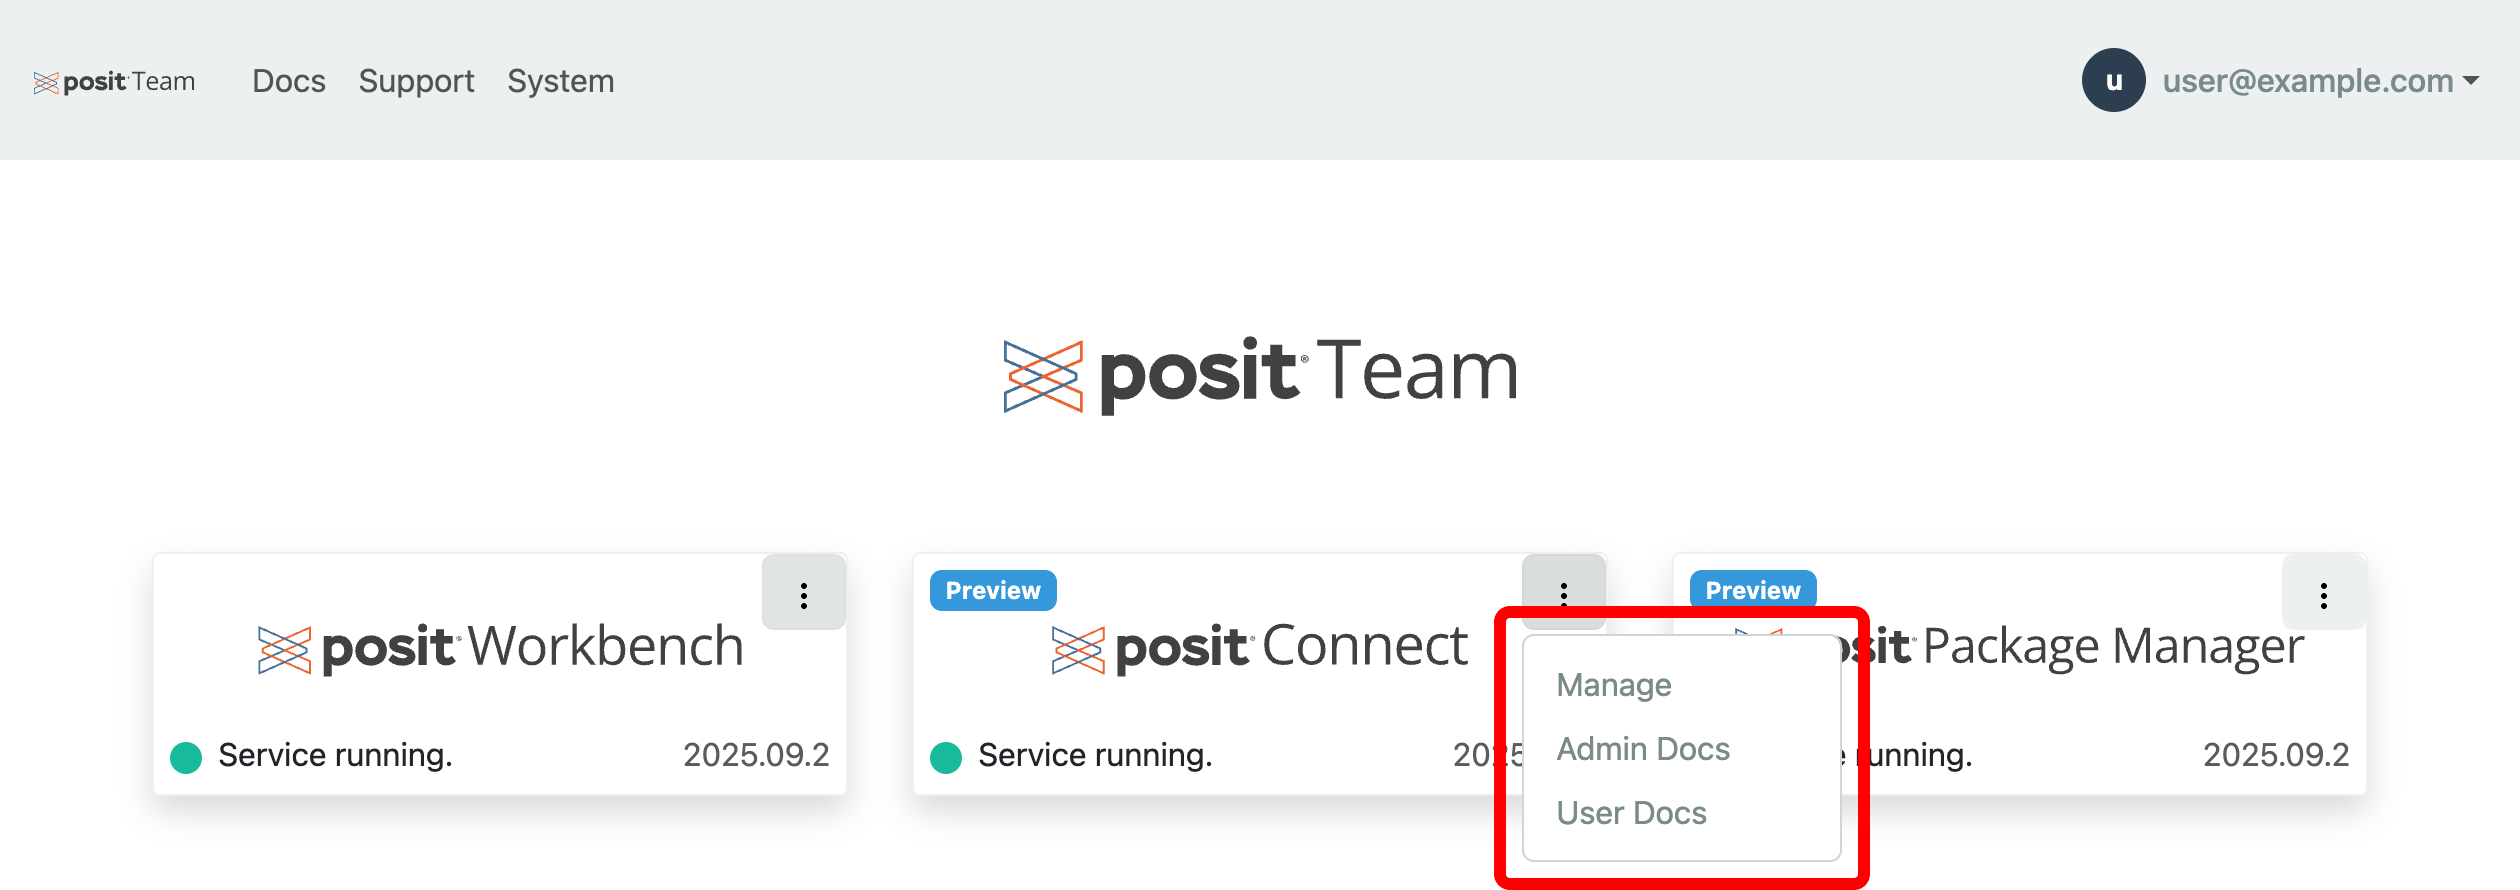
See the management docs for all day 2 operations such as resizing the compute pool, backup, and restore.