Tag Management
Overview
In Posit Connect, tags are useful for organizing the content in your system. They make it easy for users to sort, filter, and discover content by relevant topics.
Connect administrators can add, delete, and manage tags in the Connect UI. To open the Tags tab, click System in the top menu bar, then click Tags under Manage. Publishers also have view-only access to the Tags tab.
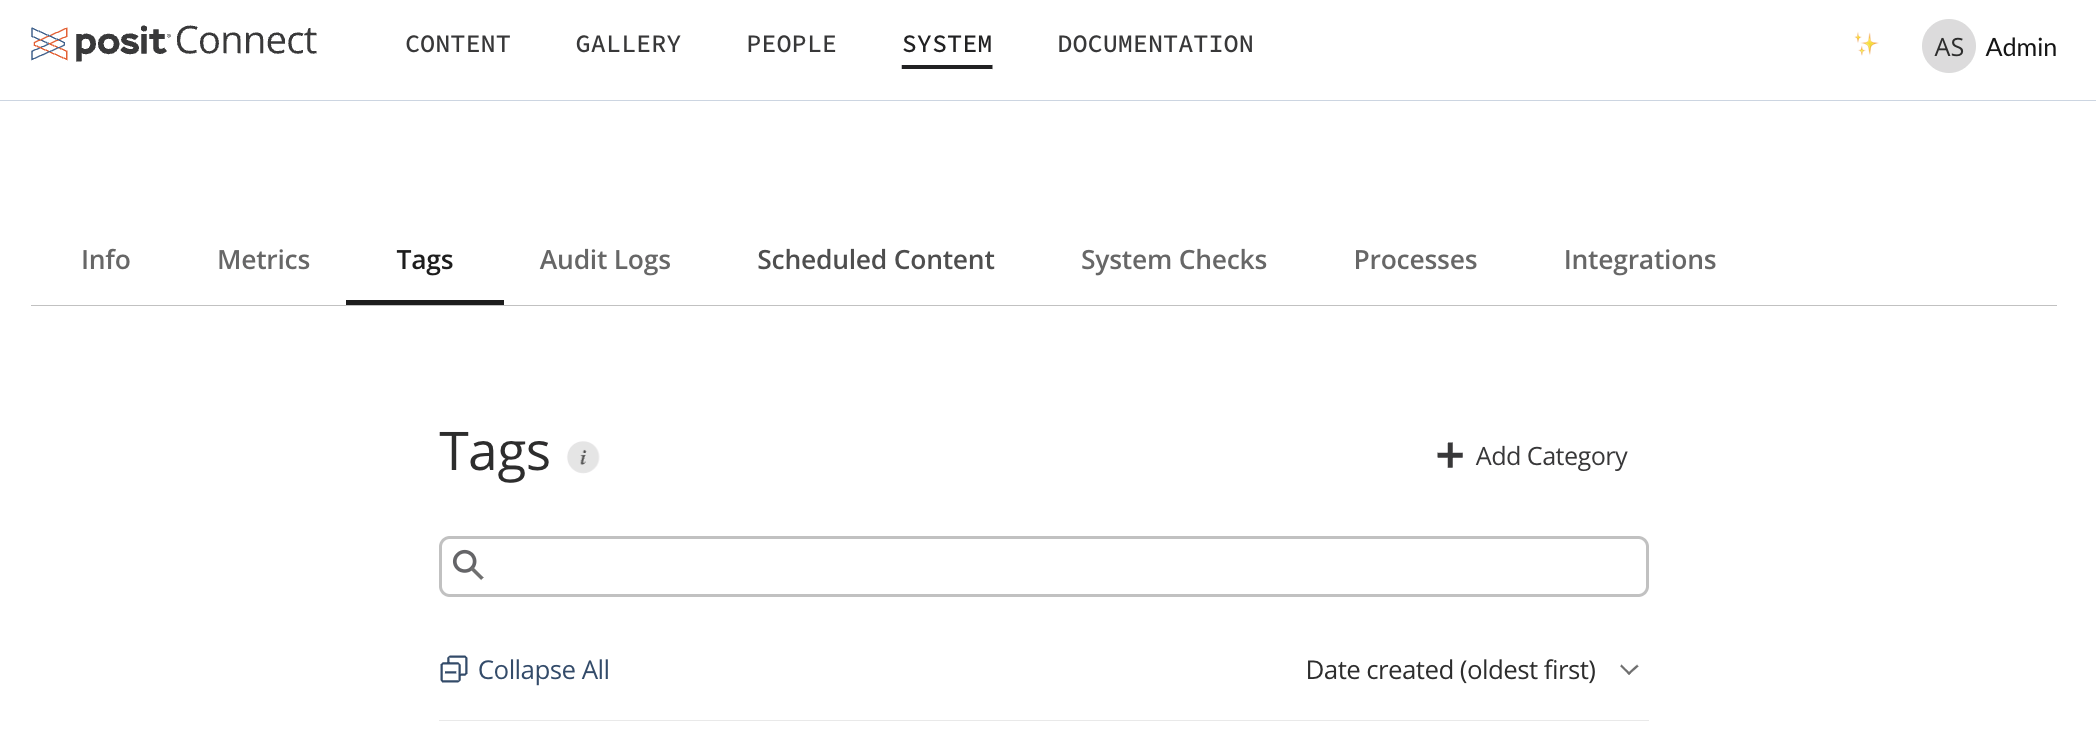
You can search for categories and tags using the search bar on the Tags tab. Below the search bar, there is also an option to sort (view) the categories you have created by date created (oldest or newest first), or by category title.
Connect users with the publisher and administrator roles can add the tags you have created to their content. For more information on how publishers access and assign tags to their content, see the Content Settings - Tags section of the Connect User Guide.
All tag management actions (e.g., adding, deleting, or editing categories and tags) are audited events.
Tag schema
The set of tags for a given Connect system is called a tag schema. It is a hierarchy used to classify content on Connect, and is composed of categories, tags, and subtags.
| Level | Description |
|---|---|
| Categories | The broadest level of the schema, used to sort tags into logical groupings. You cannot apply categories to content. |
| Tags | The second level in the schema. You can apply tags to content on their own, or with other tags and subtags. |
| Subtags | The most specific level in the schema. You can nest subtags any number of layers deep. You cannot apply subtags without also applying their parent tag/subtag. |
Best practices for creating a tag schema
A well-structured tag schema makes it easier for users to search, find, and filter content by tags. As your content grows in Connect, a consistent schema also helps prevent duplicate tags.
When designing your schema, choose a formatting style and apply it consistently across all categories, tags, and subtags so that users can anticipate how to search for and find tags. Pay particular attention to:
- Word separators: Use a single approach for multi-word tags (for example, always use hyphens, never a mix of hyphens and underscores).
- Capitalization: Decide on a style (
all_lowercase,Title_Case,sentence_case, etc.) and use it everywhere. - Tag nesting: Keep the depth of categories and subtags consistent. Avoid mixing shallow structures (broad only) with deep ones (very detailed).
Here is an example of a consistent tag schema:
├── geographical_area
|    ├── europe
|    |   └── italy
|    ├── asia
|    │   └── south_korea
|    ├── north_america
|    │   └── canada
|    ├── south_america
|    │   └── brazil
└── financial_reports
    ├── 2024
    │   ├── q1
    │   ├── q2
    │   ├── q3
    │   └── q4
    └── 2025
        ├── q1
        ├── q2
        ├── q3
        └── q4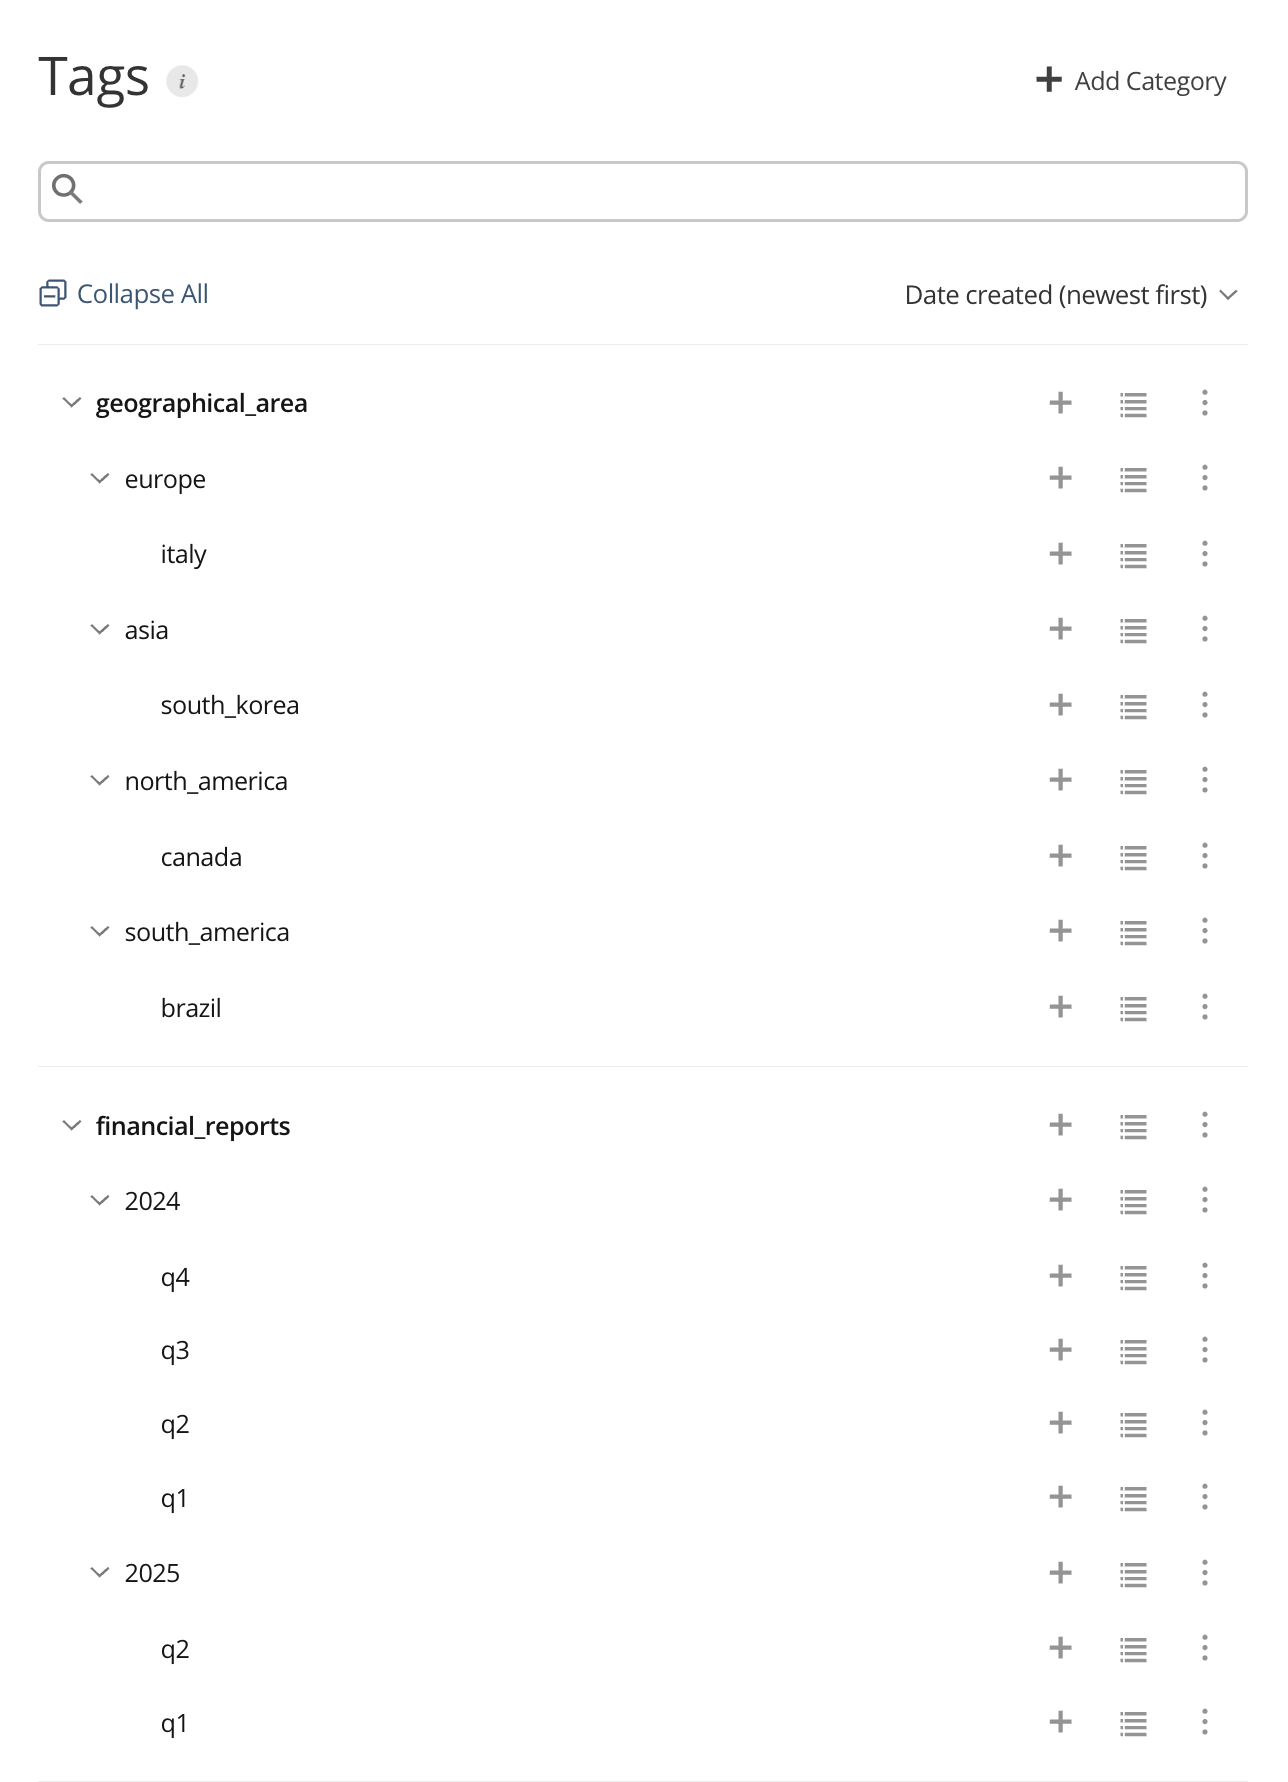
Adding categories
To add a category in your tag schema:
Navigate to System > Tags.
Click + Add Category, or type the
Ckey on your keyboard to open the Add Category dialog.In the Add Category dialog, enter the category name in the Title field and click Done.

Deleting or editing categories, tags, and subtags
To delete or edit a category, tag, or subtag in your tag schema:
Navigate to System > Tags.
Click the More actions menu (the three vertical dots) next to the category, tag, or subtag you want to edit or delete.
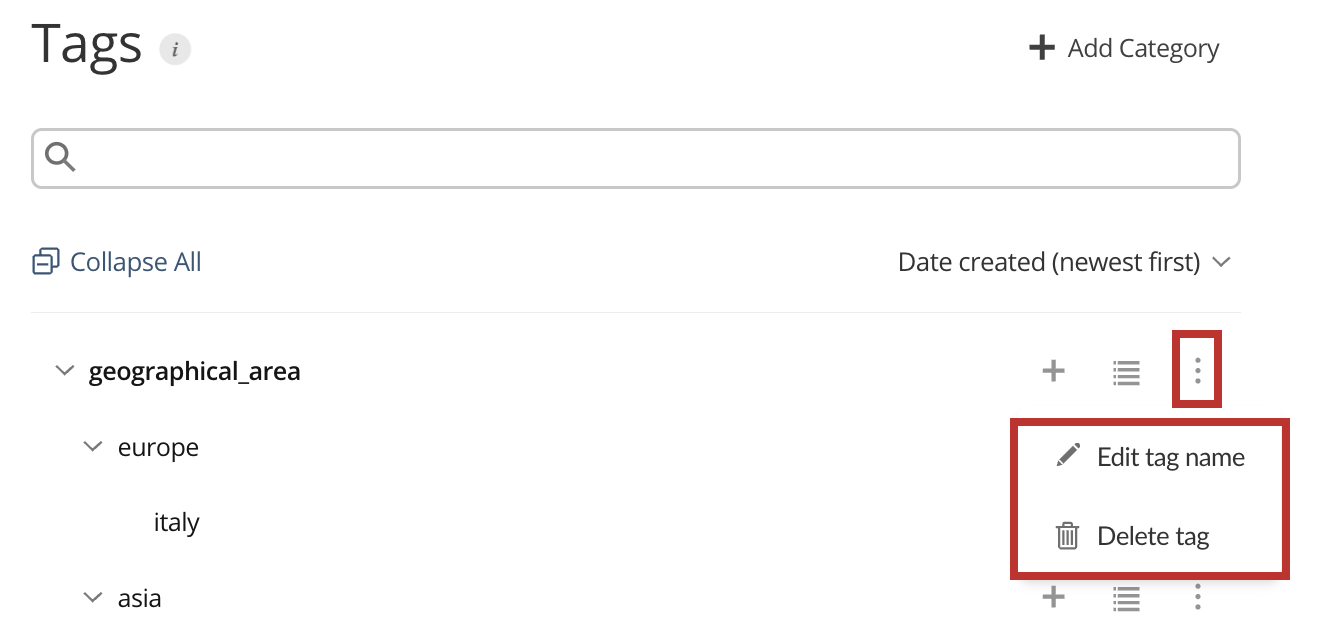
Select either Edit tag name (an input dialog opens; enter the new name and click Done) or Delete tag.
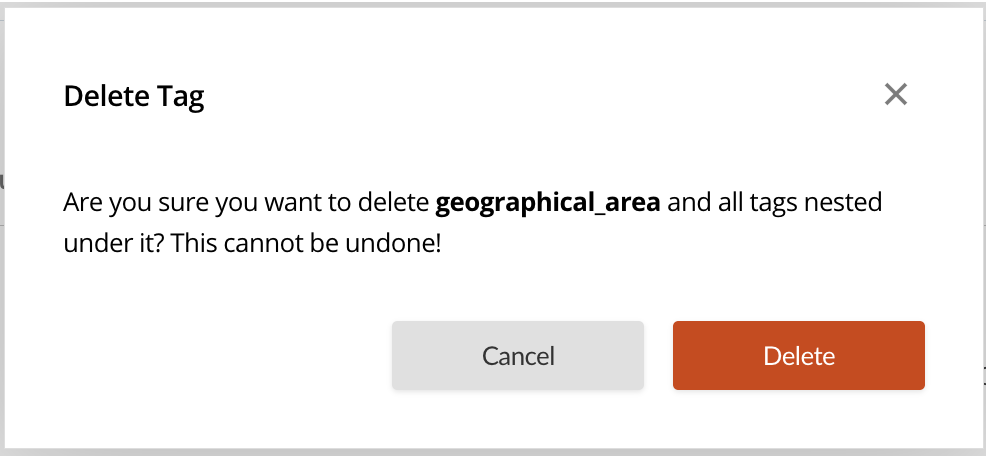
If you select Delete tag, a confirmation dialog appears. Click Delete to confirm. Deleting categories, tags, and subtags cannot be undone.
Viewing content associated with a tag
Connect publishers and administrators can view content associated with a content, tag, or subtag from both the Tags tab, as well as from the Content page. Connect users with the viewer role can view content associated with a category, tag, or subtag from the Content page.
From the Content page
Click Content from the Connect top navbar.
Click the Tag dropdown at the top of the content listing.
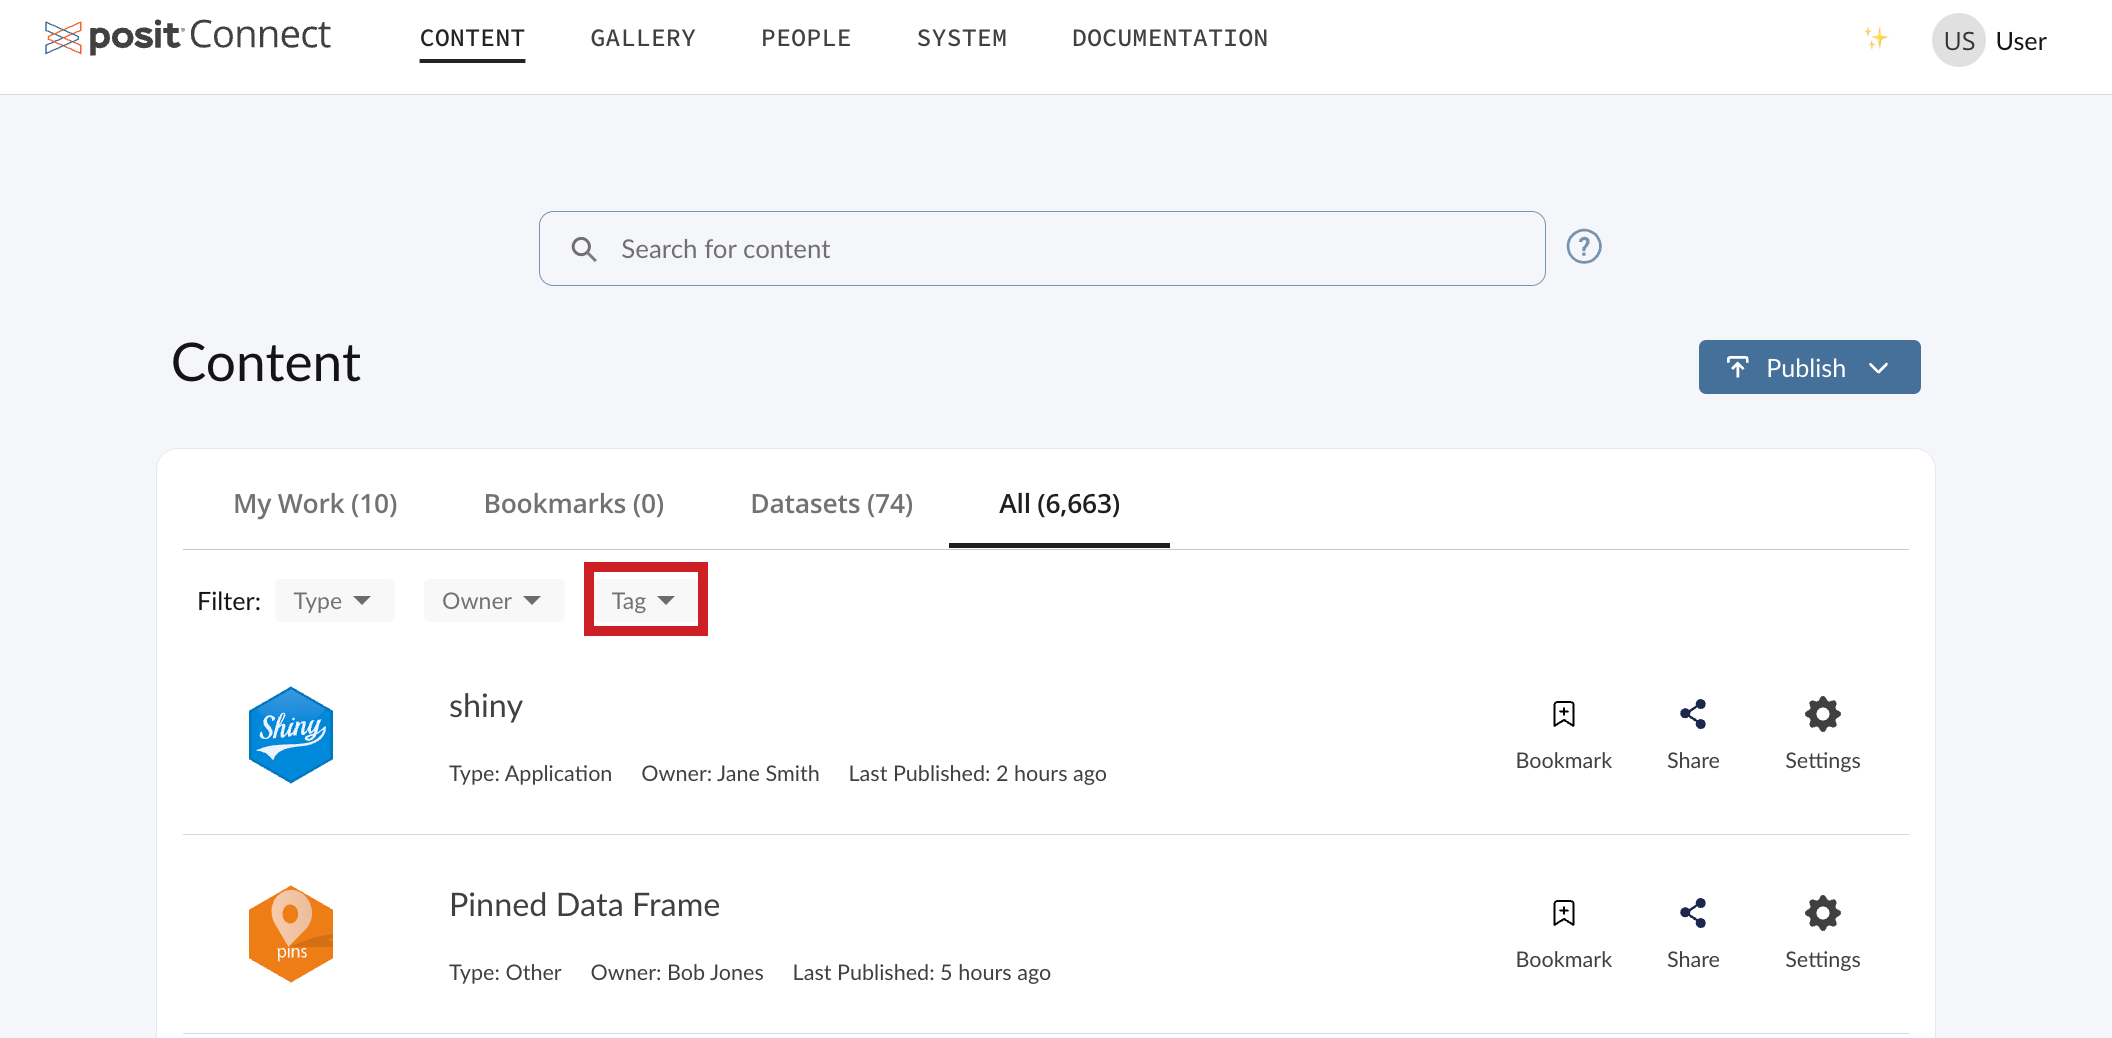
Select one or more tags.
Additional resources
Additional information for Connect server administrators related to Tags is available in the following Connect docs: