FastAPI
FastAPI is a Python ASGI web API framework.
FastAPI uses type annotations and Pydantic models to provide input validation and automatic API documentation using OpenAPI / Swagger.
Endpoints in FastAPI are Python async functions, which allows multiple requests to be processed concurrently. This is useful when the response depends on the results of other async functions. For example, if you use an asynchronous database client to access a remote database, your endpoint function can await the results of the database query. New requests can begin to be processed while earlier requests are awaiting their results.
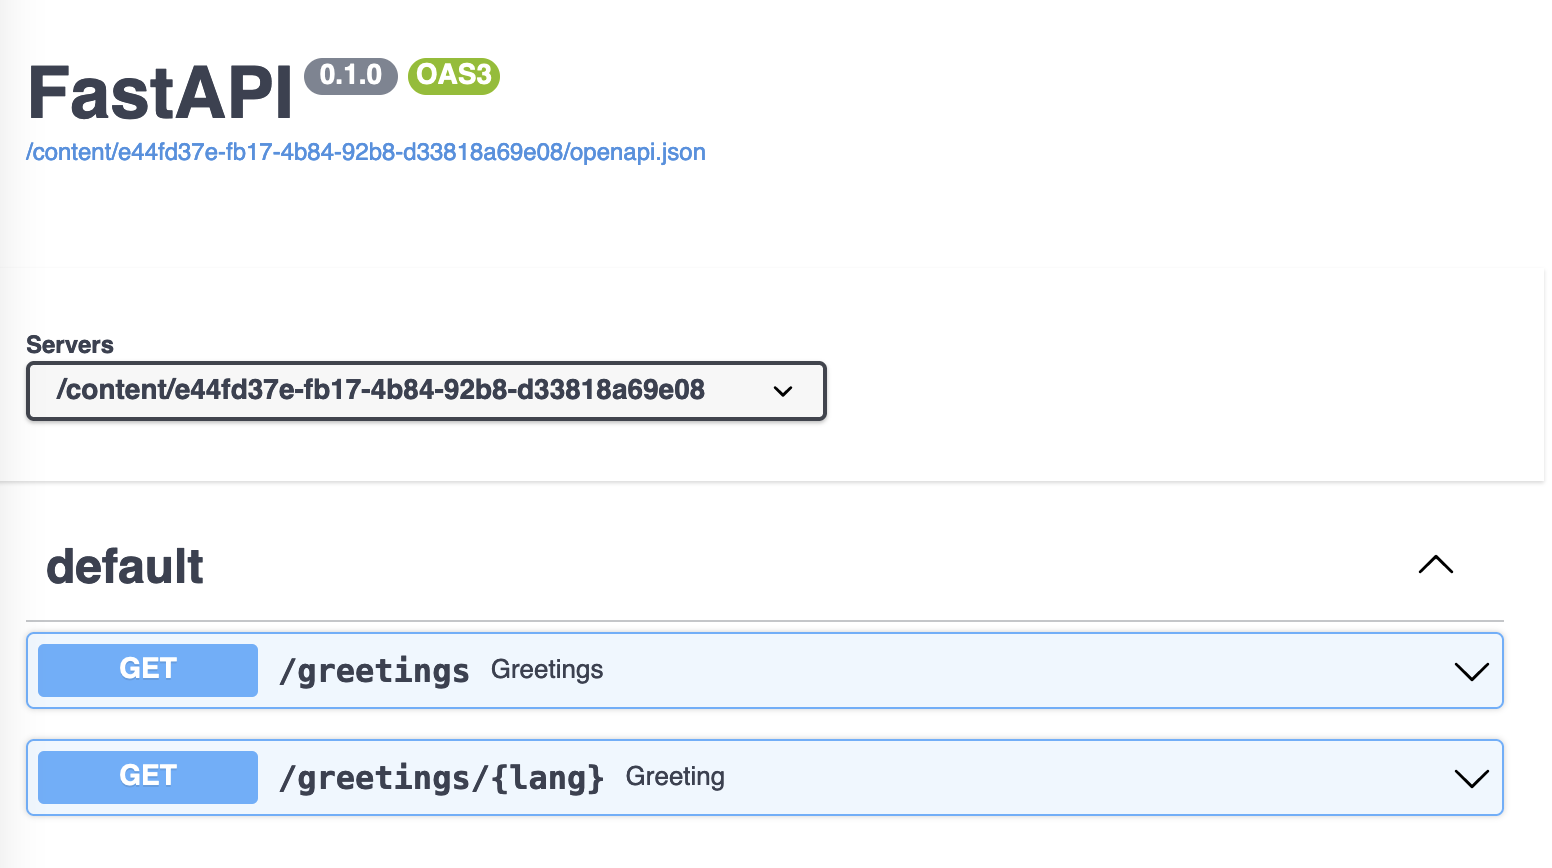
The Swagger documentation is accessible via the /docs path in your API. If you do not define a GET / handler, Posit Connect will provide one that redirects to GET /docs.
Deploying
FastAPI and other ASGI-compatible APIs can be deployed with the rsconnect-python package.
Terminal
rsconnect deploy fastapi -n myServer MyApiPath/When deploying a FastAPI API, ensure that you specify the correct entrypoint for the specific app you are deploying. The example in this section has its source code in a file named app.py, and within that file, the FastAPI application object is named app. So the entrypoint specified here is app:app. If the main source file or application object is named differently, you need to specify a different entrypoint so that Connect can locate the application object to serve. See the documentation on entrypoints for more information.
Examples
JSON example
The example application is a read-only API for listing and fetching greetings for a small number of languages by locale name, where the db is populated from a file.
First, create a directory for the project:
Terminal
mkdir fastapi-example
cd fastapi-example
Then, create this greetings.json file:
greetings.json
{
    "ar": "آلو",
    "bn": "হ্যালো",
    "chr": "ᏏᏲ",
    "en": "Hello",
    "es": "Hola",
    "sw": "هَبَارِ",
    "zh": "你好"
}
and create app.py which contains the API code:
app.py
# -*- coding: utf-8 -*-

import json
from fastapi import FastAPI
from pydantic import BaseModel
from typing import List


class Greeting(BaseModel):
    lang: str
    text: str


app = FastAPI()
db = json.load(open("greetings.json"))


@app.get("/greetings", response_model=List[Greeting])
async def greetings():
    return [Greeting(lang=lang, text=text) for lang, text in sorted(db.items())]


@app.get("/greetings/{lang}", response_model=Greeting)
async def greeting(lang: str = "en"):
    return Greeting(lang=lang, text=db.get(lang))
Deploy the example using rsconnect-python:
Terminal
rsconnect deploy fastapi \
    -n <saved server name> \
    --entrypoint app:app \
    ./
Test out the API using curl from the command line:
Terminal
curl -X 'GET' \
  <api endpoint>/greetings' \
  -H 'accept: application/json'
If the API is only accessible to certain groups or users, use an API key for authorization.
Terminal
curl -X 'GET' \
  <api endpoint>/greetings' \
  -H 'accept: application/json' \
  -H "Authorization: Key ${CONNECT_API_KEY}"
HTML example
FastAPI is most commonly used to build JSON APIs. FastAPI can also be used to create APIs that respond with HTML. By returning HTML, you can make fully functional web applications with FastAPI. Content deployed this way still counts as an API content type, and is not considered interactive.
First, create a directory for the project:
Terminal
mkdir fastapi-html-example
cd fastapi-html-example
The structure of the project will look like this:
.
├── app.py
├── requirements.txt
├── static
│   └── styles.css
└── templates
    ├── about.html
    ├── base.html
    └── index.html
First, create the requirements.txt file:
requirements.txt
fastapi
uvicorn[standard]
jinja2
rsconnect-python
Next, create a virtual environment:
Terminal
python -m venv .venv
source .venv/bin/activate
python -m pip install --upgrade pip wheel setuptools
python -m pip install -r requirements.txt
In app.py, add the following code:
app.py
from fastapi import FastAPI, Request
from fastapi.responses import HTMLResponse
from fastapi.staticfiles import StaticFiles
from fastapi.templating import Jinja2Templates


app = FastAPI()
app.mount("/static", StaticFiles(directory="static"), name="static")
templates = Jinja2Templates(directory="templates")


@app.get("/", response_class=HTMLResponse)
async def get_index(request: Request):
    return templates.TemplateResponse("index.html", {"request": request })


@app.get("/about", response_class=HTMLResponse)
async def get_about(request: Request, name: str = "Posit"):
    return templates.TemplateResponse("about.html", {"request": request , "name": name})
Then, create the HTML files:
templates/base.html
templates/base.html
<html>
<head>
  {% block head %}
    <link href="static/styles.css" rel="stylesheet">
    <title>{% block title %}{% endblock %} - My Connect App</title>
  {% endblock %}
</head>
<body>
  <div id="content">{% block content %}{% endblock %}</div>
</body>
</html>
templates/index.html
templates/index.html
{% extends "base.html" %}
{% block title %}Home{% endblock %}
{% block content %}
<div>
    <h1>Hello world</h1>
    <p>This is a webapp built using FastAPI.</p>
    <p>Check out the <a href="about">About</a> page for more info.</p>
</div>
{% endblock %}
templates/about.html
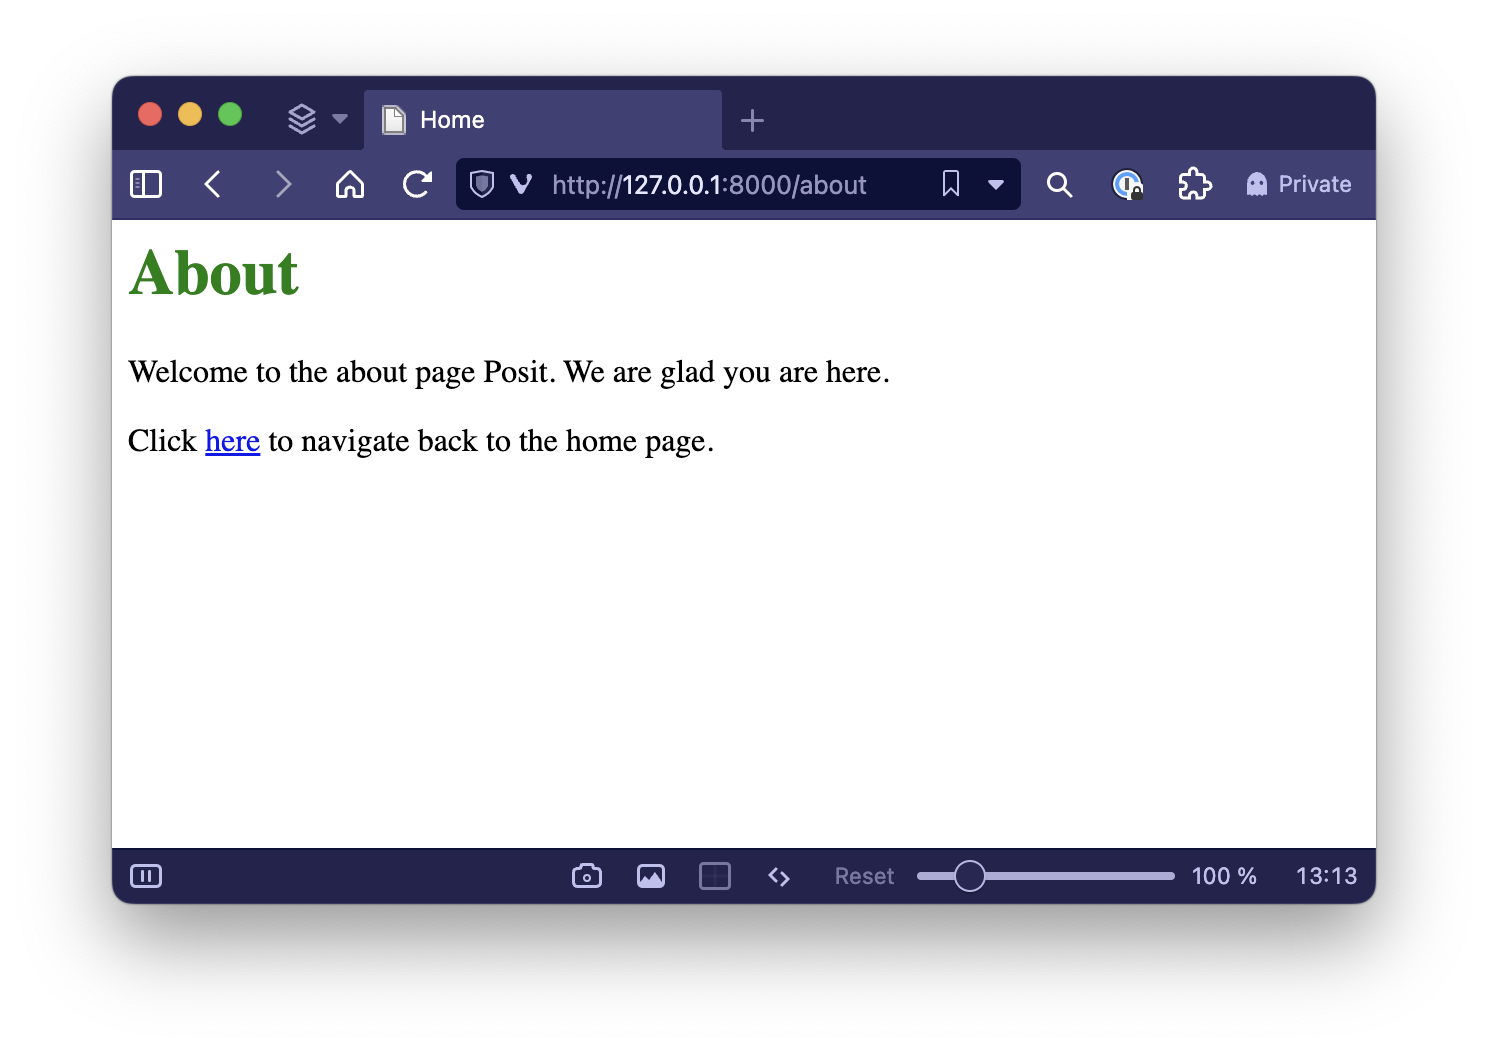
templates/about.html
{% extends "base.html" %}
{% block title %}About{% endblock %}
{% block content %}
<div>
    <h1>About</h1>
    <p>Welcome to the about page {{ name }}. We are glad you are here.</p>
    <p>Click <a href="{{ request.headers['rstudio-connect-app-base-url'] }}/">here</a> to navigate back to the home page.</p>
</div>
{% endblock %}
For links to the root of the API (/), it is required to use { request.headers['rstudio-connect-app-base-url'] }/. This is because Connect has an internal proxy that it uses to route traffic to different locations. The base URL of your application cannot be known ahead of time, but it can be determined at runtime from the rstudio-connect-app-base-url header. For links that are not to the root, you can use relative links. For example, to link to the /about page, use href=about.
Lastly, create the static/styles.css file for styling:
static/styles.css
h1 {
    color: green;
}
To preview the application locally, run the following:
Terminal
uvicorn app:app --reload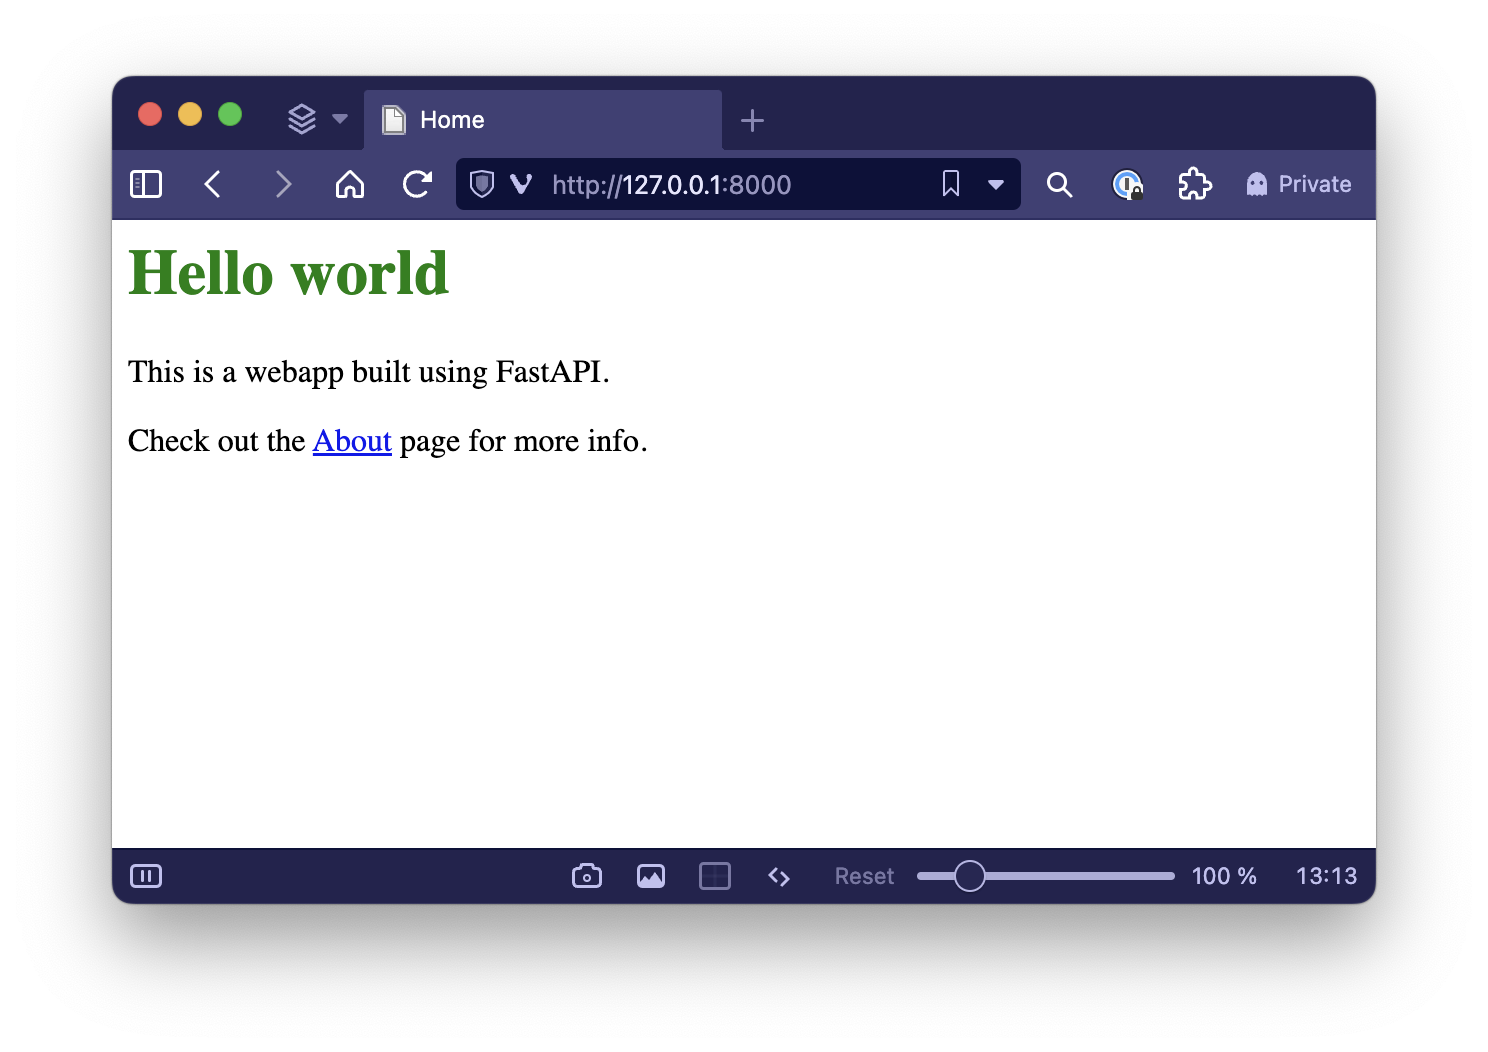
Deploy the example using rsconnect-python:
Terminal
rsconnect deploy fastapi \
    -n <saved server name> \
    --entrypoint app:app
    ./
To learn more about building web apps with FastAPI, see these resources:
User meta-data
FastAPI can access the username and the names of the groups of the current logged in user by parsing the RStudio-Connect-Credentials request header.
Your FastAPI should access the RStudio-Connect-Credentials header value via the Header object in FastAPI. See the FastAPI documentation on headers for more details. The example below uses FastAPI’s dependency injection system so that the logic to get the current user is only defined once and can be reused by multiple endpoints. See the FastAPI documentation on dependency injection for more details.
User meta-data example
This simple FastAPI defines a /hello route that greets the arriving user.
app.py
import json
from typing import Annotated

from fastapi import FastAPI, Header, Depends
from fastapi.responses import JSONResponse
from pydantic import BaseModel, Field

app = FastAPI()


class UserMetadata(BaseModel):
    user: str
    groups: list[str] = Field(list)


async def get_current_user(
    rstudio_connect_credentials: Annotated[str | None, Header()] = None
) -> UserMetadata | None:
    """
    Get the user metadata from the RStudio-Connect-Credentials header and then
    parse the data into a UserMetadata object.
    """
    if rstudio_connect_credentials is None:
        return None
    user_meta_data = json.loads(rstudio_connect_credentials)
    return UserMetadata(**user_meta_data)


@app.get("/hello")
async def get_hello(user=Depends(get_current_user)) -> JSONResponse:
    """
    Use FastAPIs dependency injection system to get the current user.
    """
    if user is None:
        return {"message": "Howdy stranger!"}
    return {"message": f"So nice to see you, {user.user}!"}
User and group uniqueness
Most environments have unique usernames where each user identifies a single user and groups the name of the groups the user is a member of.
However, in large organizations with hundreds of users and groups, this might not be true. See the Credentials for Content section of the Connect Admin Guide for more information.
Other ASGI frameworks
Although ASGI is a standard, frameworks differ in the configuration settings required to support being deployed behind a proxy server (as is the case for APIs deployed within Connect). These frameworks have been validated for deployment in Connect:
Quart is very similar to Flask, except that API endpoint functions are asynchronous.
Falcon is a Python framework that supports both synchronous (WSGI) and async (ASGI) APIs. When creating your API, you choose between synchronous and asynchronous operation.
Sanic is a fast asynchronous API framework for Python.
Details
- When FastAPI or other ASGI content is deployed with more than one process (a Max processes value greater than 1), Connect uses a
connect.workeridcookie to ensure that requests for the same user session are routed to the appropriate worker process. This ensures that frameworks that store session state in memory, such as Chainlit, function correctly across multiple requests.