Publish Outputs
Publishing to Posit Cloud has been deprecated and the process to sunset this feature will begin at the end of December 2024. For more information, please see the official announcement.
RStudio and Jupyter projects on Posit Cloud are not affected by this change.
Note that attempting to publish to Posit Cloud after this feature has been removed will result in an HTTP 400 error, with a Publishing disabled. message. Please see the announcement for additional context, including a timeline and alternative publishing destinations.
So - you have created a data product in a Cloud project. It could be an R Markdown document, a Shiny app, a Plumber API. Now what? How do you make your work accessible to others? You could always share the project and its source code - Posit Cloud makes that very easy. But if the ouput of your work is of primary interest to your audience, there is a simpler way to give them what they want - you publish it.
Posit Cloud supports the hosting of a variety of data products, including Quarto and R Markdown documents, as well as Shiny, Dash, Streamlit, Flask and Bokeh apps. For the complete list, see the Outputs section below. We are also continuing to work to resolve any known limitations, listed below.
Publish from a Cloud Project
In a Cloud RStudio Project, press the publish button ![]() in your code’s window. The dialog that appears will be pre-configured to let you publish your output directly to Posit Cloud.
in your code’s window. The dialog that appears will be pre-configured to let you publish your output directly to Posit Cloud.
Note that you can also publish to other services, depending on the type of work you are doing:
If you would like to publish to one of these other services instead of Posit Cloud, click on the Add New Account link in the publishing dialog or go to Tools / Global Options / Publishing and press the Connect button.
If you publish to Posit Cloud, the output will be created in the same space that the source project is in. It will appear in the space’s content listings, and can be opened and managed from there.
Publish from External Environments
You do not have to write your code in a Posit Cloud project in order to publish its output on Posit Cloud. Using the latest rsconnect or rsconnect-python packages, you can publish directly to Posit Cloud.
When you publish from an external environment, your output will be placed in Your Workspace. You can move it to a different space from there if you would like.
Publish from the RStudio IDE
If you are using the latest version of the RStudio IDE on your local computer or in Posit Workbench, press the publish button ![]() in your code’s window. In the dialog that appears, Posit Cloud will appear as a possible publishing destination - select it and follow the instructions provided.
in your code’s window. In the dialog that appears, Posit Cloud will appear as a possible publishing destination - select it and follow the instructions provided.
If Posit Cloud does not appear as a destination, you will first need to open Tools / Global Options, select Publishing, and check “Enable publishing to Posit Cloud”.
Publish from the Command Line
To publish from the command line, use the rsconnect package from R, and the rsconnect-python package from Python.
Example: Publish a Shiny app
Install the
rsconnectpackage.Go to your Account Tokens page and copy your Publish with R token - it will look about like this:
rsconnect::setAccountInfo(name = "your-account-name",
token = "9721037F994151DFD87E7578B7332AC9",
secret = "shhh...secret",
server = "posit.cloud")
Paste that code snippet and run it on your command line
Issue the following command, where “shiny” is the directory where your shiny app is located:
rsconnect::deployApp(appDir="shiny", server="posit.cloud")
Example: Publish a Dash app
Install the
rsconnect-pythonCLI in your environment.Go to your Account Tokens page and copy your Publish with Python token - it will look about like this:
rsconnect add --account your-account-name --name posit.cloud --server posit.cloud --token 9721037F994151DFD87E7578B7332AC9 --secret shhh...secretPaste that code snippet and run it on your command line
Issue the following command, where dashboard-python is the location of your app:
rsconnect deploy dash dashboard-python --name posit.cloud --title dashboard-python
Outputs
Here are the kinds of content that can be currently published to Posit Cloud.
Items marked in bold can be push-button published from Posit Cloud RStudio projects and from the RStudio IDE or Posit Workbench.
- Quarto
- Documents: HTML, PDF, Word
- Presentations: Reveal JS, Beamer, PowerPoint
- Interactive: Shiny, Observable JS
- Sites
- Blogs
- Books
- R Markdown
- Documents: HTML, PDF, Word
- Presentations: HTML (ioslides, Slidy), PDF, PowerPoint
- Interactive: Shiny
- Sites
- Interactive Applications
- Shiny
- Shiny for python
- Streamlit
- Dash
- Bokeh
- APIs
- Plumber
- FastAPI
- Flask
If you encounter issues publishing any of these output types to Posit Cloud, please consult the known limitations below for a possible workaround. If your issue is not listed as a known limitation, please file a support ticket so we can investigate.
Output Settings
You change the attributes of an output, the resources available to it, its scaling behavior, and who can access it, by using the Settings panels. You can open Settings in either of two ways.
How To
In a content listing, press the menu button
 and choose Settings from the menu.
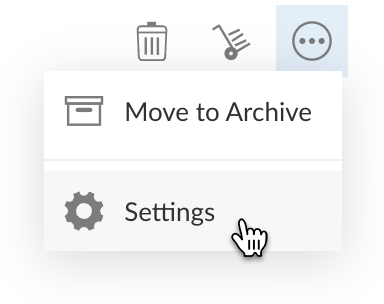
For an open output, click on the gear icon in the header.

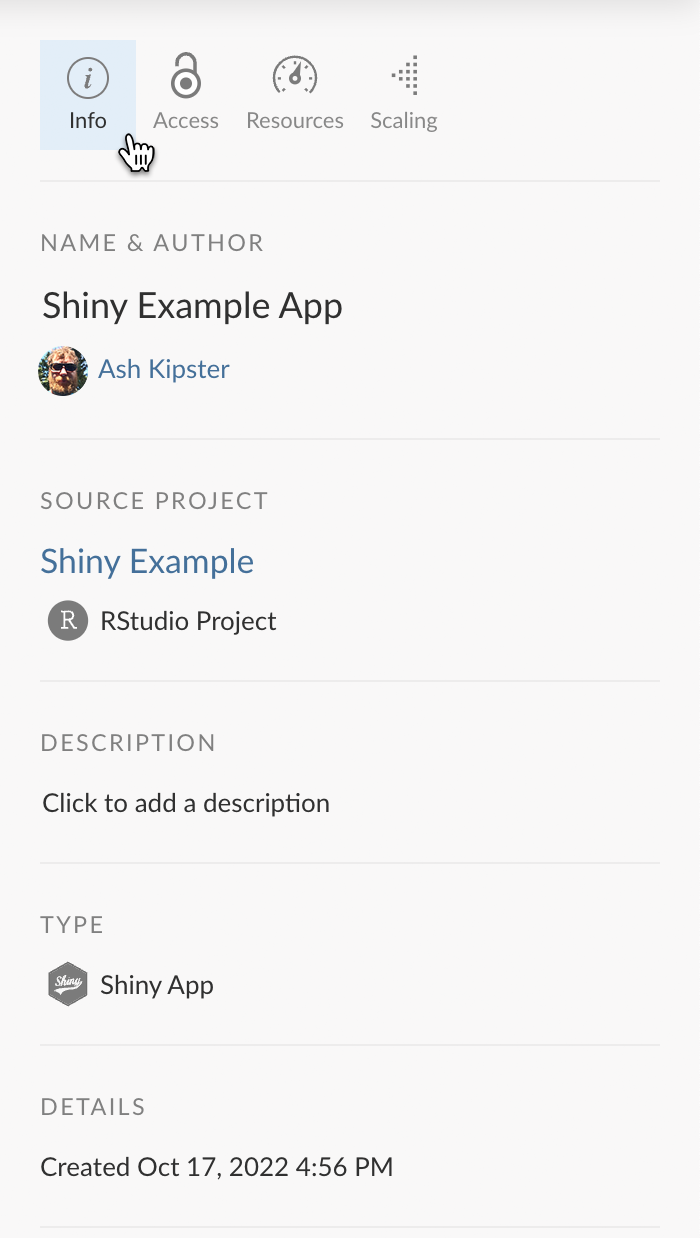
Output Settings: Info
The Info panel shows you basic info about the output and a link to the source if it was published from a Posit Cloud project. You can also edit the output’s name and description.
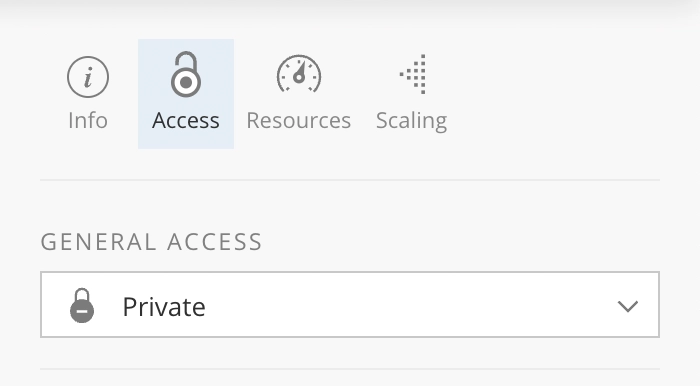
Output Settings: Access
The Access panel shows you who has access to the output, and allows you to change who can access it.
Access options vary depending on whether the output is in Your Workspace, or in a shared space See Content Access in the Share & Collaborate in Spaces section for details.
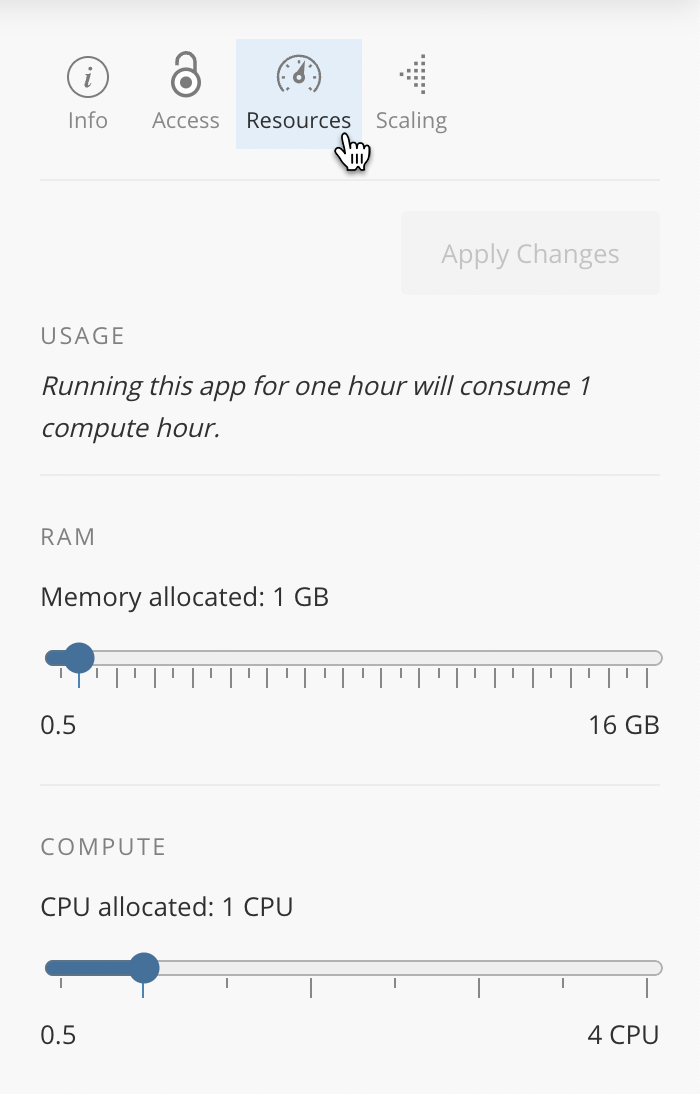
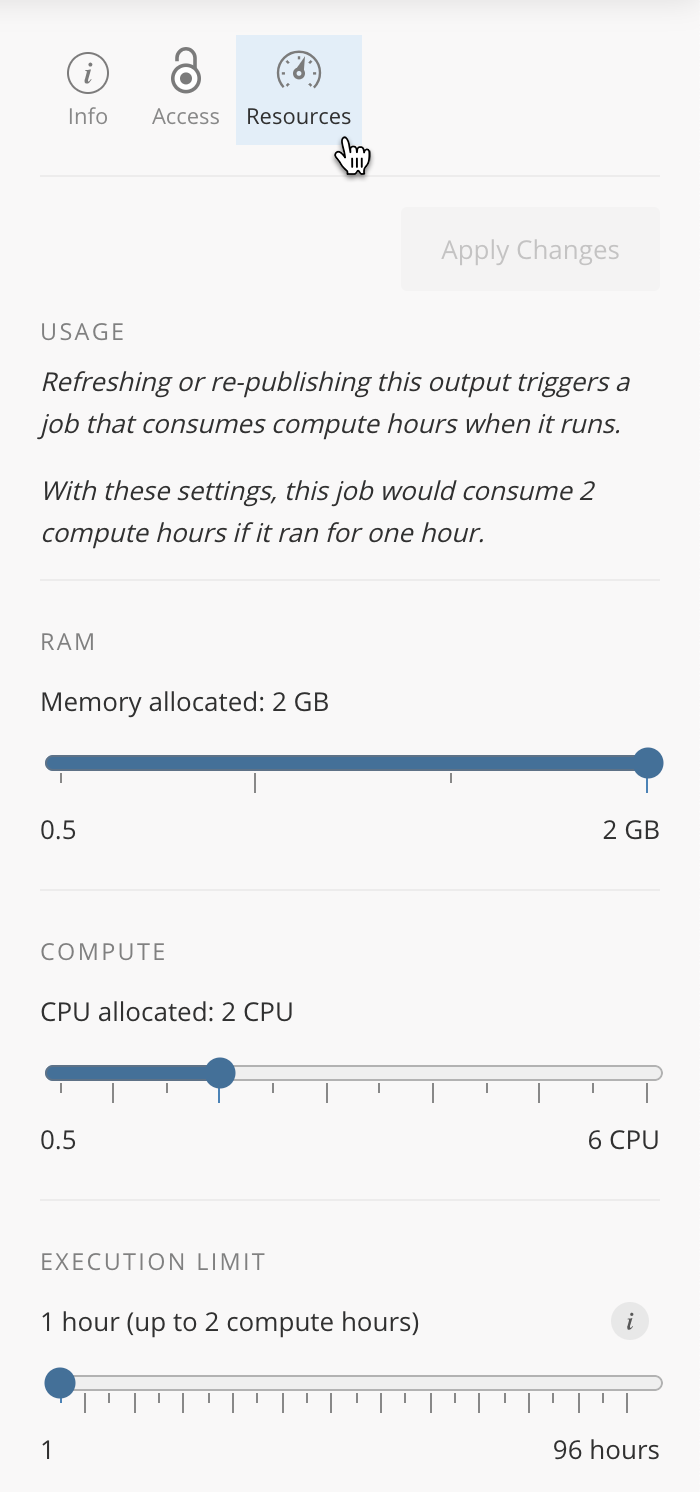
Output Settings: Resources
For open outputs
To ensure that each output executes securely and independently from all other outputs, Posit Cloud deploys or renders each output in its own container. This also enables each output to specify the resources that are allocated to it.
By default, each output is allocated 1 GB of RAM and 1 CPU.
If your plan allows it, you can increase the memory or CPUs allocated to an output. To do so, use the Resources panel to adjust the allocation.
Applications
Documents
For documents published with source code
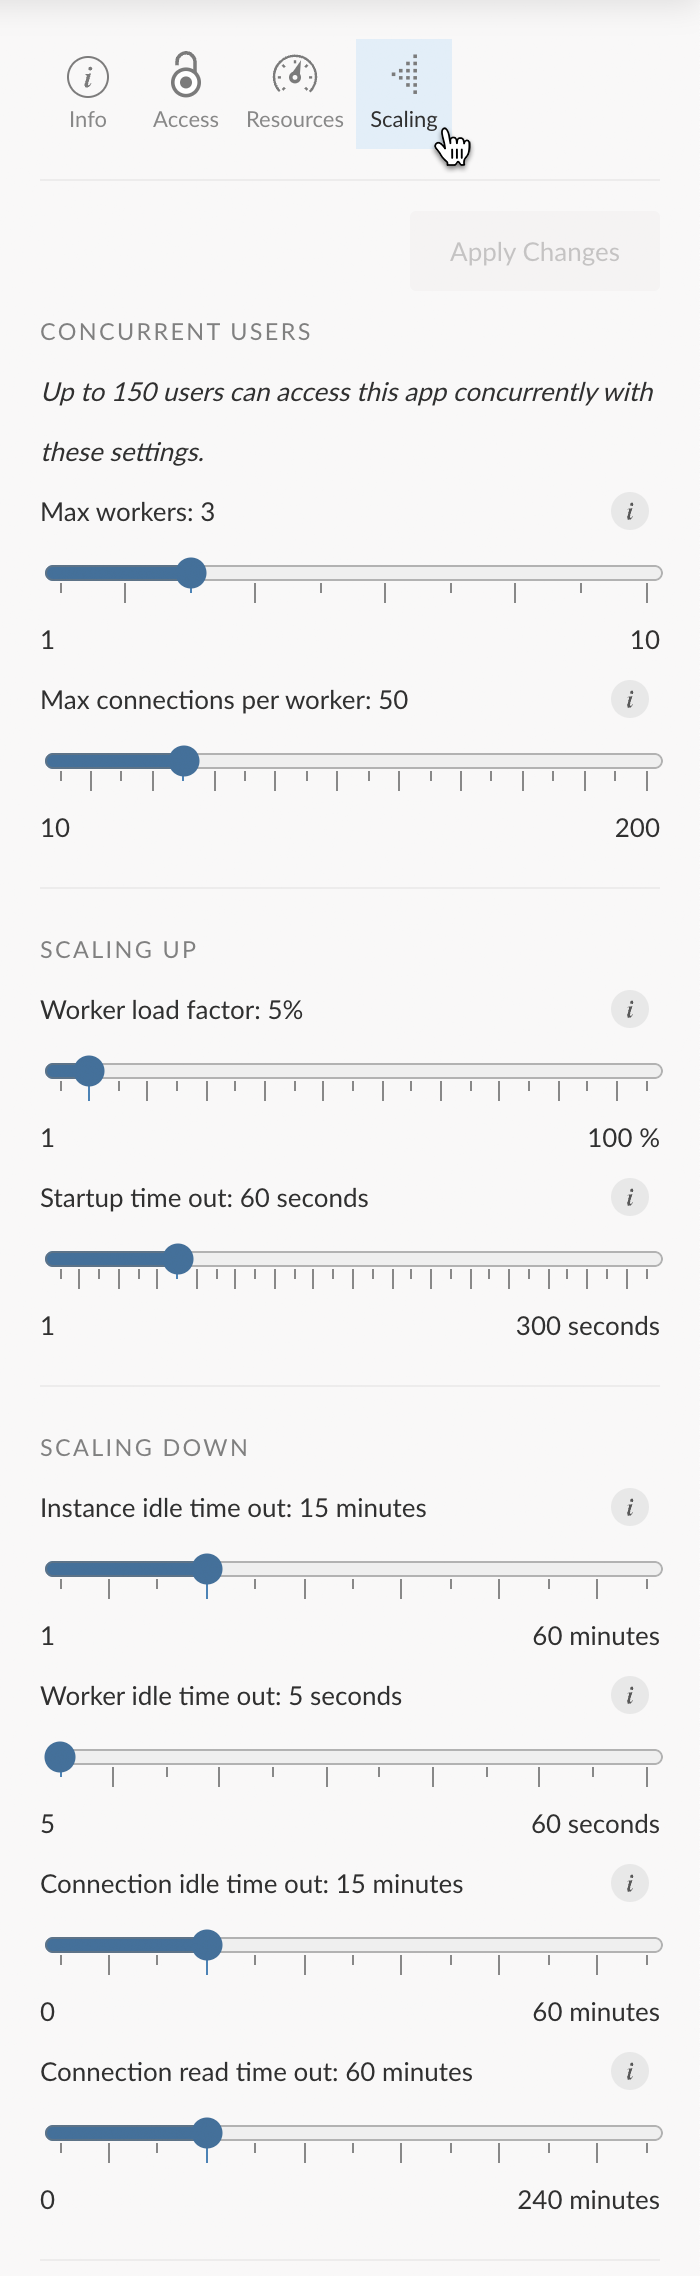
Output Settings: Scaling
For open applications
Use the Scaling panel to configure an application’s capacity to handle concurrent users, and how quickly it scales up and down as the number of users changes.
Output Actions
You can perform the following actions on outputs published on Posit Cloud.
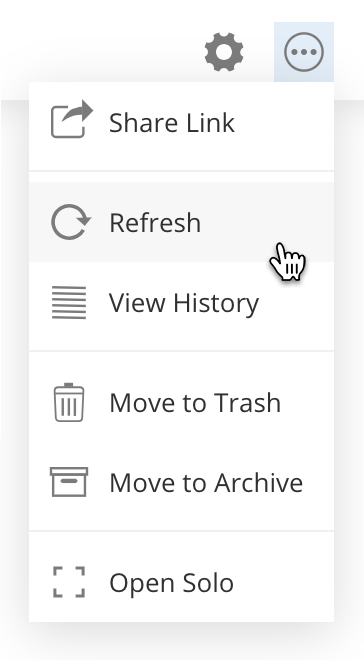
Refresh
For open documents published with source code
If external data referenced by your analysis has changed, use the Refresh action to re-render your output with the latest data.
How To
Press the menu button ![]() and choose Refresh from the menu.
and choose Refresh from the menu.
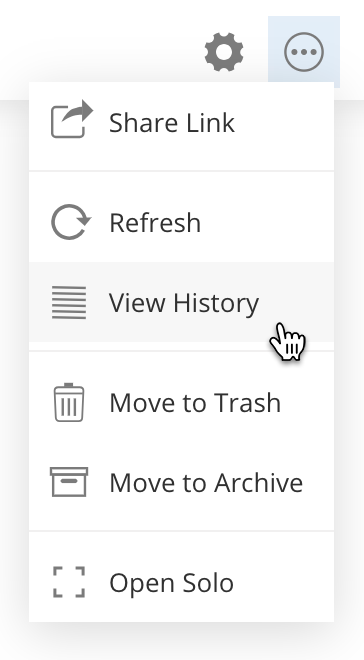
View History
For open documents published with source code
View History lets you see information for the current, and all previous revisions, of the output. It brings up a dialog that displays the complete list of revisions, and the build info and log for each revision. You can also choose to download the log or the source code bundle for any revision from the dialog.
How To
Press the menu button ![]() and choose View History from the menu.
and choose View History from the menu.
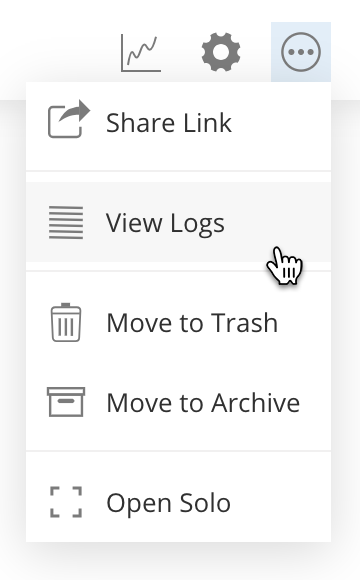
View Logs
For open applications
View Logs lets you see an application’s runtime logs. It brings up a dialog that show the most recent 50 lines of the logs. You can also download the last 50 lines of the logs from the dialog.
How To
Press the menu button ![]() and choose View Logs from the menu.
and choose View Logs from the menu.
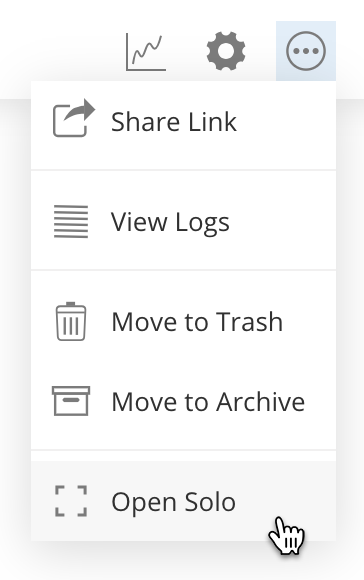
Open Solo
For open outputs
If you want to display an output independent of the Posit Cloud user interface, use the Open Solo action. The content will be displayed in a new browser tab with none of the interface “chrome” surrounding it Note that this can be necessary if the content contains external links, which will not open correctly from within an iframe.
How To
Press the menu button ![]() and choose Open Solo from the menu.
and choose Open Solo from the menu.
Currently, previous open Solo links will no longer work if the output is republished or refreshed.
Move
Outputs can be moved from one space to another. You can move any output that you have created, or if you are an admin or moderator of a space, you can move any output in the space.
To move an output from a space in one account to a space in a different account, you must have permission to transfer content out of the current account. If you do not have permission, you will not be able to move an ouput to a space owned by another account. See the Control Account Content section for details on setting the permission.
When an output is moved to a space owned by a different account, it becomes subject to the resource limits of the new space’s account.
How To
Press the Move action for the output you would like to move.

In the dialog box that appears, select the space that you would like to move it to, and press OK.
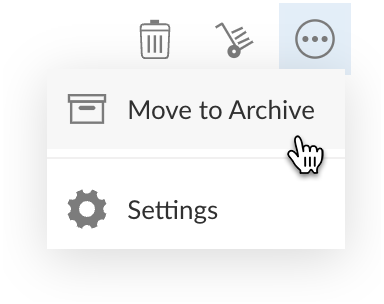
Move to Archive
If you are no longer working with an output, but want to retain it for possible future use, you can move it to the archive. Outputs in the archive are retained indefinitely and do not count against any space or account limits. While in the archive, an output cannot be opened or updated.
How To
To move an output to the archive, press the menu button ![]() and choose Move to Archive from the menu.
and choose Move to Archive from the menu.
Restore from Archive
When an output is in the archive you can restore it. It will be removed from the archive, appear in the space’s content listings, and can be opened and updated.
How To
Select the Archive list to view the archive for the current space.
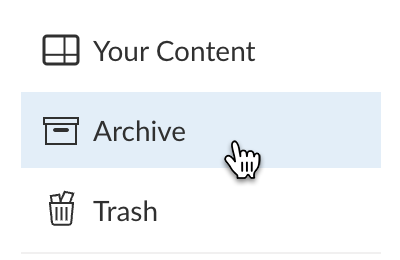
Press the Restore action for the output you would like to restore.
Move to Trash
If you no longer need an output you can move it to the trash. Outputs in the trash are retained for 30 days, or until the trash is explicitly emptied - they are then permanently deleted. While in the trash, an output cannot be opened or updated.
How To
To move an output in any content listing to the trash, press the Move to Trash action for the output. ![]()
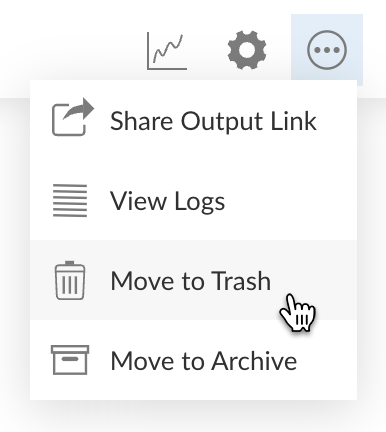
To move an open output to the trash, press the menu button ![]() and choose Move to Trash from the menu.
and choose Move to Trash from the menu.
Restore from Trash
When an output is in the trash, you can restore it. It will be removed from the trash, appear in the space’s content listings, and can be opened and updated.
How To
Select the Trash list to view the trash for the current space.

Press the Restore action for the output you would like to restore.
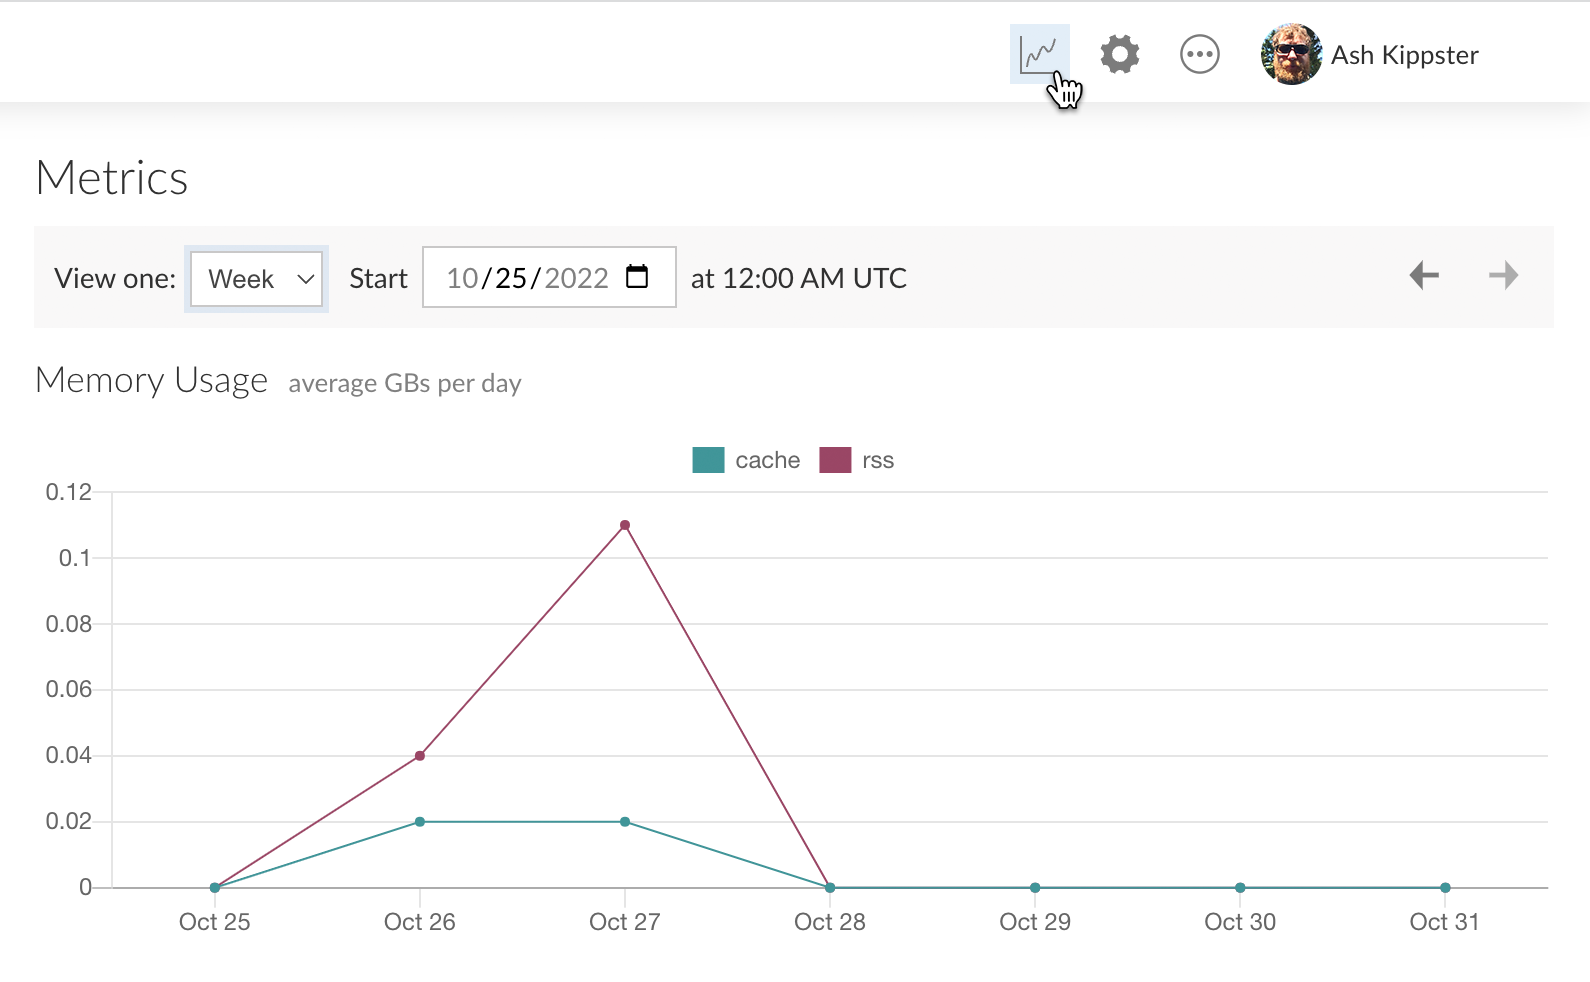
Application Metrics
You can view the memory, CPU, connections and workers metrics over time for an application. For an open application, click on the graph icon in the header to see its metrics.
Known Publishing Limitations
Following are the known limitations of publishing:
- Published applications run as single instances.
- Push-button document publishing to Posit Cloud from the RStudio IDE defaults to server-side rendering in which the final document is published along with its source code. To publish only the finished document, use the deployDoc() function:
rsconnect::deployDoc("document.html"). - Publishing Pins is not supported.
- Publishing from Posit Cloud Jupyter projects is not supported.
- Using rsconnect-python from Posit Cloud’s terminal provides a clickable link to the output, but does not open the output in a new tab when the task completes.
- Publishing content that relies on python packages from private GitHub repositories is not supported.
- Python-based Quarto documents published from the RStudio IDE and rendered on the server require jupyter to be installed from the terminal:
python3 -m pip install jupyter. - Publishing Quarto documents via the CLI will be supported in Quarto version 1.4.
- Practical use of APIs (e.g. Plumber, Flask) is limited because callers must send requests with Posit Cloud authentication cookies.
- Open Solo links will no longer work if the output is republished or refreshed.
- R Markdown documents published on Posit Cloud prior to August 1, 2023 may fail when redeployed. This can be fixed by clicking Clear List on the push-button publishing dropdown.
- Publishing an output from a copy of a project that previously published an output may result in failures or may overwrite the original output. Before publishing an output from a project copy, select Clear List from the push-button publishing dropdown to avoid these issues. This applies to copies made manually or via the Assignments feature.