Get Started with Posit Cloud
Jump right in with this Get Started section of the guide to learn the basics of how to use Posit Cloud.
Log In
If you already have a Cloud account (or a shinyapps.io account), Log In.
Otherwise, Sign Up for a free account to get started.
You must be logged in to create and view content on Posit Cloud.
Go to Your Workspace
You, like all Cloud users, have a personal space where only you can work, called Your Workspace.
Go to Your Workspace using the navigation sidebar on the left side of the window.
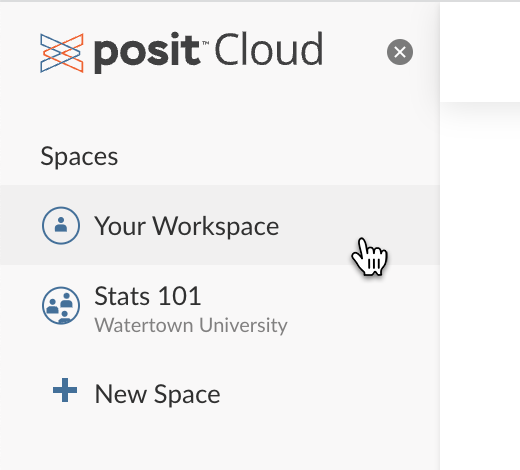
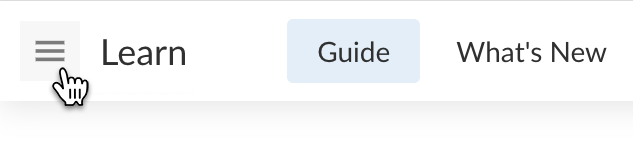
If the navigation sidebar is hidden, click on the menu icon to show it.
Create a Project
A project is the fundamental unit of work on Posit Cloud. It encapsulates your code, packages and data files and provides isolation from other analyses.
To create a project, click the New Project button, then choose New RStudio Project from the menu that appears.
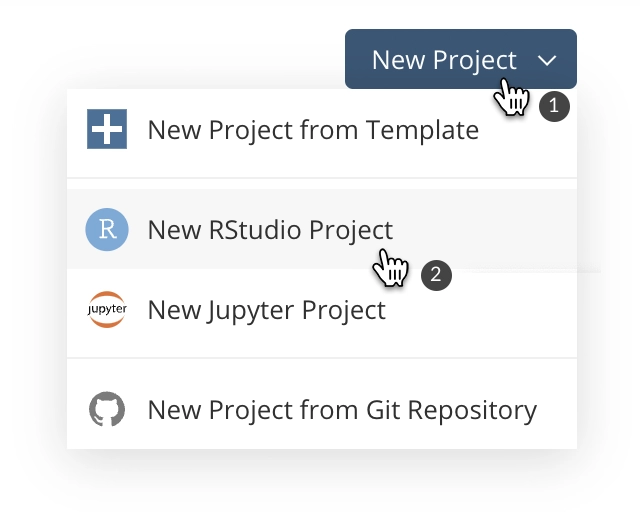
Rename your project by clicking on “Untitled Project” in the header and typing “Shiny Example”.

In roughly 30 seconds, the RStudio IDE (Integrated Development Environment) will appear, and you can now create files and write code in your project.
Make a Shiny App
In the RStudio IDE, select File / New File / Shiny Web App.
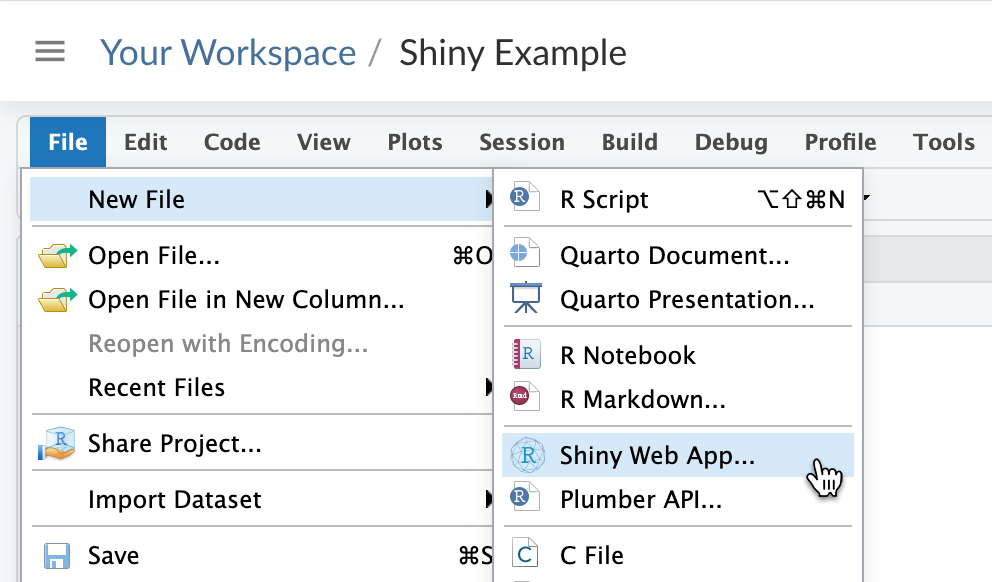
Complete and submit the New Shiny App Application dialog that appears (for Application Type, choose the Single File option). The source code for a simple app will be displayed.
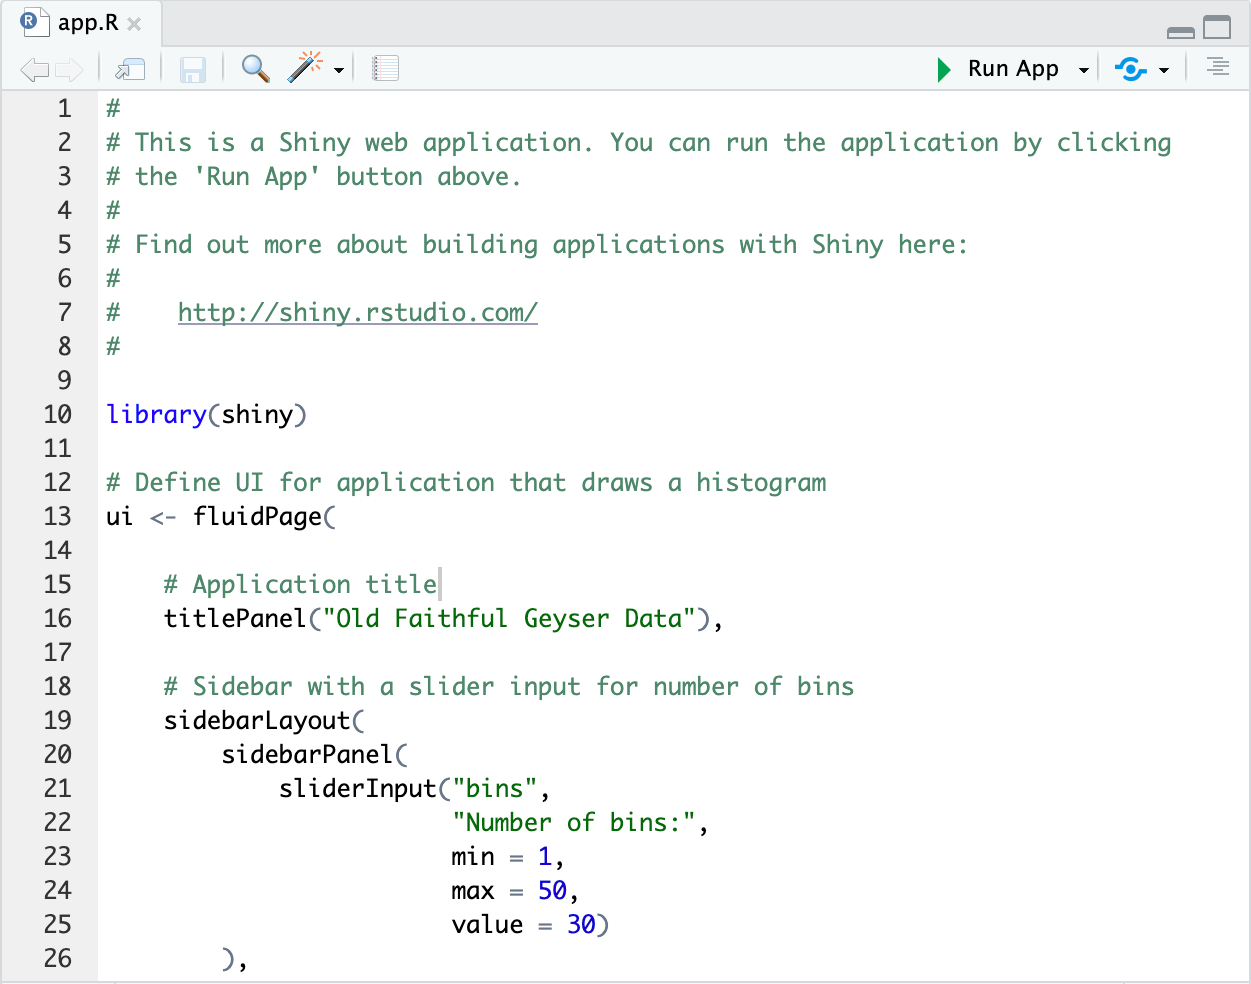
To see the app in action, press the Run App button.
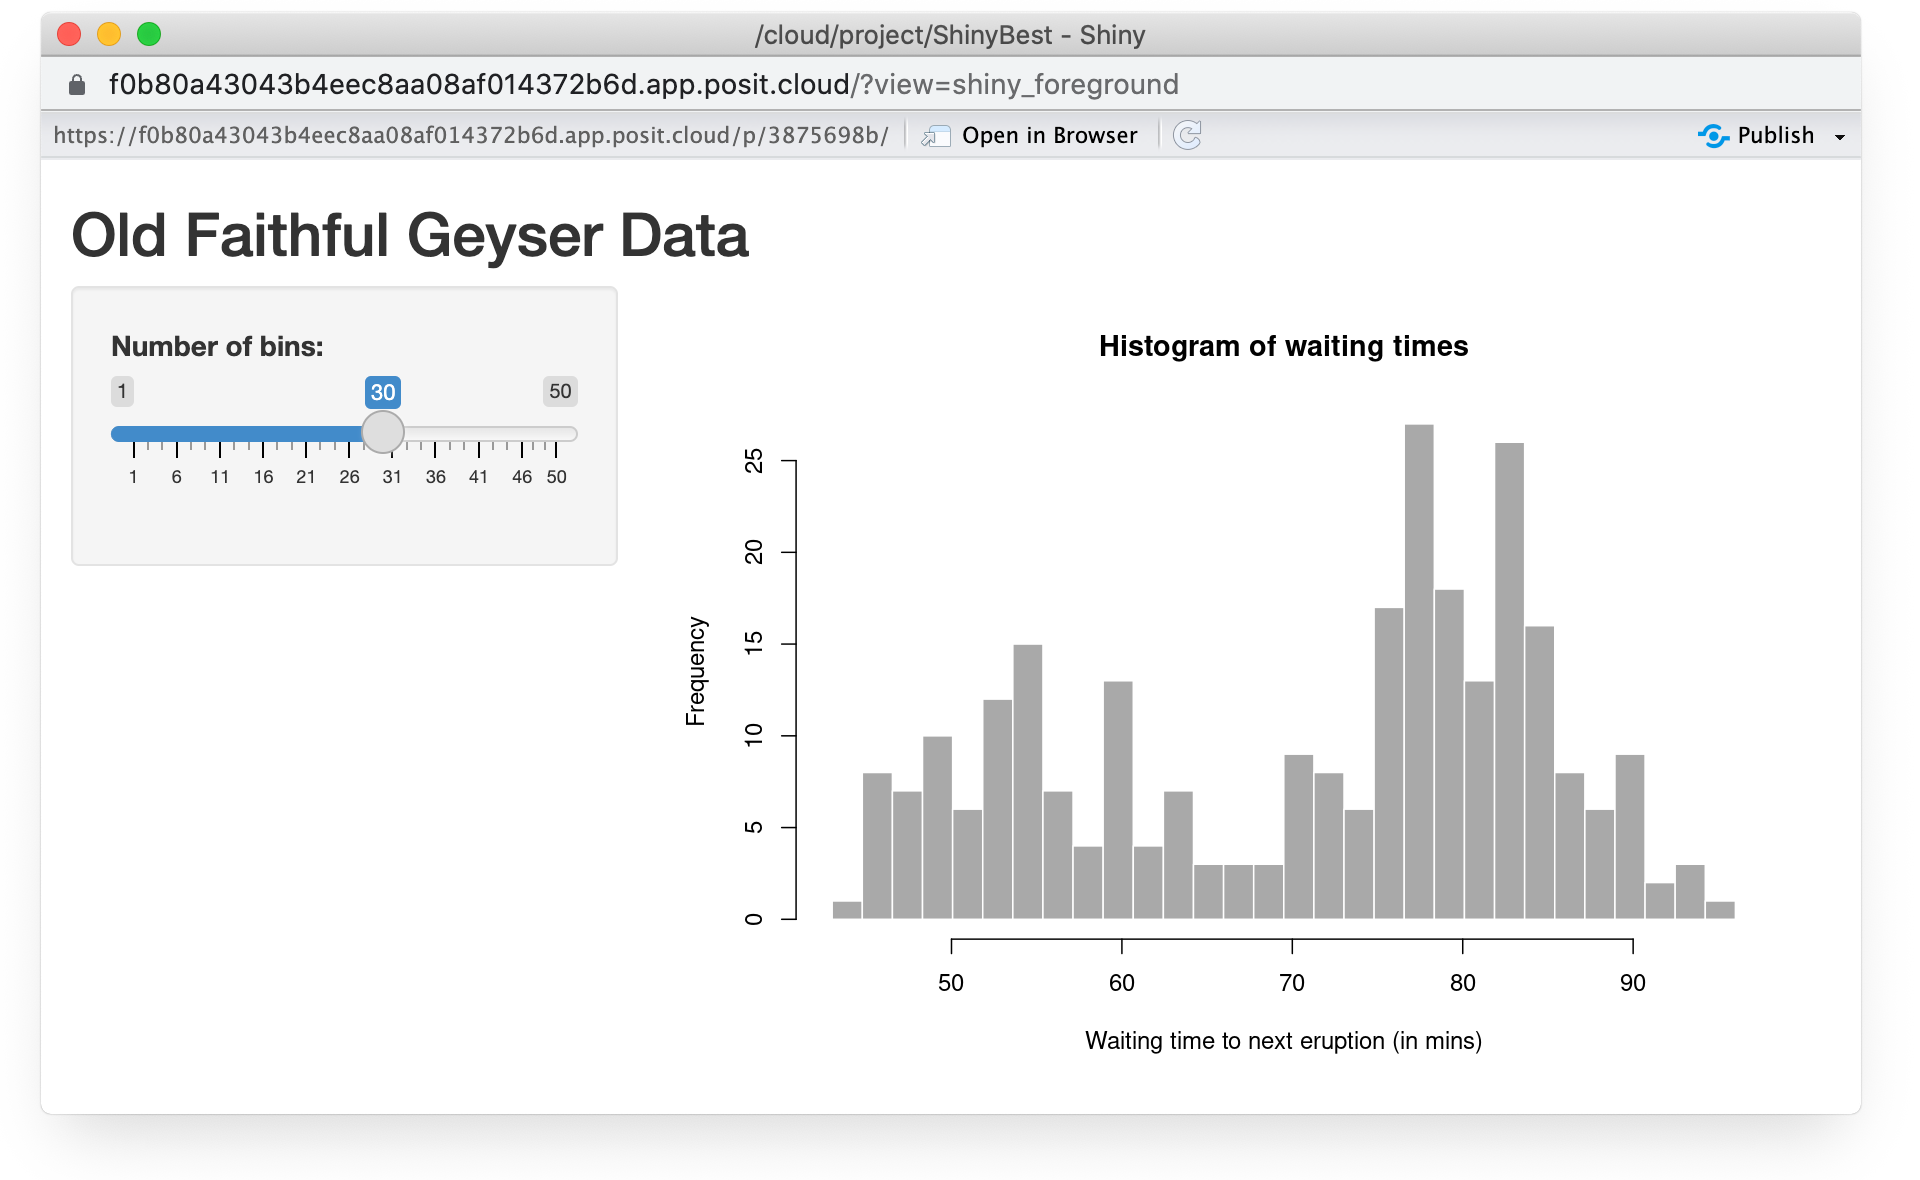
Publish Your App
Once you’ve created your app, you’ll want to publish it so that you, and likely others, can view and interact with it - without needing to open the project and run the source code in the IDE each time.
Publish to Hosting Services
Press the publish button  in your app’s code or running window; complete and submit the dialog that appears.
Your published app will appear in another browser tab, where you can interact with it.
You can publish to these hosting services:
Consult the documentation for those services for details on how to publish to them.
Share Your Work
By default, any work you do in Your Workspace can only be accessed by you. However, it is easy to share your work with other Cloud users. We cover only the simplest option here for how to share your project. For more comprehensive options, see the Share & Collaborate in Spaces section of the Guide.
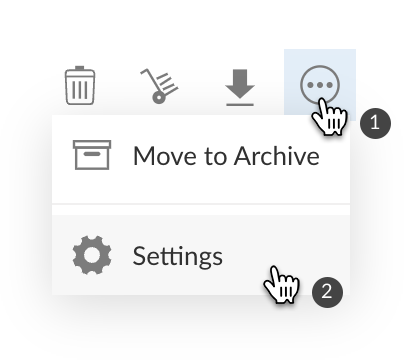
To share your project or app with other Cloud users, click the menu button  and choose Settings from the menu.
Note that if you have the project or app open, click the gear button  in the header.
In Settings, press the Access button to display the Access panel.
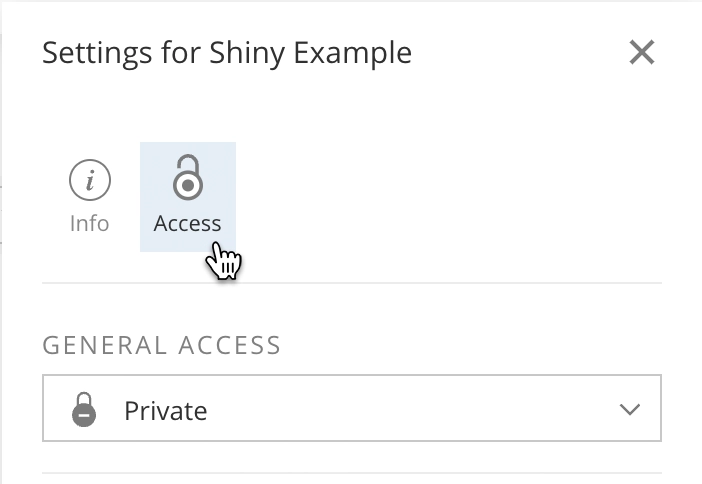
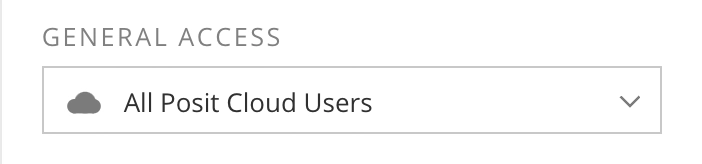
Then change who can access your project or app to All Posit Cloud Users.
You can now use your browser’s link menu to copy the link address and distribute the link however you wish.
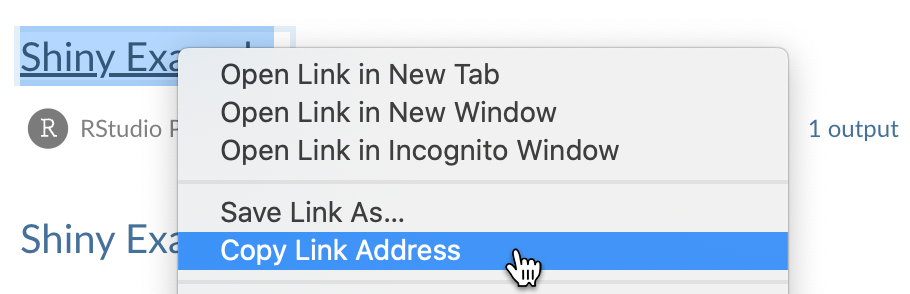
Note that if you have the project or app open, you can copy the link address from your browser’s address bar.

One final note: when you share a project this way, anyone who follows the link will get their own temporary copy of the project. They will be able to make changes to it and can save a permanent copy of their own, but they will not be able to make changes to your original project. See Content Access in the Share & Collaborate in Spaces section of the Guide for details and more comprehensive sharing options.
Use AI
Posit Assistant is an AI coding assistant for the RStudio IDE. It can help you write, understand, and debug your R code, and it powers Next Edit Suggestions as you work.
Before you can install Posit Assistant in a project, an account owner must enable it for the account. Once enabled at the account level, any new RStudio project created in that account can install Posit Assistant.
Enabling Posit Assistant for your account makes it available to install in new RStudio projects. Powering Posit Assistant and Next Edit Suggestions still requires a Posit AI subscription, which includes a free trial.
Enable Posit Assistant for Your Account
How To
- Click the account menu in the upper-right corner of the header, then select the account you want to enable Posit Assistant for.
- On the Overview tab, click Configure Features.
- Click Enable Posit Assistant.
New RStudio projects created in the account can install Posit Assistant. To power Posit Assistant and Next Edit Suggestions, sign in to Posit AI from the RStudio IDE. For tips on getting the most from the AI tooling, see the Posit Assistant documentation.
Next Steps
Congratulations! You’ve reached the end of the Get Started and now know the fundamentals of working in Cloud. To go beyond the basics, we do recommend you read the rest of the guide, or plan to revisit it later. There are 5 fundamental elements of Cloud you really want to know more about to get the most out of Cloud:
- Projects: covered in the Code Projects section
- Outputs: covered in the Publish Outputs section
- Spaces: covered in the Share & Collaborate in Spaces section
- Data: covered in the Work with Data section
- Accounts: covered in the Manage Accounts section